Can You Glue Treated Lumber?
-

- November 23rd, 2025
- 2,659 views


👉 Best IPTV Services 2026 – 10,000+ Channels, 4K Quality – Start Free Trial Now
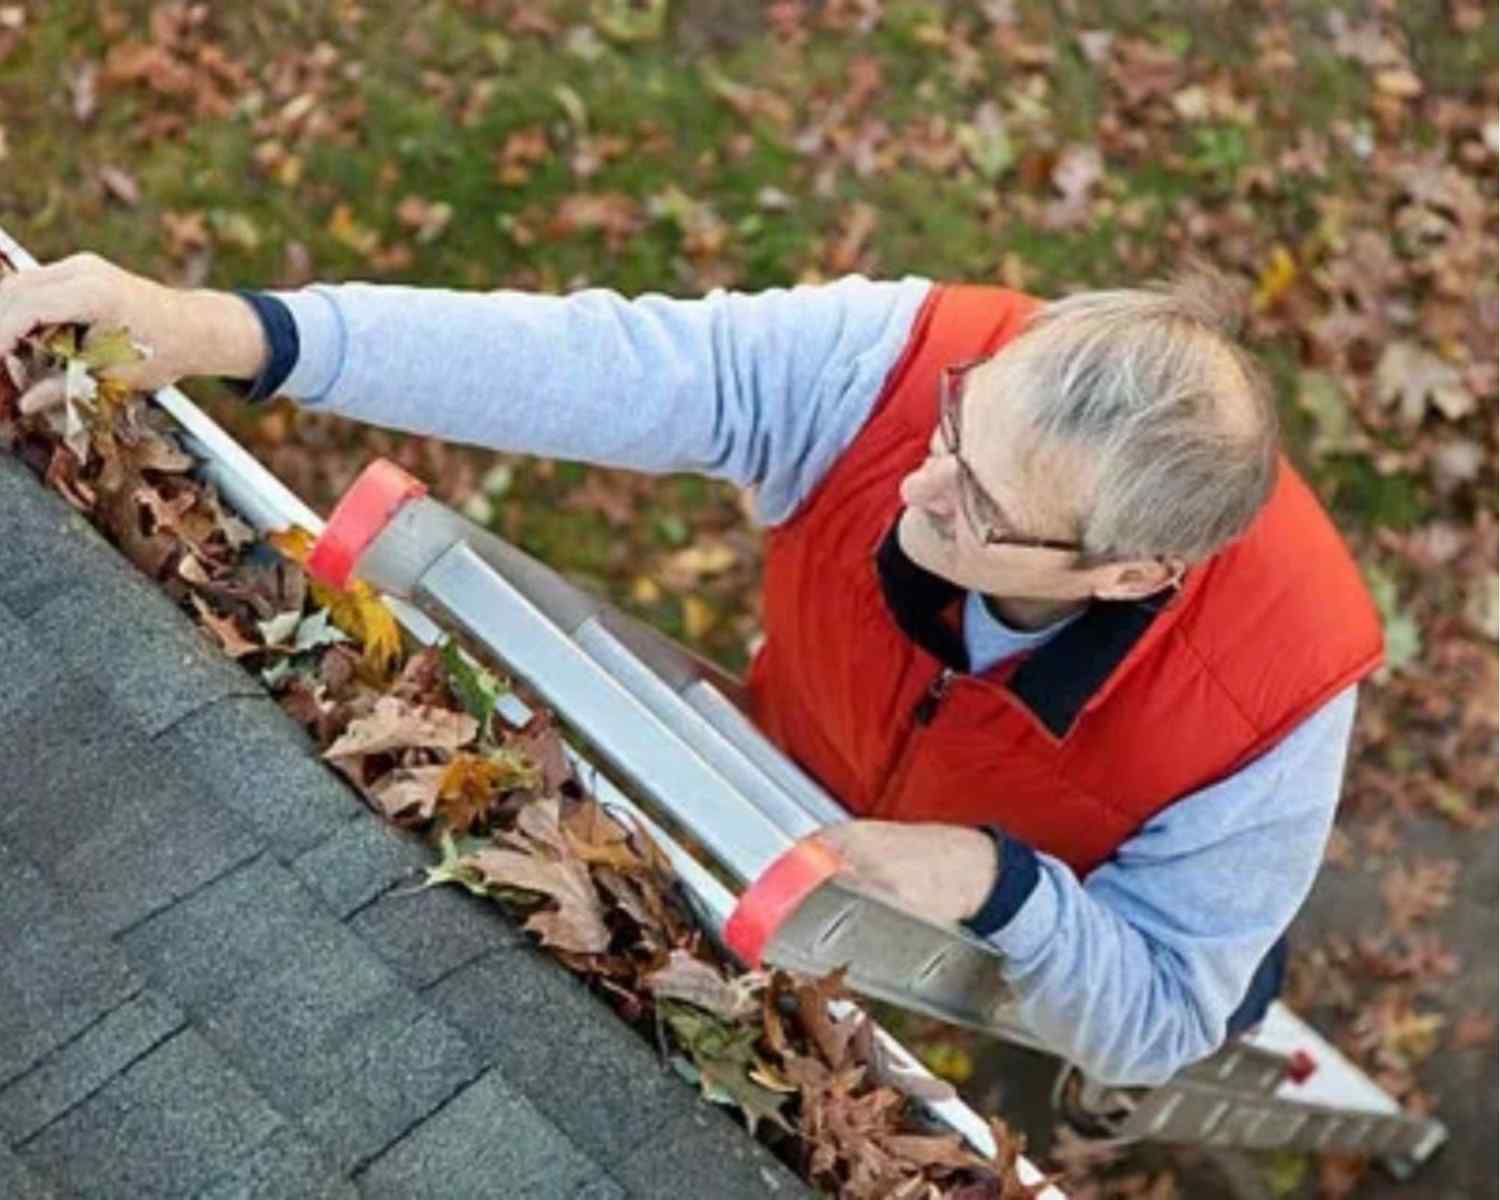
People mostly use treated lumber in exterior projects such as decks, fences, and garden structures since it effectively fights off rot, insect attack, and deterioration. But when it comes to putting structured pieces together, enthusiastic homeowners and professional builders often confuse the question. Can you glue treated lumber? In general, you can glue treated lumber, but certain elements may affect the efficiency of the adhesive joint.
What Is Treated Lumber?
Treated lumber is wood treated with chemical preservatives to resist termites, fungi, and the effects of its surroundings. The most common types include:
PTW (Pressure-Treated Wood) is wood that’s impregnated with chemicals using massive pressure.
ACQ-treated (Alkaline Copper Quaternary) wood is a variety of PTW that incorporates fewer toxic materials than some older, harsher preservatives such as CCA.
Treated lumber is suitable for many outdoor construction projects.
- Decking and railing
- Fence posts
- Outdoor furniture
- Retaining walls
- Playground equipment
Treated lumber is strong, but its ingredients and level of dampness can often complicate joining with adhesives.
Is It Possible to Glue Treated Lumber Properly?
Treated lumber can be glued; however, it’s important to follow certain steps to ensure a good glue bond.
- You should wait several weeks for the lumber to completely dry before gluing.
- Choose a glue that's designed for sealing damp lumber and wood treated with chemical preservatives.
- Make the surface smooth and clean before applying glue.
- Apply enough pressure to the wood to ensure even adhesion and proper curing.
Best Types of Glue for Treated Wood
Many commonly used wood glues may not work well with treated wood. The following types are recommended:
1. Polyurethane Glue (e.g., Gorilla Glue)
- Best for: For use in harsh conditions and effective with either dry or damp treated wood
- Pros: Moisture-activated, waterproof, strong bond
- Cons: Grows slightly when drying and should be wiped off afterward.
- Application: Wet one side lightly before spreading glue on the second surface and securing the pieces with clamps for 1 to 2 hours
2. Construction Adhesives (Liquid Nails or Loctite PL Premium)
- Best for: Framing, subfloors, heavy-duty work
- Pros: High strength, gap-filling, water-resistant
- Cons: Not ideal for fine joinery
- Application: Past an abundant amount of adhesive so all surfaces touch, then squeeze them together before adding clamps if necessary.
This type of glue is commonly referenced during construction takeoff stages, where builders calculate required materials for framing and substructure work.
3. Epoxy
- Best for: Heavy-duty or marine-grade applications
- Pros: Extremely strong, chemical- and water-resistant
- Cons: Higher priced and requires more preparation time.
- Application: Combine equal amounts, spread smoothly, and leave the clamp on for several hours
4. Polyvinyl Acetate (PVA) Glue (e.g., Titebond III)
- Best for: Dry treated wood, indoor/outdoor use
- Pros: Quick and safe to use, moisture-resistant in various editions.
- Cons: Suitable for dry wood only.
- Application: Thoroughly coat the surfaces and leave them clamped for 30–60 minutes
How to Prepare Treated Lumber for Gluing
Getting a solid glue connection requires adequate treatment of the treated lumber.
Step 1: Let the Wood Dry
- Keep treated lumber out of the open air for approximately 2 to 4 weeks.
- Check the moisture content with a meter before using the wood.
Step 2: Clean the Surface
- Clean the bonding surface by gently wiping with a moistened cloth.
- Wait until it’s thoroughly dry before applying glue.
Step 3: Sand Lightly
- Lightly sand with sandpaper at an 80- or 100-grit.
- That removes the slick surface and thus improves the bond.
Step 4: Follow all instructions from the glue manufacturers.
- Apply adhesive according to the manufacturer’s instructions for total area, application interval, and required clamp force.
Step 5: Clamp the Joint Firmly
- Apply pressure with clamps to hold the joint together as the glue dries.
- Clamp times vary: PVA bonding may take between 30 and 60 minutes, but polyurethane requires up to 2 hours.
Challenges with Gluing Treated Lumber
Treated wood poses several peculiar difficulties when it comes to bonding materials.
1. Moisture Content
Treated lumber is commonly wet with water-soluble preservatives. Gluing wood while it’s still wet greatly reduces the strength of the bond. Applying glue to freshly treated lumber that hasn’t had a chance to dry could cause the glue to never properly harden or potentially come loose at a later date.
2. Chemical Preservatives
Chemicals present in pressure-treated wood inhibit the bonding power of glues. As a result, some adhesives can wear away more quickly when bonding with treated wood.
3. Surface Texture
Some treated lumber may appear slightly oily or be more irregular than untreated timber. The surface problems mentioned previously can inhibit effective adhesion.
When Should You Use Screws or Nails Instead?
Many times in outdoor use cases, structural components are held together more reliably with screws or nails instead of glue. Consider these rules of thumb:
Use Glue:
- Moisture content is low
- Newly treated lumber should be slightly damp.
- You need tight connections for furniture or delicate joinery.
Use Screws/Nails:
- You’re assembling a deck or setting up stud walls.
- You’re looking for a finish that doesn’t require any visible fasteners.
- It requires support for heavy loads.
You should utilize both glue and fasteners when assembling weight-bearing outdoor structures.
Common Applications Where Gluing Treated Wood Works
Applying glue to treated wood is recommended in several cases.
- Dry wood is suitable for making water-holding containers like planters.
- Furniture connections should be held together using PVA or polyurethane glue.
- Fence rails and posts (secured both through screwing and gluing)
- Stair rails, fascia, and porch trim (so nails aren’t noticeable)
- Using epoxy to fix or restore damaged areas and fill holes.
Tips for Success
Always read the glue label: Some glues are not recommended for pressure-treated lumber.
Test on scrap: It’s important to first glue a small sample to ensure the process will work successfully for your entire project.
Don’t rush the drying: Applying glue to newly sawn lumber is a recipe for weakened joints.
Use proper safety gear: Some adhesives release fumes work in a well-ventilated area whenever you’re using them.
Final Thoughts
Gluing treated wood may be achieved, but it must be executed carefully with time, correct adhesives, and proper pre-treatment. Effective adhesives like polyurethane and epoxy, paired with careful surface preparation, enable you to form healthy and durable joints with treated wood.
In structural projects, the best practice is to use both glue and fasteners to achieve the greatest durability. Gaining proficiency in treating lumber properly when using glue will ensure your outdoor furniture or deck repairs hold up for many years ahead.