Easy To Follow And Simplified GL S10 Setup Guide

Strong 8k brings an ultra-HD IPTV experience to your living room and your pocket.
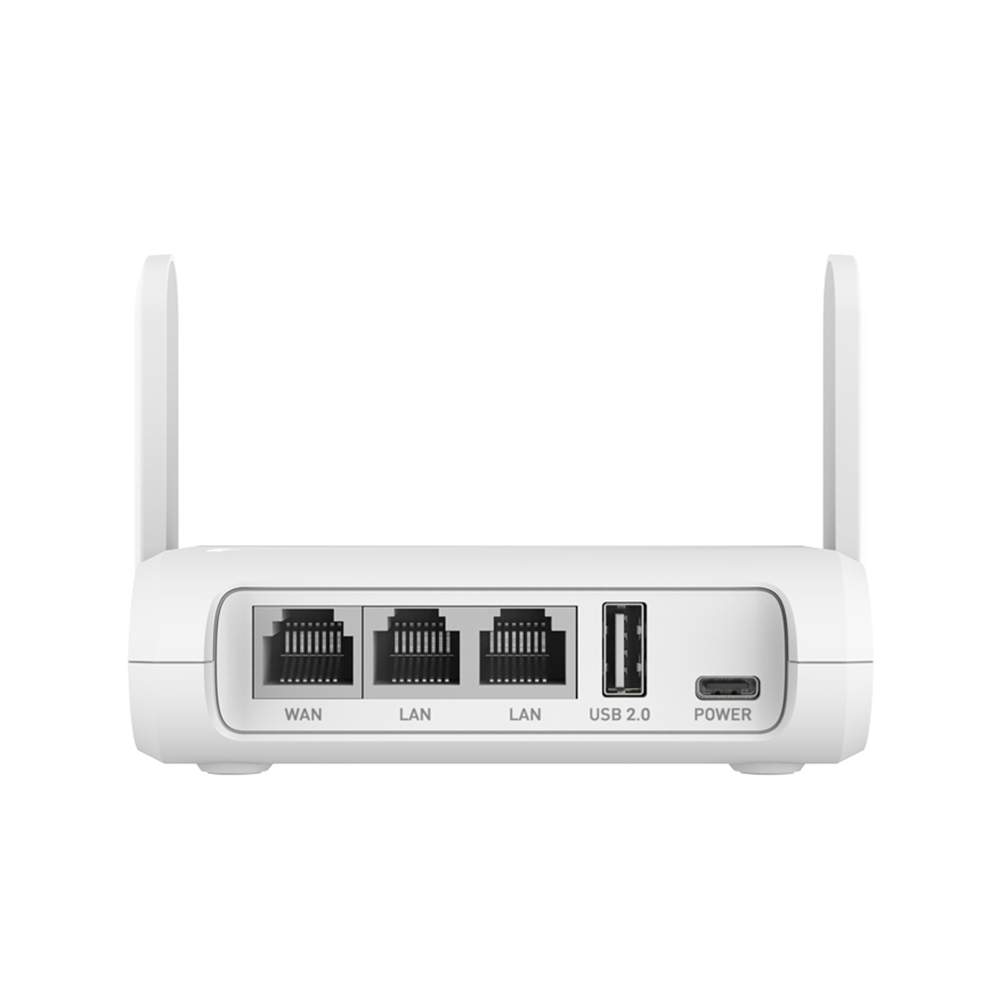
The GL S10 is a powerful as well as flexible IoT (Internet of things) gateway that simplifies the integration of BLE (Bluetooth Low Energy) devices into a cloud-based system via MQTT. So if you also got this device for yourself, then you must surely be looking for a GL S10 setup guide that is reliable yet simple to understand. If yes, then your hunt ends with this post. Because here we'll be sharing the complete step-by-step information that will help with easy deployment of the GL iNet S10 device.
Highlighting Key Features
Before you check out the GL S10 setup guide, let's unveil its key features.
First up, the GL S10 device is suitable for deployment at various places. These places can be warehouses, airports, malls, in halls that conduct exhibitions as well as at various tourist spots. Additionally it can be used for personnel management, asset management, monitoring of environment as well as for indoor navigation and much more.
The device functions on a Dual-core Xtensa 32-bit LX6 microprocessor.
Further, it supports BLE, ethernet as well as Wi-Fi in addition to multiple encryption methods.
BLE’s communication distance can reach a distance of 80m. The distance is measured in an area that is non-interfering and open.
Thereafter it supports MQTT as well as 802.3at/af standard POE input power.
Moreover with the help of the S10 app the setup is extremely simple to perform.
Additionally, the device supports firmware upgradation through OTA in addition to local serial port.
GL S10 Setup Guide: LED Indicators
For conducting a smooth GL S10 setup, understanding the different LED patterns is crucial. The GL S10 device consists of three LEd indicators, one is power, second relates to BLE and last one is of Network.
When the power LED is on, it means the GL iNet-S10 is on.
Thereafter, when the BLE shows blinking green light it means pairing mode (disconnected). It's connected when the green light stabilizes. When there is no light, it depicts scanning mode.
Lastly, white blinking light on Network LED means wifi connected. When it is stable it means the ethernet is connected.
As you now know about the different LED patterns, it becomes easier to follow the GL S10 setup guide.
Unboxing GL S10 Setup Package Contents
As you unpack your GL S10’s package, you should get following components:
GL S10 Gateway
BLE Beacon (optional accessory)
External Antenna
USB power cord
Lastly, a quick GL S10 setup guide.
Before proceeding, ensure that each component is present and that too in a top-notch condition.
GL S10 Setup Guide
Start the process by connecting the hardware. So first up attach the antenna to the main device properly. Remember one point very clearly that you need to attach antennas before connecting the device to the power supply either through adapter or through PoE. Now proceed with the further steps:
✓ Install GL-S10 Application
Now visit the Google Play Store or if you are an iOS user then visit App store and from there download the GL-S10 Tool application. After installation, turn on bluetooth. If you are using an Android device then in addition to Bluetooth you also need to turn on GPS.
Thereafter, set GL.iNet-S10 device into pairing mode. For doing so, press the reset button when the power is off. Now turn on the GL S10 power and release the button when the middle BLE LED light blinks. This indicates activation of your GLiNet-S10 device’s pairing.
✓ Begin Configuration
Now this part of the GL S10 setup guide is very crucial, so make sure you follow it very precisely. Therefore open the GL S10 Tool app. Select the language. You have two options for the same. First is English. The other one is Chinese.
Moving further click on the Scan option. It is in the upper right corner. After the scan completes, select your GLiNet-S10 device. Now for cable configuration, tap on Protocol. Switch between DHCP or Static IP mode if you are using cable for the connection. For wifi configuration tap on Wifi option. Select the wifi that you want to use. Thereafter curate the password. Next, for configuring MQTT, click on the MQTT server option to enter the interface. Once you configure it, tap on Done. Thereafter tap on the Report Configuration option. From here you can alter the report interval and rules. Go to the MAC option to filter data with the MAC address that is written on the GL S10’s bottom panel.
Once done you can restart the gateway in the work mode. For this move to the Manage Device screen. Tap on the Reboot option. As you do so the device reboots and automatically enters into scanning mode. Now turn on the BLE beacon. Thereafter download and install the MQTTX client on your device such as computer or laptop. Open it and add a new connection. Then create a New Subscription and edit “Topic”. Finally as you do so the MQTTX Client subscribes and shows the data from the testing cloud server. And with this the GL S10 setup guide comes to an end.
Note: IndiBlogHub features both user-submitted and editorial content. We do not verify third-party contributions. Read our Disclaimer and Privacy Policyfor details.


