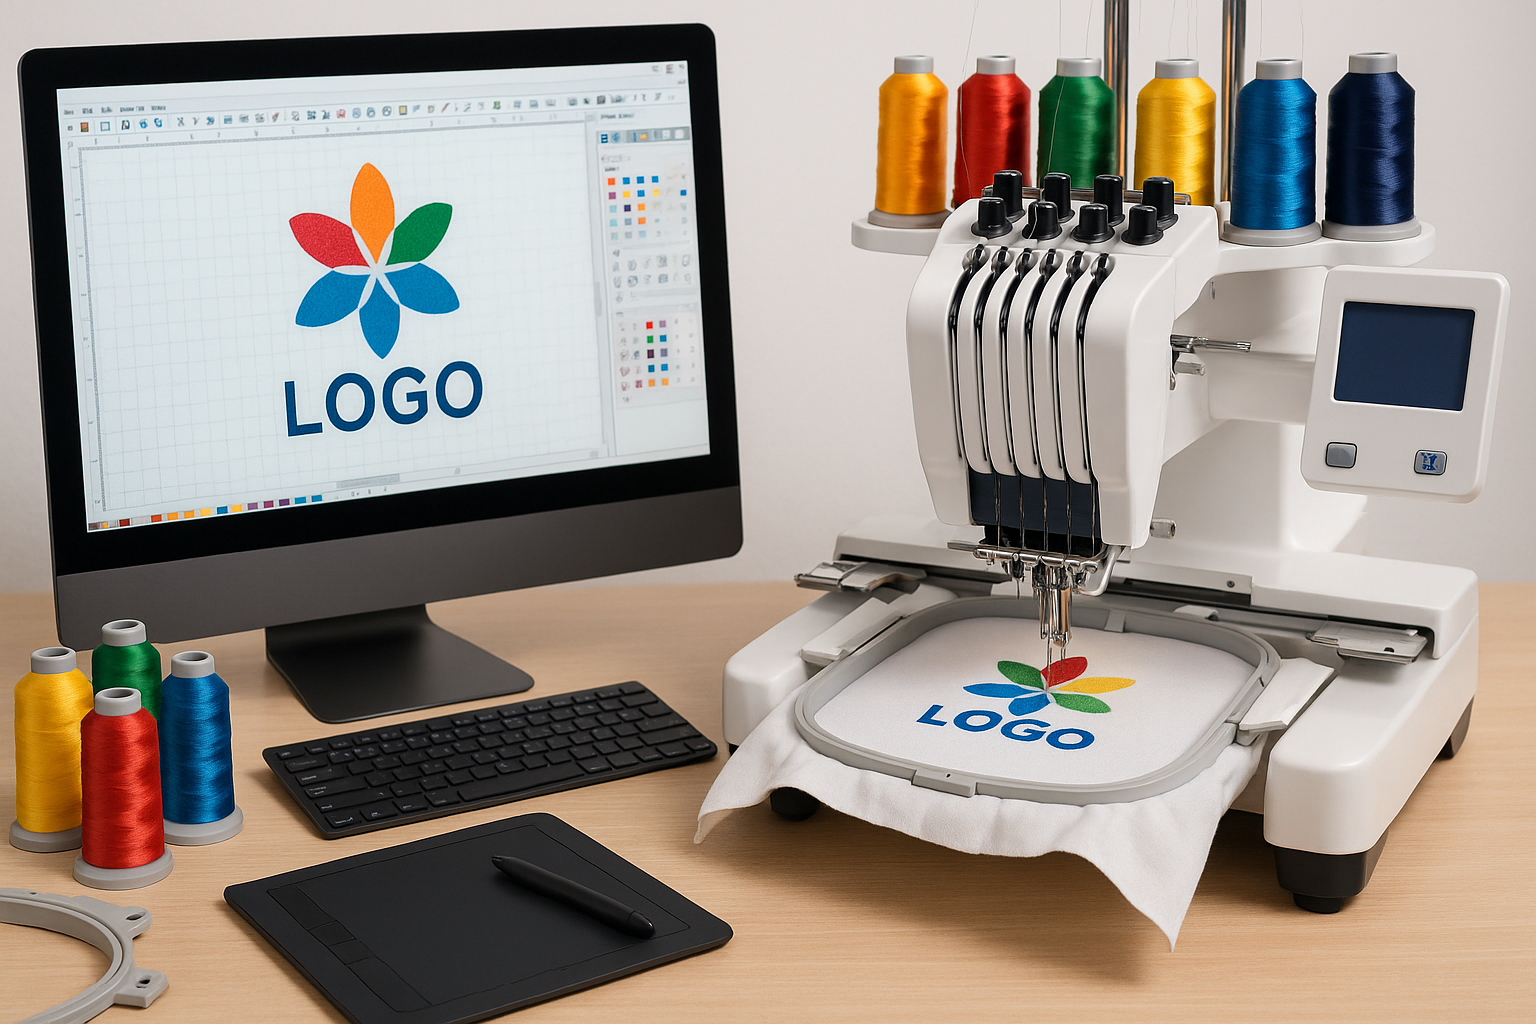
From Artwork to Stitches: How Digitized Files Bring Embroidery to Life

Strong 8k brings an ultra-HD IPTV experience to your living room and your pocket.
Have you ever watched a logo stitch onto a cap and thought, “How does that happen so cleanly?” Well, beneath that polished surface is a carefully crafted digital plan, a digitized embroidery file. In this blog, I’ll walk you through how we turn artwork into stitch files, step by step, in plain English, with real-world stories you can relate to.
Whether you're a promotional product company, a branded merchandise supplier, or a custom apparel business, you'll get a peek behind the curtain. And yes, you’ll learn how proper digitizing for embroidery makes all the difference in quality, consistency, and avoiding headaches down the line.
1. What Is Digitizing for Embroidery?
Digitizing for embroidery is translating artwork into machine instructions. It’s not just uploading a file and clicking a button, it’s more like composing a musical score for a sewing machine. Who decides stitch angles, how dense they are, or the order they happen? A skilled human digitizer.
To us, it’s like turning a painter’s sketch into a stitch-by-stitch recipe. Everything from stitch type (satin, fill, run), density, underlay, and sequencing is deliberate. That thoughtful design ensures your logos come out sharp and dependable, across polos, caps, tote bags—you name it.
2. Artwork First: Get the Right File to Begin
It starts with the artwork. I always say: “Garbage in, garbage out.” If you provide a fuzzy JPEG, small text or thin lines can get distorted or wonky. Whenever possible, get a vector file (.AI, .EPS, .PDF) or at least a high-res PNG. That gives us clean edges and sharp lines.
Here’s a real example: a client once sent us a logo cropped from their website screenshot, tiny and blurred. We digitized it anyway, but when we stitched it on towels, the small leaf pattern looked more like a puddle. Lesson learned: always push for crisp, original artwork.
3. Stitch Planning: Real Thought Goes In
Spline by spline, stitch type by stitch type, that’s where digitizing becomes part art, part engineering. Satin stitches are perfect for bold letters or narrow shapes. Fill stitches handle larger areas of color. Run stitches trace fine line work or small details.
But we also decide the stitch sequence. If you sew the inner letters of “LOGO” before the outer border, you might end up with thread loops or gaps. And we think ahead what fabric will this go on? Stretch denim? Soft cotton? That affects underlay, angle, and tension planning. That’s the kind of expertise that spells embroidery production quality.
4. Stitch Density, Direction & Underlay
• Density: packing stitches too tight stiffens fabric or causes puckering; too loose and the image looks thin or incomplete.
• Direction: changing angles strategically gives dimension and smooth transitions, kind of like shading in illustration.
• Underlay: think of it as a hidden foundation layer, stabilizing the design before the visible stitches go on top. No underlay is like skipping primer before painting, sure, it might look okay at first, but it won’t last.
I once digitized the same heart logo for two fabrics: crisp cotton and stretchy knit. The cotton version used light underlay; the knit needed a denser underlay to prevent bubbling. Two versions, same artwork—different approach.
5. Saving the File: The Digitized Blueprint
Once the planning’s done, we save it in a format your embroidery machine actually reads—like .DST or .PES. That file includes stitch path, color changes, trim points, and spacing—it’s literally the brain of the embroidery job.
If stitch blocks overlap, or trimming is out of sequence, the machine jams, or worse, thread breaks mid-stream. That’s an immediate red flag the digitize file for embroidery needs a second look.
6. Sample Stitch-Out and Feedback
We never push to production without a test run. It’s impossible to predict how every fabric behaves if you skip it. A sample sew lets you spot thread shortages, puckering, tight holes, or even thread break issues early on.
Once, a business called asking why their logo looked thick and stiff on backpacks but fine on polos. The test run revealed excessive density. We dialed it down, and voilà—lighter, more flexible embroidery on the bag.
That back-and-forth is where you build trust, avoid rework, and nail custom logo embroidery consistency.
7. Fixing Thread Breaks and Tension Issues
If thread keeps snapping during production, don’t blame the machine—often, it's a tension or path problem. Maybe the thread is rubbing against trims, or tension is too tight because our path forces too many pull jumps between elements.
In one job, letters were tiny and too close together. The digitizer didn’t give enough space between letter blocks, creating tension spikes during jumps. Solution? Adjust the path, soften the pull, and space things out more—boom, thread breaks disappeared.
8. Machine Maintenance Tips and Troubleshooting
Great digitizing helps—but so does well-maintained equipment. Clean the bobbin case, change needles regularly, and keep lint out of tension discs. Even the best file fails if the machine isn’t cared for.
If production crews report looping or bunching, start with the maintenance checklist. Once you're sure the hardware’s healthy, revisit the digitized file—sometimes a minor tweak in stitch angle or path fixes it for good.
Final Thoughts
At the end of the day, embroidery is about precision—turning art into stitched reality. And the cornerstone of that isn’t the machine, it’s the digitized file. Proper embroidery digitizing services can save time, reduce wasted garments, and make sure every hat, shirt, or bag carries your brand look flawlessly.
There’s no shortcut. Auto-digitizing tools are okay for simple run-throughs, but they miss the nuance. They don’t account for fabric stretch, thread expansion, or machine quirks. Working with a careful digitizer, like the team at PlixaLabs, gets the job done right every time.
Look at your final product: crisp lines, no puckered fabric, consistent logos across textile types. That’s the result of thoughtful, well-crafted digitizing. And that’s what builds trust with your clients, and with end users who wear your custom pieces every day.
Note: IndiBlogHub features both user-submitted and editorial content. We do not verify third-party contributions. Read our Disclaimer and Privacy Policyfor details.


