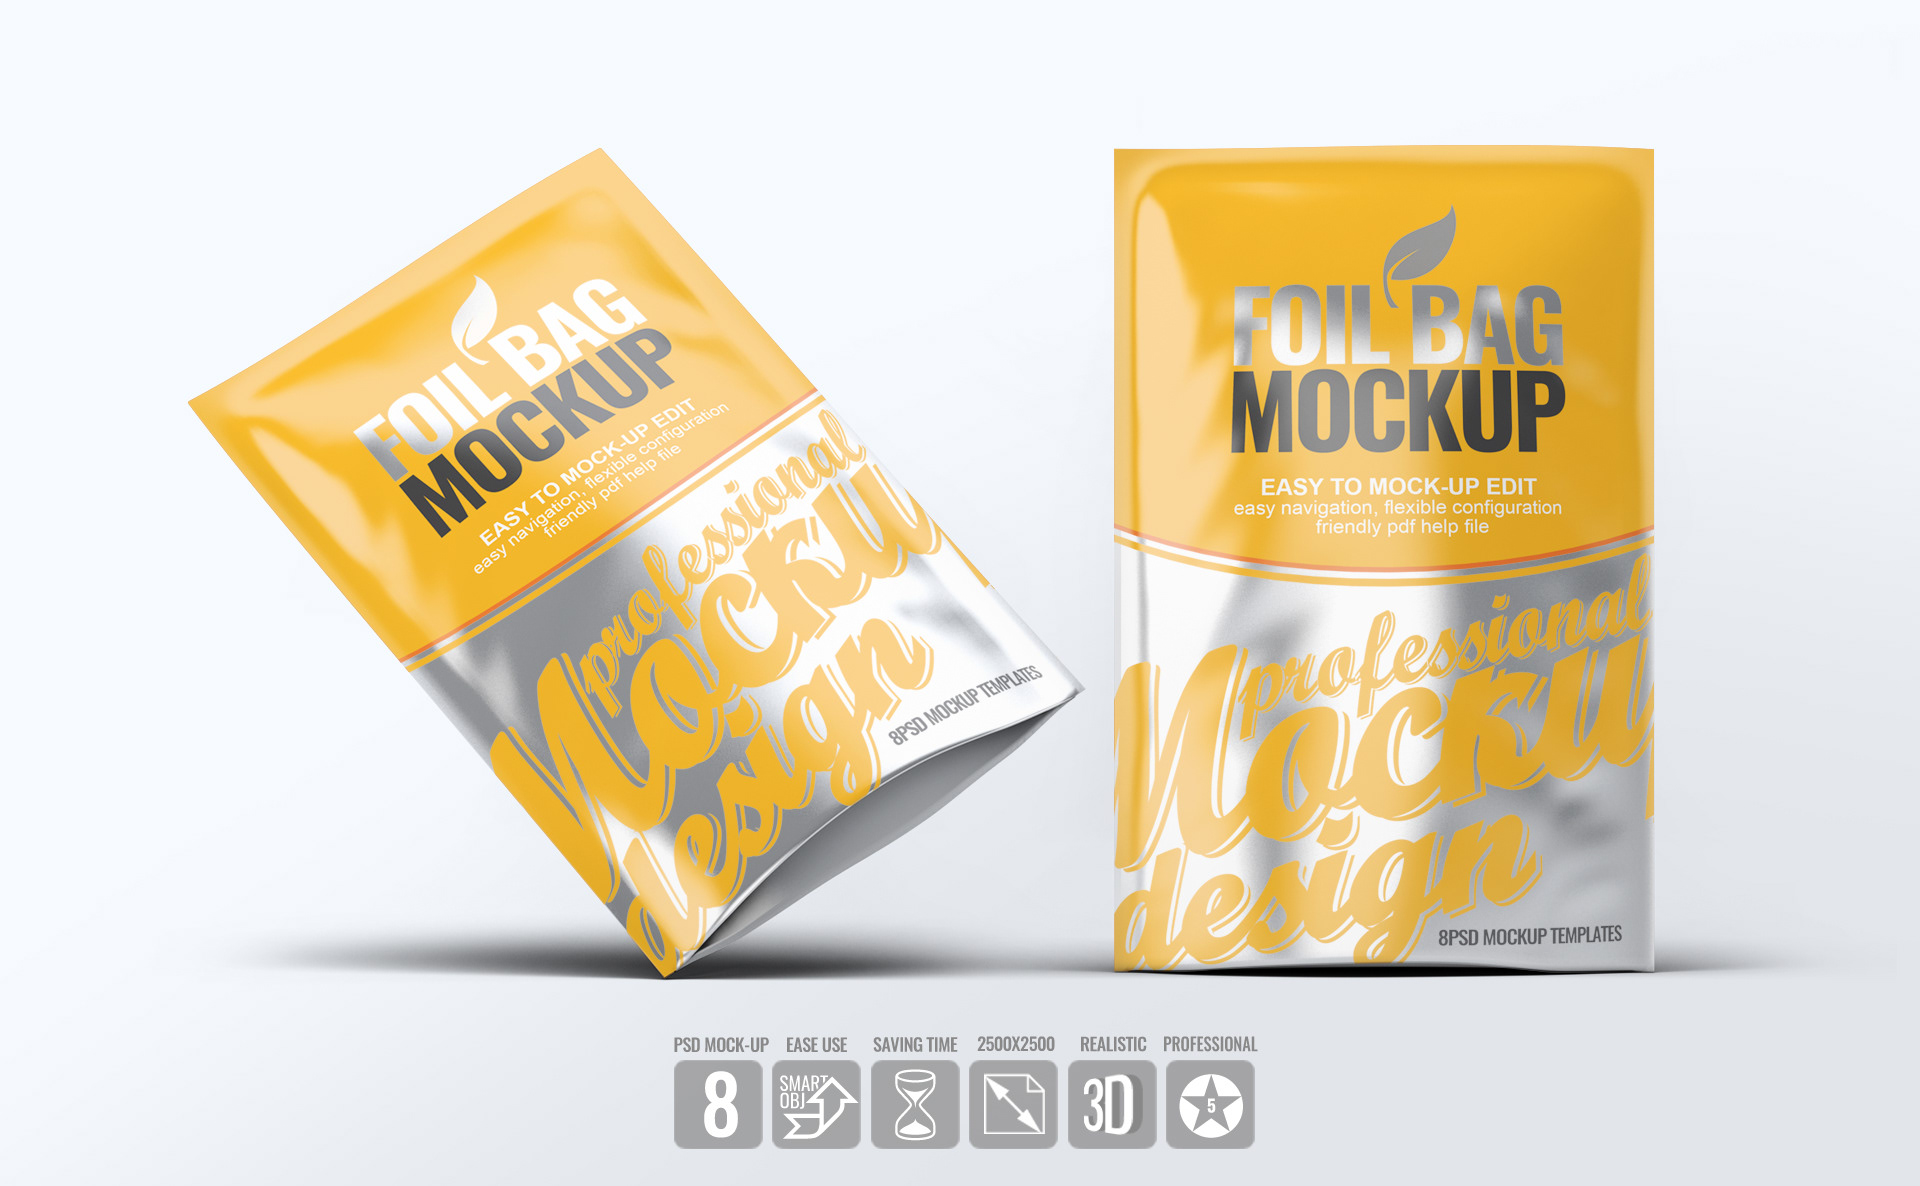
Within the modern world of packaging, Mylar packaging bags end in being efficient and perfect to preserve food as well as non-food items. This is why several businesses and people are relying on these bags to store their goods. However, when it comes to the preservation of any item, it is essential to seal the Mylar bags with care and in a proper manner. To benefit you in this way, read the complete instructions you require to use when sealing your Mylar bags!
Learn to Seal Mylar Bags Correctly
In no way can we deny it, but it is imperative to seal bags properly is important if you plan to utilize Mylar bags.
Furthermore, if you're in a position to seal your Custom die cut Mylar bags correctly and properly, it can keep your items inside while maintaining the highest level of security.
Without more delay follow these ways to seal the mylar bags!
Prepare Materials
Be sure to purchase top quality Mylar bags to store your items
In order to seal properly to assure proper sealing, you'll require mylar bags that are of high quality. In addition, the bags must be the correct size so that they can fit the items you need to store.
Find The right heat sealer
What is the accurate way for sealing mylar bags?
An impulse sealer is the desirable choice here. Because of its capacity for creating heat that melts bags' edges it can make an airtight seal to the Mylar bags.
A proper quantity of oxygen absorbers
In order to remove oxygen from the bag, you'll require the proper amount of absorbers for oxygen.
Follow the steps
In the event that you want to seal a mylar bag correctly it is essential to know the structure of its components. Mylar bags generally have different layers of plastic in and out. In addition, you'll find an aluminum layer in the middle in the bags, which can help greatly in regards to sealing mylar bags to store food items.
Let's begin the process of sealing!
Step 1. ready Your Materials
lways ensure that the items you purchase are dry, clean, and of course dry before putting them in your Mylar bag. In order to store food items You will require oxygen absorbers. With oxygen absorbers, you will be able to keep food from spoiling. Plus it will preserve the freshness of food within.
Step 2: Unlock Your Mylar Bag
For sealing the bag it is necessary to open the top and bottom Mylar bag, and then place the items within. In this process, you must make sure that you be filling the bag until you have enough space to seal it.
Step 3. Fold the Top of your Mylar Bag
Another thing you should do is fold up the top in the backpack. It will grant you with an even and clean smooth surface. Additionally, this pristine surface can benefit you bring off better seal. Additionally, by having the cleanliness of your surface, you will be able to avoid any possible pollution.
Step 4: Set up the Sealer's Heat Sealer
You can now start your instant heater and get it set to the appropriate temperature for Mylar bag's material. To warrant this, it is important to review the instruction manuals of the manufacturer. They'll surely provide advice on the ideal temperature setting to choose. After that, you press on the sealer's arm in order to add heat and pressure on your Mylar bag. Be sure to remain with the sealer for several seconds in order for it to cause the melting of Mylar material.
Step 5: Take a look at the seal
To prevent any error, it is essential to examine the seal of the Mylar bag to warrant that it is sealed properly. In the end, you'll need to warrant that sealing has been correctly done. What's more? It's very simple since you just need to gently pull on the seal. But, before doing so it is important to ensure that the seal in the Mylar bag is tight and airtight. If you find that the seal appears improperly sealed, think about resealing your bag to get more effective results.
Then, what do we do to get rid of air in mylar bags prior the sealing procedure?
Don't doubt because you are able to gently push into your Mylar bag. Start at beginning at the top, then move to the bottom. When you are satisfied the air is eliminated from the bag it is time to make sure that the bags are sealed.
For a brief overview, obviously sealing a bag made of mylar isn't easy. For this reason, if you don't know how or are unfamiliar with sealing Mylar bags, test the sealing procedure by using empty bags. The most important thing is to adhere to the guidelines that are provided by the company who made the device you use to ensure your excellent outcome.
Which Seal Thickness Do You need to use for Mylar Bags?
Understanding how to seal die cut Mylar bags won't be enough if you aren't aware of what thickness the bags need to be sealed with. Mylar bags.
An impulse sealer typically offers either 2mm, 5mm or even 10mm seals. The thicker is usually the more effective. However, you'll be able to modify the size alike to the kind of bag you are together and the product itself.
A 2mm seal is generally just appropriate for bags made of thin plastic. It is important to note that the majority of mylar bags need to be sealed with at minimum a 5mm seal on them. The most important thing is that an 8mm or more seal is typically required to stop the bag from breaking.
Are we able to print onto Mylar Bags?
The majority of the time printing on Mylar bags may be difficult. We all are aware that these bags come with porous and slick surfaces. If you sign together with trusted packaging providers such as Fast Custom Boxes You can get the right information.
This is why we have general guidelines for printing mylar bags
Label Printing Technique
Find out more about the label printing!
Print your design
First thing you need to do is to print your logo onto labels. It is possible to use a conventional printer to do this. One important thing to remember is that the label sheets are available in different dimensions. This is why you should ensure that you select the right size sheet for your label that is a good fit for the cutting-edge Mylar bags.
The cutting procedure
Then, take care to cut all labels printed on the labels. You can then take off the backings of the labels. You can then easily adhere the labels onto the sides of your Mylar bags. Then, press them with force. It will warrant that they are firmly adhered to the Mylar bags.
Direct Printing
hese are the steps you need to be aware of in the direct printing method!
A compatible printer
The first step is to select a printer that is compatible that works with Mylar material. If you aren't sure what you are looking for, opt for Inkjet printers. But, if you're looking to have a good adhesion you will require a printer with special inks and setting.
You can then modify the printer's settings for example:
Paper type you use
Print quality you need
Color calibration
Use high-resolution designs for your artwork
If you want to print your Mylar bag only, be certain that the layout is in high quality. Additionally, the design must be appropriate for the dimensions and weight of your bag.
Printing test practice
Before you begin printing on the real Mylar bags you could try a practice print together regular paper.
If you test printing, it'll be much easier to make sure that the designs and the colors are right.
The mylar bag should be aligned with the printer.
In the process of loading the Mylar bag onto the printer, be sure you have the bags set. Why?
When you position the bag in a proper way to prevent mistakes in printing from happening all during the printing process.
Additionally, be sure that ink has been correctly printed onto on the Mylar surface. Simply put, be aware of the printing speed overall.
However, regardless of the printing technique you decide to use be sure to keep the fact that Mylar bags can be very fragile and delicate. This is why you should handle them cautiously in order to preserve the high top quality of the design you have printed.
Summarising
It is true that sealing Mylar bags in a proper manner is important when it comes in preserving your product over the long run. It is fortunately, there are simple procedures to follow when sealing Mylar bags in a proper and careful manner. So, we hope that this article can benefit to seal your Mylar bags correctly.