Fix a Leaking Roof Fast: Emergency Steps and Permanent Repair Checklist
-

- March 08th, 2026
- 227 views

Get a free topical map and start building content authority today.
When water appears in the attic or on a ceiling, homeowners need clear, practical steps to fix a leaking roof before damage gets worse. This guide explains how to fix a leaking roof quickly and safely, with emergency measures and longer-term repair options so decisions can be made with confidence.
How to Fix a Leaking Roof: Quick Guide and Safety First
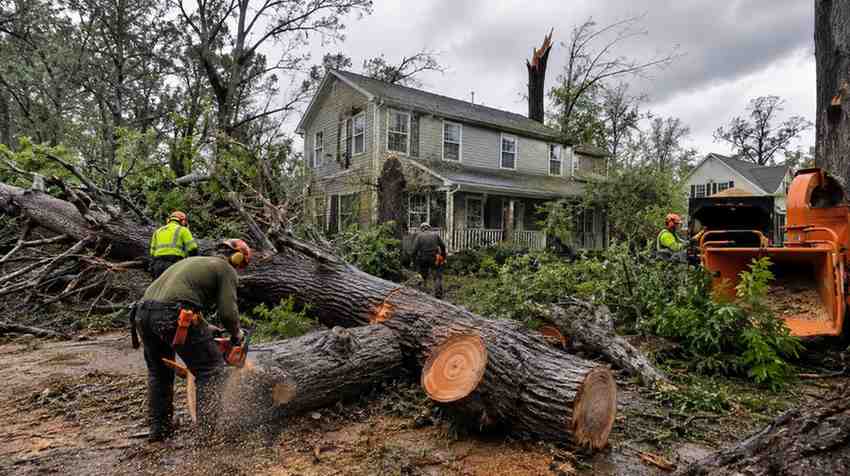
Start by prioritizing safety: do not climb a wet, icy, or high roof alone. If the leak is active, reduce interior damage first—place buckets, move furniture, and protect flooring—and then address the roof. This section covers emergency containment, short-term materials, and when to call a professional.
Emergency containment (first 30–60 minutes)
- Collect water with containers under drips and use towels or plastic sheeting to protect floors and belongings.
- Turn off electricity to affected areas if water is near outlets or fixtures; contact an electrician if unsure.
- If the leak is from a concentrated spot on the ceiling, use a controlled puncture (a small hole) to release water into a bucket to avoid sudden collapse of a bulging ceiling.
Temporary roof repair materials
For immediate roof-side temporary fixes, keep these items on hand: heavy-duty tarpaulin, roofing sealant or roof cement, roofing nails, a roll of flashing tape, and staple gun. These enable a temporary fix until a permanent repair is scheduled. When working on the roof, always use fall protection and a spotter.
STEP-BY-STEP: The STOP-LEAK Checklist (named checklist)
Use the STOP-LEAK checklist to triage and act quickly. STOP-LEAK is a practical, repeatable framework that covers immediate containment through planning permanent repairs.
- Secure interior: move valuables, place buckets, protect floors.
- Turn off power if necessary near wet areas.
- Observe and mark leak paths inside: attic stains, wet insulation, or drips.
- Prevent weather ingress: apply tarp or temporary patch from roof-side.
- -
- Locate source: check shingles, flashing, vents, chimney, and gutters.
- Evaluate damage: rot, mold risk, deck condition, structural concerns.
- Action plan: temporary repair now, schedule permanent fix, document for insurance.
- Keep records: photos, date/time, materials used, repair receipts.
Diagnosing the Leak: How to Find the Source
Finding the leak source requires inspecting common failure points: shingles or tiles, flashing around chimneys and vents, skylights, deteriorated underlayment, and clogged gutters that cause water backup. If interior stains are visible, trace them uphill—water travels along framing and can exit several feet from the entry point.
Inspection steps
- From the attic, look for wet insulation, localized stains, or daylight through the roof deck.
- On the roof (only if safe), check for missing or broken shingles, open seams in flashing, and gaps around pipe boots.
- Inspect gutters and downspouts for blockages that create ice dams or water pooling.
Temporary Roof Repair and When to Schedule Permanent Work
Temporary roof repair is a stopgap to limit damage; use tarps and compatible roofing sealants, but plan for a permanent fix when weather and safety conditions allow. A permanent repair may mean replacing flashing, re-shingling a section, or replacing rotten decking.
Temporary fixes that work
- Use a heavy-duty tarp secured with 2x4s or roofing nails over the leak area to keep water out until a permanent repair.
- Apply roofing cement under a lifted shingle to cover a small gap or cracked shingle edge; use flashing tape for short seams.
- Seal around vents and chimney bases with appropriate high-temp sealant if small gaps are visible.
When to call a professional
Call a licensed roofing contractor if the roof pitch is steep, the leak is extensive, decking is sagging, or if there is structural or electrical risk. For guidance on best practices in roofing, refer to industry standards such as resources from the NRCA.
Practical Tips: 5 Actionable Points
- Use the STOP-LEAK checklist immediately—prioritize interior protection before roof work.
- Keep a tarp and roof cement in a weatherproof kit for quick temporary repairs after storms.
- Photograph damage for insurance and to track whether repairs stop recurrence.
- Inspect roofs twice a year (spring and fall) and after major storms to catch problems early.
- Address attic ventilation and insulation issues—condensation can mimic leaks and cause roof deck rot.
Common Mistakes and Trade-offs
Common mistakes
- Applying multiple temporary fixes repeatedly without planning a permanent repair—this can hide rot and make later repairs more expensive.
- Climbing on a roof in unsafe conditions or without fall protection—this increases injury risk.
- Assuming a roof patch is permanent—some materials (like roofing cement) are short-term solutions only.
Trade-offs to consider
Temporary repairs are quick and low-cost but may mask underlying damage; permanent repairs cost more upfront but restore the roof system and prevent recurring leaks. Choosing a contractor sooner increases cost but reduces interior repair bills and mold risk later.
Short Real-World Scenario
After a summer storm, a homeowner noticed a small water stain on an upstairs bedroom ceiling. Using the STOP-LEAK checklist: a bucket was placed, the attic was inspected to find wet insulation near a vent flashing, a tarp was applied over the roof area to stop further water entry, photos were taken for insurance, and a contractor was scheduled to replace the vent flashing and surrounding shingles. The quick temporary fixes prevented interior damage from expanding while allowing time to arrange a proper repair.
Core cluster questions
- What are the quickest temporary fixes for an active roof leak?
- How can a homeowner locate the exact source of a roof leak?
- When should a leaking roof be repaired versus replaced?
- How does attic ventilation affect roof leaks and rot?
- What information does an insurance claim need for roof leak damage?
Final checklist before permanent repair
- Document existing damage and temporary measures.
- Confirm roof deck condition and structural integrity.
- Get written estimates that describe scope, materials, and warranty.
- Schedule repairs during dry weather and verify permits if required.
Next steps
Use the STOP-LEAK checklist now to stabilize the situation, then prioritize a permit-inspected permanent repair if decking or flashing is compromised. Keep records and photos to support insurance if interior damage occurred.
FAQ: How quickly should I fix a leaking roof?
Fix a leaking roof as soon as possible—start with emergency containment immediately and arrange either a temporary roof repair or a permanent fix within days, depending on severity and weather. Prompt action limits interior and structural damage.
FAQ: Can a tarp be a long-term solution for a roof leak?
No. A tarp protects against immediate water entry but is a temporary measure. Tarps can fail in wind, UV, or heavy snow. Use a tarp only to buy time for a permanent repair.
FAQ: What is the cheapest effective way to stop a roof leak temporarily?
Applying a heavy-duty tarp securely over the leak area and using roofing cement or flashing tape for small, accessible gaps are the most cost-effective temporary measures. Balance cost with safety—never attempt risky roof access alone.
FAQ: How do inspectors usually confirm the source of a roof leak?
Inspectors check attic stains, feel for wet insulation, examine shingles and flashing, and may simulate rain or use infrared imaging to locate leaks. Accurate diagnosis avoids unnecessary repairs.
FAQ: Should mold remediation be done after fixing a leaking roof?
Yes, if water exposure led to visible mold or persistent dampness, address mold promptly as part of the repair process. Proper drying, insulation replacement, and ventilation improvements often accompany mold remediation.