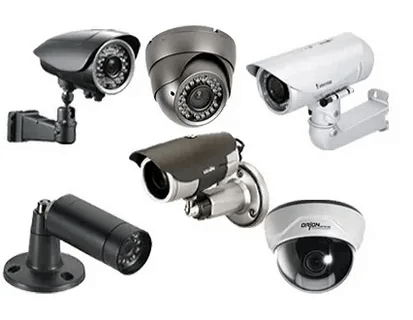
How to Install a Bullet Camera for Maximum Coverage?
Strong 8k brings an ultra-HD IPTV experience to your living room and your pocket.
Introduction to Bullet Camera Installation
Bullet cameras are a popular choice for both home and office security systems due to their effective surveillance capabilities and durable design. Installing a bullet camera correctly can provide maximum coverage and ensure that your property is well-monitored. Whether you're looking to enhance the security of your home or monitor the perimeter of a commercial space, proper installation is key to getting the best results from your bullet camera. For expert advice and high-quality products, you can visit an Electronic shop in Dubai, where you’ll find a variety of bullet cameras suited for all security needs.
In this guide, we’ll cover the essential steps and considerations for installing a bullet camera for maximum coverage. By the end of the article, you will understand the best practices for camera placement, the equipment you'll need, and how to ensure your system is set up for optimal performance.
Understanding the Bullet Camera
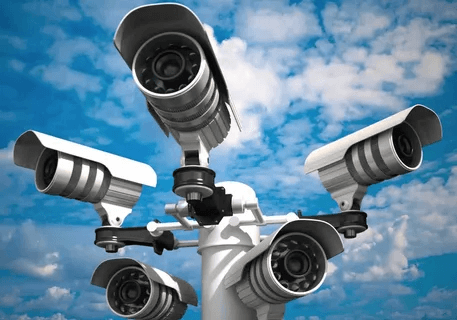
Before diving into the installation process, it’s important to understand the features of a bullet camera. Bullet cameras are typically cylindrical in shape, making them easy to mount on walls or ceilings. They are designed for long-range surveillance, capturing a focused, narrow view, which makes them ideal for monitoring large areas like driveways, parking lots, or the exterior of your home or office.
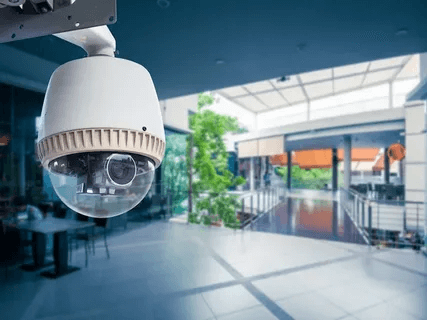
The ability to adjust the camera’s angle allows for precise monitoring of specific areas. Additionally, most bullet cameras are equipped with features such as high-definition resolution, infrared night vision, and weatherproof housing, which make them versatile for both indoor and outdoor use.
Planning the Camera Placement for Maximum Coverage
The first step in ensuring your bullet camera provides maximum coverage is choosing the right location. The placement of the camera determines the field of view, the quality of the footage, and the overall effectiveness of your surveillance system.
Start by identifying the areas you want to monitor. For example, if you're securing the perimeter of your home, you should focus on entry points such as doors, windows, and driveways. For office security, ensure that you cover entrances, exits, parking lots, and any other vulnerable areas. Keep in mind that bullet cameras are most effective when placed in a way that allows them to capture a wide field of vision without obstruction.
Consider the height at which you mount your camera. Placing it too high might limit the detail in the footage while placing it too low could result in blind spots. The ideal height is typically around 8 to 10 feet, providing both a broad field of view and clarity in identifying faces and license plates.
Ensuring a Clear Line of Sight
For the best coverage, ensure that your bullet camera has a clear line of sight. Avoid placing the camera in areas where trees, large objects, or walls could block its view. If your property has tall shrubs or other obstructions, trim them to maintain an unobstructed view. This will ensure that the camera captures everything within its field of vision, preventing any blind spots.
When positioning the camera outdoors, take note of factors such as sunlight and glare. Direct exposure to sunlight can wash out the image, making it difficult to see details. Position the camera in a way that avoids direct sunlight or use a camera with features like wide dynamic range (WDR) to adjust for varying lighting conditions.
Mounting the Bullet Camera
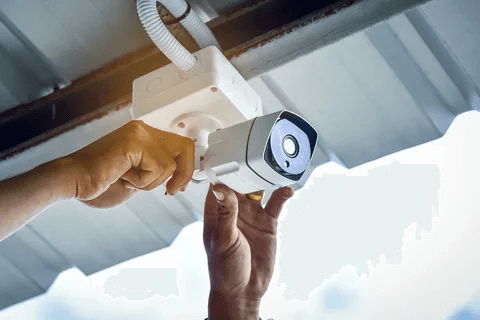
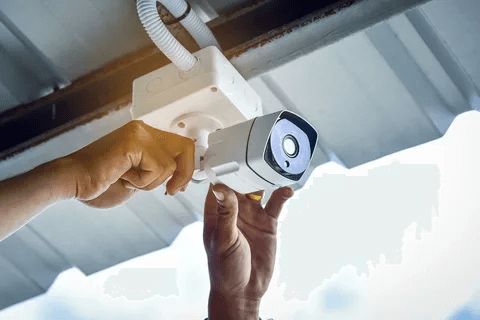
Once you've selected the optimal location for your bullet camera, the next step is mounting it securely. Most bullet CCTV cameras come with a mounting bracket that allows for easy installation. Start by marking the spots where you’ll drill the holes for the camera mount. Ensure that the surface is sturdy enough to support the weight of the camera.
For outdoor installation, use screws and anchors designed for outdoor use to prevent rust or weather-related damage. If the camera is to be mounted on a brick or concrete wall, consider using masonry anchors to ensure a strong hold. After drilling the holes, mount the bracket securely and attach the camera to the bracket.
Make sure the camera is angled correctly. Bullet cameras are designed to be adjustable, so take your time to fine-tune the angle for optimal coverage. Depending on your camera model, you may be able to adjust the angle horizontally and vertically to achieve the best view of your targeted area.
Wiring the Bullet Camera
After mounting the camera, the next step is connecting it to the power source and video feed. Bullet cameras can either be wired or wireless, and the process for each differs slightly. If you're installing a wired bullet camera, you’ll need to run the cables from the camera to your monitoring system. This may involve drilling small holes to pass the cables through walls or ceilings.
For outdoor wiring, ensure that the cables are weatherproof and properly insulated. Exposed cables are vulnerable to damage from the elements, so it’s important to protect them by using cable conduits or running them through walls when possible.
If you're installing a wireless bullet camera, the process is much simpler, as it requires no cables. Instead, you will connect the camera to your home or office Wi-Fi network, which allows for remote monitoring through a smartphone or computer.
Testing the Camera and Adjusting the Settings
Once your bullet camera is mounted and wired, it's time to test its functionality. Access the camera’s live feed to check for any blind spots or areas that are not being captured effectively. Use the camera’s angle adjustment features to tweak the view and ensure full coverage of the area.
In addition to physical adjustments, you can also fine-tune the camera’s settings. Adjust the resolution for optimal video clarity and enable features like motion detection alerts or infrared night vision. Depending on your camera, you may also be able to adjust the sensitivity of the motion sensor, helping to avoid false alarms from small animals or passing cars.
Regular Maintenance and Monitoring
To ensure that your bullet camera continues to provide maximum coverage, it's important to perform regular maintenance. Clean the camera lens periodically to remove dust, dirt, or cobwebs that may obstruct the view. Check the camera’s housing to ensure that it's free from damage and securely mounted.
Regularly test the camera to confirm that it is still positioned correctly and functioning properly. Monitoring the camera feed is essential for ensuring that it is capturing clear footage and providing the protection you need. If any issues arise, such as poor video quality or connectivity problems, troubleshoot the system promptly.
Conclusion
Installing a bullet camera for maximum coverage requires careful planning, precise installation, and regular monitoring. By following these steps, you can ensure that your surveillance system offers reliable security for your home or office. Proper camera placement, clear line of sight, secure mounting, and correct wiring are all essential factors in getting the most out of your bullet camera.
With the right setup and regular maintenance, your bullet camera will provide you with comprehensive surveillance and peace of mind, knowing that your property is well-protected at all times. Whether you are securing your home or enhancing office security, a properly installed bullet camera system is an invaluable tool for maintaining safety.
Note: IndiBlogHub features both user-submitted and editorial content. We do not verify third-party contributions. Read our Disclaimer and Privacy Policyfor details.


