How to Install Wall Shelves Like a Pro | Wooden Street
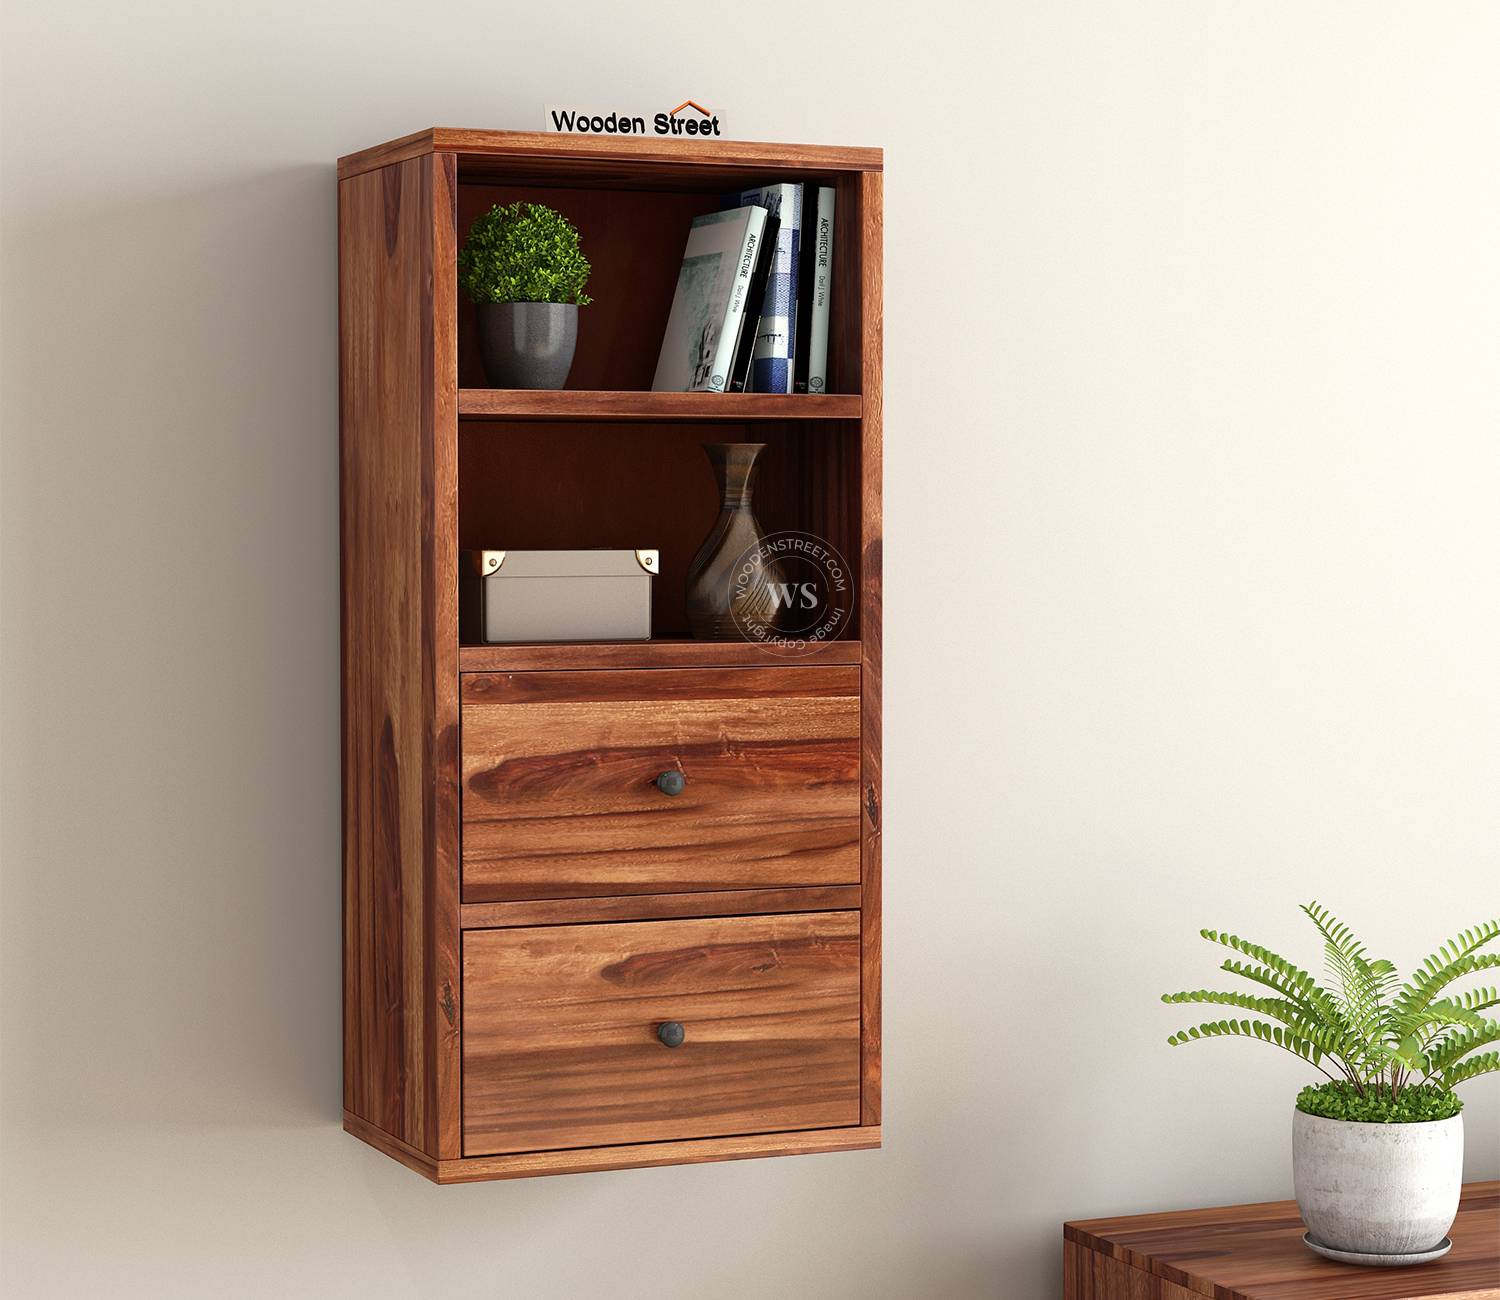
Wall shelves are a fantastic way to add both functionality and style to any room. Whether you're displaying books, decor, or kitchen essentials, properly installed shelves can transform a space. If you're looking for a sturdy and aesthetically pleasing option, wooden street-style shelves—inspired by rustic, urban designs—can bring a warm, natural touch to your home.
In this guide, we’ll walk you through the step-by-step process of installing wall shelves like a professional, ensuring they are secure, level, and visually appealing.
Tools & Materials You’ll Need
Before you begin, gather the following:
- Wooden shelves (choose reclaimed wood for a "wooden street" rustic look)
- Wall brackets or floating shelf hardware
- Stud finder
- Level
- Measuring tape
- Pencil
- Drill & drill bits
- Screws & wall anchors (if no studs are available)
- Screwdriver
- Sandpaper (for smoothing rough edges)
- Wood stain or paint (optional, for customization)
- Step 1: Choose the Right Shelf & Location
- Selecting the Shelf
- For a wooden street aesthetic, opt for shelves made from reclaimed wood or distressed finishes. These add character and a rugged, urban charm.
- Finding the Perfect Spot
- Consider the room’s layout and purpose (e.g., living room display, kitchen storage).
- Ensure the wall can support the shelf’s weight.
- Avoid placing shelves where they might obstruct movement.
Step 2: Locate Wall Studs
- For maximum stability, shelves should be anchored into wall studs (the wooden beams behind drywall).
- Use a stud finder to locate studs.
- Mark their positions lightly with a pencil.
If no studs are available, use heavy-duty wall anchors to support the weight.
Step 3: Measure & Mark Shelf Placement
- Decide on the shelf height and spacing (if installing multiple shelves).
- Use a measuring tape and level to mark where the brackets will go.
- Lightly pencil the spots where screws will be inserted.
Pro Tip: For a staggered, asymmetrical look (common in urban street-style decor), vary the shelf heights slightly.
Step 4: Install Brackets or Floating Shelf Hardware
For Bracketed Shelves:
- Hold the bracket against the wall, aligning it with your pencil marks.
- Pre-drill holes to prevent wood or drywall from splitting.
- Secure the bracket with screws, ensuring it’s level.
For Floating Shelves:
- Insert the mounting hardware into the shelf first.
- Drill the hidden bracket into the wall studs.
- Slide the shelf onto the bracket and tighten any set screws.
Step 5: Attach the Shelf
- Place the wooden shelf onto the brackets.
- Secure with screws (if required).
- Double-check that the shelf is level before final tightening.
For a wooden street look:
- Leave natural imperfections or sand edges for a worn-in appearance.
- Consider staining the wood with a dark walnut or weathered gray finish.
Step 6: Style Your Shelf
Now for the fun part—decorating!
- For a rustic street vibe: Use metal accents, vintage books, and potted plants.
- For a modern twist: Mix industrial elements like black iron brackets with wooden textures.
- For functionality: Store kitchen spices, office supplies, or bathroom essentials.
Final Tips for a Professional Finish
✅ Check for levelness multiple times—crooked shelves are noticeable.
✅ Reinforce heavy shelves with extra brackets or anchors.
✅ Sand and seal raw wood to prevent splinters and enhance durability.
✅ Experiment with layouts—floating shelves look great in clusters.
Conclusion
Installing wall shelf doesn’t have to be intimidating. With the right tools, careful measurements, and a touch of creativity, you can achieve a professional look—especially with wooden street-style shelves that add warmth and urban charm.
Whether you’re going for a rustic, industrial, or modern aesthetic, well-installed shelves can elevate your space while providing practical storage. So grab your tools, pick out some beautiful reclaimed wood, and start building your dream shelves today!
Note: IndiBlogHub features both user-submitted and editorial content. We do not verify third-party contributions. Read our Disclaimer and Privacy Policyfor details.

