How to Take the Perfect PAN Card Photo: A Complete Guide

Strong 8k brings an ultra-HD IPTV experience to your living room and your pocket.
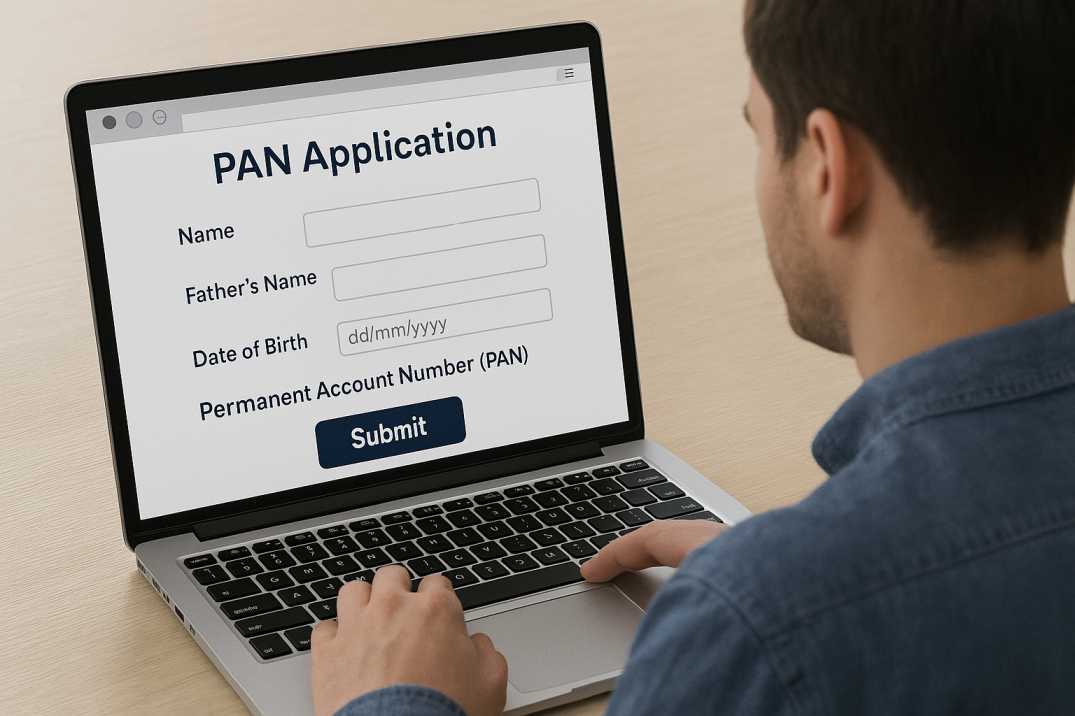
A PAN card photo plays a crucial role in the application process, as any error in size, clarity, or background can lead to rejection. Whether you’re applying for a new PAN card or updating an existing one, ensuring the correct photo specifications is essential. This guide will help you understand the PAN card photo requirements and how to edit them easily.
PAN Card Photo Requirements
The Income Tax Department of India has specific guidelines for PAN card photos. Here are the key requirements:
1. Photo Size
Dimensions: 3.5 cm × 2.5 cm (35mm × 25mm)
Resolution: At least 600 DPI for clarity
2. Background & Lighting
Background: Plain white or light-colored background
Lighting: No harsh shadows; well-balanced lighting
No Accessories: Avoid hats, sunglasses, or headgear (except for religious reasons)
3. Facial Expression & Pose
Face Position: Centered, with eyes looking straight at the camera
Expression: Neutral, no smiling or frowning
No Shadows: Make sure there are no dark patches on your face
How to Resize and Edit Your PAN Card Photo
Many applicants struggle with getting the right photo dimensions. Instead of manually adjusting the image, you can use an online tool for precise resizing.
💡 Use the PAN Card Photo Resizer to adjust your photo size effortlessly. This tool ensures your photo meets all PAN card specifications, avoiding rejection due to incorrect dimensions.
Common Mistakes to Avoid
Incorrect Size – Using a wrong-sized photo can delay your PAN card application.
Blurred Image – Always use a high-resolution image.
Dark Backgrounds – Only white or light-colored backgrounds are allowed.
Poor Lighting – Avoid shadows on your face.
Face Not Centered – Ensure your face is properly aligned within the frame.
Low-Quality Prints – Avoid pixelated or grainy prints, as they may be rejected.
Step-by-Step Guide to Taking the Perfect PAN Card Photo
Step 1: Set Up a Proper Background
Stand against a plain white or light-colored wall.
Ensure even lighting to avoid shadows on your face or background.
Step 2: Position Yourself Correctly
Look directly at the camera with your face centered.
Keep your eyes open and mouth closed with a neutral expression.
Step 3: Take the Photo
Use a high-resolution camera or a smartphone with a good-quality camera.
Make sure there is no glare on your face or eyeglasses (if worn).
Step 4: Edit and Resize Your Photo
Crop and resize the image to 3.5 cm × 2.5 cm (35mm × 25mm).
Adjust brightness and contrast if needed.
Convert to JPEG/JPG format, ensuring the file size is under 200 KB.
You can use the PAN Card Photo Resizer for quick and accurate resizing.
Step 5: Upload the Photo Correctly
While applying for a PAN card online via NSDL or UTIITSL, upload the correctly formatted image.
Double-check the preview before final submission.
Why a Proper PAN Card Photo Matters
A properly formatted photo ensures:
Faster processing of your PAN card application.
No rejection due to incorrect size or background.
Compliance with government norms, avoiding unnecessary resubmissions.
Conclusion
A correctly formatted PAN card photo is essential for a hassle-free application process. Avoid common mistakes, follow the proper guidelines, and use a resizing tool to make your task easier.
For a quick and easy way to format your photo, try the PAN Card Photo Resizer to ensure compliance with official guidelines.
For more tips on PAN card applications, stay tuned to our blog!
Note: IndiBlogHub features both user-submitted and editorial content. We do not verify third-party contributions. Read our Disclaimer and Privacy Policyfor details.


