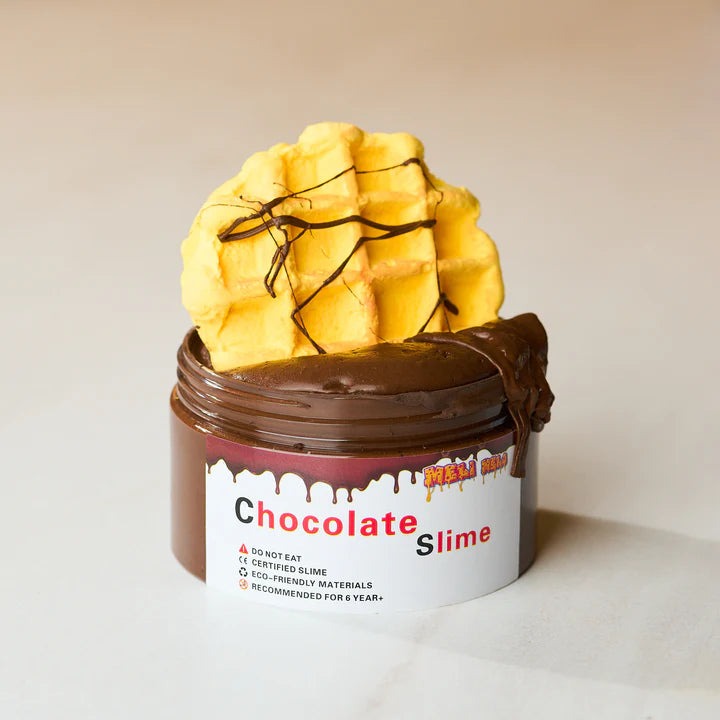
How To Use Slime Kit

Slime making is a creative and enjoyable activity that has gained popularity over the years, especially among kids. If you're wondering how to get started with a slime kit, this article is your ultimate guide! Whether you're new to slime-making or an experienced pro, we will walk you through each step to ensure you create the perfect slime every time. So, gather your materials and let's dive in! Explore more how to use slime kit
What Is a Slime Kit?
A slime kit is a package that contains all the necessary ingredients to make different types of slime. These kits often include glue, activator (like borax solution or saline solution), food coloring, glitter, and other fun add-ins like beads, foam balls, or scents. The beauty of a slime kit is that it simplifies the process by providing all the required components, making it easier for anyone to create their own customized slime.
Essential Ingredients in a Slime Kit
Before you start, let’s take a look at the typical ingredients you’ll find in a slime kit:
Glue: The base for making slime, usually white or clear. This is the primary ingredient that gives your slime its consistency.
Activator: A solution (often saline or borax-based) that helps the slime form and gives it the right texture.
Coloring and Glitter: Optional but adds a creative touch to your slime. You can use food coloring or glitter for extra flair.
Add-ins: Some kits come with foam beads, charms, or even scents to make your slime even more fun and unique.
Step-by-Step Guide to Using a Slime Kit
Now that you know what’s inside your slime kit, let's go over how to use it!
Step 1: Prepare Your Workspace
Before you start, it’s essential to set up a clean, flat surface. Slime can get messy, so make sure you lay down some newspaper, parchment paper, or a disposable tablecloth to protect your workspace.
Step 2: Pour the Glue
Start by pouring the glue from your slime kit into a mixing bowl. If you’re using a clear glue, you’ll have a translucent slime, and if you’re using white glue, your slime will have an opaque appearance. Most kits provide around 4-6 ounces of glue, which is enough to make a decent-sized batch of slime.
Step 3: Add Food Coloring or Glitter
If you want to make your slime more vibrant, this is the perfect time to add a few drops of food coloring. Mix it in thoroughly to achieve the desired color. You can also sprinkle in some glitter or add any other fun items your kit includes. Get creative and make your slime truly your own!
Step 4: Mix in the Activator
Now it’s time to activate the glue. Gradually add the activator to your glue mixture, stirring constantly. Most kits recommend a small amount of activator to start with and adding more if needed. You’ll notice the slime beginning to thicken and pull away from the sides of the bowl. Keep stirring until the slime starts to come together and form into a mass.
Step 5: Knead the Slime
Once the slime starts forming, take it out of the bowl and begin kneading it with your hands. This step is crucial, as it helps the slime reach the perfect consistency. If the slime feels too sticky, add a little more activator. If it feels too rubbery, you can try adding a bit more glue.
Step 6: Add Fun Extras
If your kit came with foam beads or other fun textures, now is the time to incorporate them into your slime. Gently fold them in with your hands, making sure not to overwork the slime.
Troubleshooting Common Slime Problems
If you run into issues during the slime-making process, don’t worry! Here are a few common problems and how to solve them:
Slime is too runny: Add more activator, but be careful not to add too much at once. Start with a few drops and stir thoroughly.
Slime is too stiff: If your slime feels hard and difficult to stretch, try adding a little more glue or a few drops of water to loosen it up.
Slime is too sticky: Knead it for a longer time or add a little more activator. Be patient and keep working with it until you achieve the perfect texture.
Cleaning Up After Making Slime
Slime can be sticky, so it's important to clean up promptly. Make sure to wash your hands well after handling slime, as it can sometimes leave residue behind. Wipe down your surfaces with a damp cloth and dispose of any disposable materials used. It’s also a good idea to store your slime in an airtight container to keep it fresh for longer.
Conclusion
Using a slime kit is a fun, simple, and rewarding activity that can bring hours of entertainment. Whether you’re making slime for the first time or a seasoned expert, following the proper steps ensures your creation turns out perfect every time. With the right ingredients and a little creativity, you can make a variety of slimes—each with its own unique texture, color, and additions. So, grab a slime kit today and start crafting your custom slime masterpiece!
Note: IndiBlogHub features both user-submitted and editorial content. We do not verify third-party contributions. Read our Disclaimer and Privacy Policyfor details.


