Invoice Receipt Template for Google Docs: A Comprehensive Guide
-

- May 12th, 2026
- 5,539 views

FREE SEO Topical Map Generator: Find Your Next Content Ideas
In the world of business, keeping accurate records is essential for maintaining a smooth workflow and complying with financial regulations. One of the most common documents used to track financial transactions between businesses and their clients is an Invoice Receipt Template for Google Docs. This document serves as proof of payment and helps both parties keep track of financial dealings for accounting and tax purposes.
In this article, we will explore the concept of an invoice receipt template, its importance, how to create one in Google Docs, and the various features you should consider when designing a receipt template that meets your business needs.
What Is an Invoice Receipt?
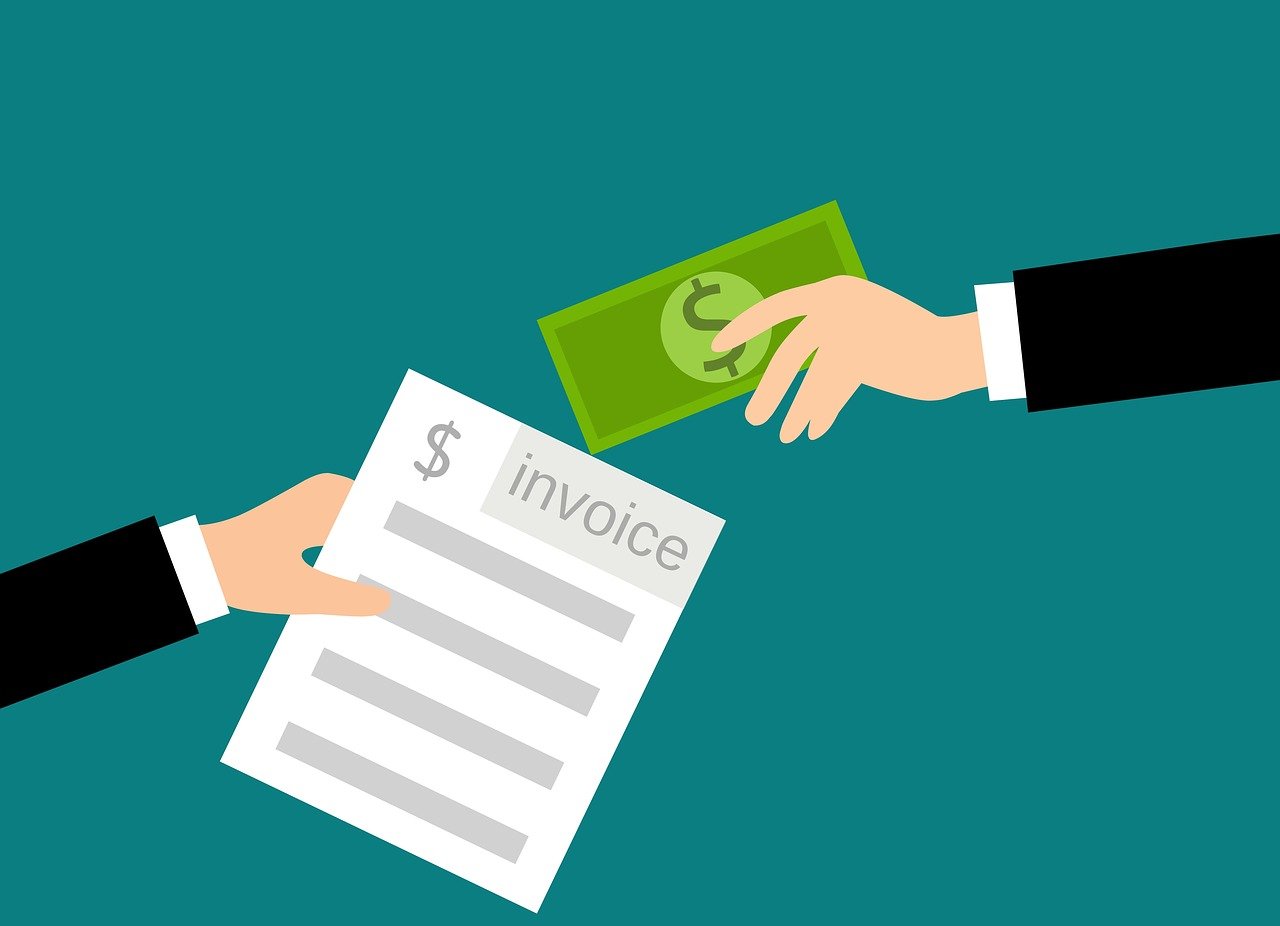
An invoice receipt is a document issued by a seller to a buyer after a transaction has been completed. It provides detailed information about the sale, including the products or services sold, the amount paid, payment methods, and the date of the transaction. An invoice receipt serves as proof that the buyer has paid for the goods or services received.
An invoice receipt typically includes the following information:
- Receipt number: A unique identifier for the receipt.
- Date of transaction: The date the payment was made.
- Seller's contact information: The seller’s name, address, phone number, and email.
- Buyer's contact information: The buyer's name, address, and phone number (if applicable).
- Description of the goods or services: A brief summary of the products or services purchased.
- Payment amount: The total amount paid by the buyer.
- Payment method: The method of payment, such as credit card, cash, check, or bank transfer.
- Tax information: Any applicable sales tax and the total tax amount.
- Invoice total: The total amount after tax, if applicable.
While invoices typically serve as a request for payment, invoice receipts are proof that payment has been made. It is important for businesses to issue accurate and clear receipt templates to ensure both parties can verify the transaction for their records.
Why Use an Invoice Receipt Template in Google Docs?
Google Docs provides an easy, cloud-based platform for creating, editing, and sharing documents. Using an invoice receipt template in Google Docs offers several benefits:
- Convenience and Accessibility: Google Docs is accessible from any device with an internet connection, which means you can create and manage your invoice receipts from anywhere, at any time.
- Collaboration: Google Docs allows for real-time collaboration. You can easily share your invoice receipt template with team members or clients, ensuring that everyone involved has access to the latest version.
- Customization: Google Docs allows you to fully customize your invoice receipt template to match your business’s branding, adding logos, colors, and fonts to make your receipts look professional.
- Cloud Storage: Google Docs automatically saves your document in Google Drive, providing a secure cloud storage solution. This helps you avoid losing important records and enables you to search and organize invoices easily.
- Free: Google Docs is free to use, which makes it a great option for small businesses or freelancers who are looking to create professional invoice receipts without incurring additional costs.
How to Create an Invoice Receipt Template in Google Docs
Creating an invoice receipt template in Google Docs is relatively simple. Follow these step-by-step instructions to create a template from scratch or use a pre-designed template that you can customize.
1. Open a New Document in Google Docs
Start by opening a new document in Google Docs:
- Go to docs.google.com.
- Click on the “+” button to create a new blank document.
2. Set Up Your Header
Your invoice receipt header should include the following information:
- Your business name: Clearly display your company name at the top of the page. You can make this bold or larger in font size to make it stand out.
- Your business logo: If you have a company logo, insert it in the header. This helps to reinforce your brand image.
- Your contact information: Include your business address, phone number, email address, and website (if applicable). This will make it easy for your clients to reach out if they have any questions.
3. Add the Date and Receipt Number
Next, include the date of the transaction and the receipt number. These are important for tracking and reference purposes.
- Date: Write the date when the payment was received. This helps you and your clients keep track of when the transaction occurred.
- Receipt Number: This number should be unique to each transaction to ensure that each receipt can be easily identified. You can create a numbering system that suits your business needs (e.g., REC-001, REC-002, etc.).
4. Add Client Information
After the receipt number, include a section for the buyer's information. This is especially useful for businesses with recurring customers or clients. You may want to include the following fields:
- Client name: The name of the buyer or the business.
- Client address: The buyer’s address, if necessary.
- Client contact information: Phone number or email address for any follow-up or customer support.
5. List Products/Services and Payment Details
This section provides a breakdown of the transaction. Include the following information:
- Description of products/services: List the items or services that the client purchased.
- Quantity: If applicable, note how many items or hours of service were provided.
- Unit price: The cost per unit of each item or service.
- Subtotal: Multiply the quantity by the unit price to get the subtotal for each item.
- Sales tax: If applicable, calculate the sales tax based on your local tax rate.
- Total amount paid: Add the subtotal and the sales tax to arrive at the final total amount.
This section gives clients a clear understanding of how the total was calculated.
6. Specify Payment Method
In this section, detail how the payment was made. Some common payment methods include:
- Credit card
- Debit card
- PayPal
- Bank transfer
- Cash
- Check
Clearly stating the payment method helps provide transparency and allows both parties to verify the transaction.
7. Include a “Thank You” Note
A brief thank-you message at the end of the receipt adds a personal touch and reinforces positive customer relations. A simple note such as "Thank you for your business!" is enough to show appreciation and build goodwill.
8. Save and Customize Your Template
Once your invoice receipt template is complete, you can save it as a template. Google Docs allows you to create a template in Google Drive by organizing your documents in specific folders.
- Save your document: Click on “File” and select “Save As.” You can save it as a template or use it for individual transactions.
- Customize your template: If you plan to use this template for multiple receipts, make sure to leave placeholders or blank lines where specific details (such as receipt number, client name, and amount) will go.
Tips for Designing an Effective Invoice Receipt Template
- Keep it clean and professional: A cluttered receipt can confuse clients and make it harder to locate important information. Stick to a simple, professional design.
- Use clear fonts: Choose legible fonts for readability. Sans-serif fonts like Arial or Helvetica work well for business documents.
- Include clear headings: Use headings like “Products/Services,” “Total Amount,” and “Payment Method” to separate sections and make the document easier to navigate.
- Ensure accuracy: Double-check all calculations and client information to avoid any discrepancies.
- Be consistent: Use the same format for all receipts to maintain consistency in your business operations.
Conclusion
An invoice receipt template in Google Docs is a convenient and effective tool for businesses of all sizes. It allows you to create professional, accurate receipts that ensure smooth transactions and proper documentation for accounting and tax purposes. By following the steps outlined above and customizing your template to meet your needs, you can create an efficient receipt system that enhances your business's financial management.