 DA 50+ Guest Posts – Get Featured on Real Authority Blogs!
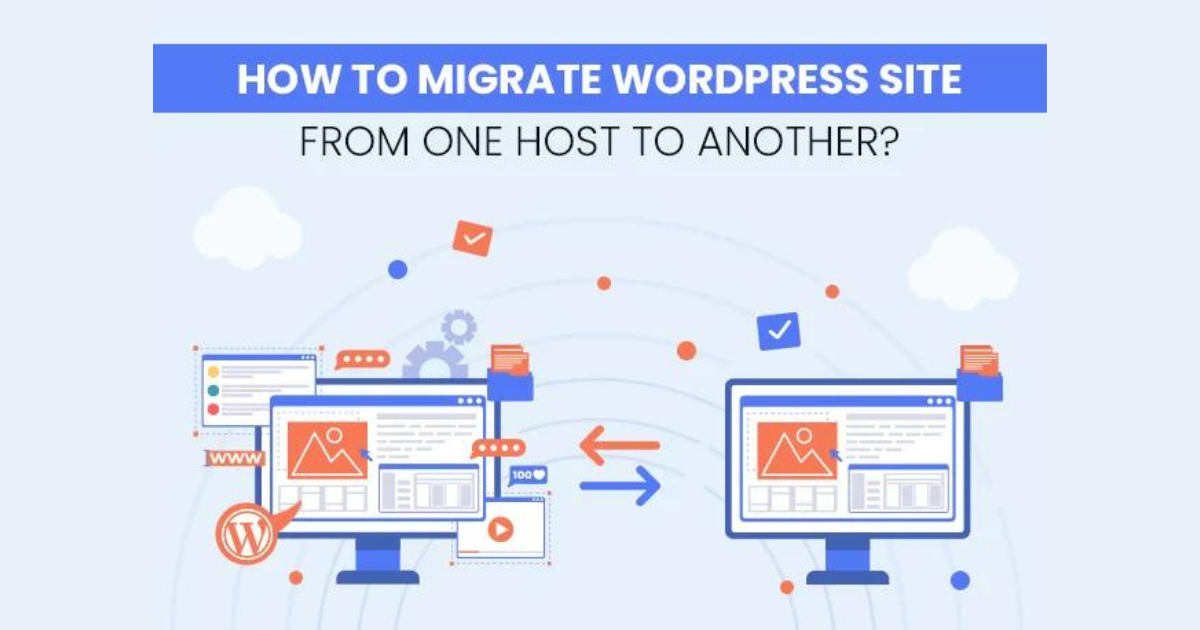
Migrate Your WordPress Site Smoothly to Any Hosting Platform!
Written by kuldeep » Updated on: June 17th, 2025

Migrating a WordPress site can feel overwhelming, especially if you’re concerned about downtime, data loss, or compatibility issues. However, with the right approach and preparation, transferring your WordPress site to a new hosting platform can be a straightforward, stress-free process. Here’s a step-by-step guide to help you migrate your WordPress website smoothly to any hosting platform.
1. Understand Why You’re Migrating :
Before diving in, it’s crucial to have clear reasons for migrating. Common motivations include:
Better Performance: Faster loading speeds and higher uptime are essential for SEO and user experience.
Improved Support: Reliable customer support makes managing your site easier, especially during critical issues.
Scalability: As your website grows, you may need more resources or specialized hosting features.
2. Backup Your WordPress Website :
A backup is vital to avoid data loss. You’ll want to back up both the WordPress files (themes, plugins, media, etc.) and the database. Here are ways to back up your WordPress site:
Use a Plugin: Popular backup plugins like UpdraftPlus, Duplicator, and All-in-One WP Migration make it easy to back up your entire site.
Manual Backup: If you’re comfortable with manual processes, you can back up your files via FTP and export your database through phpMyAdmin.
Store your backup files in a safe location, like an external drive or cloud storage, to ensure you have a fallback.
3. Choose the Right Hosting Platform :
Not all hosting platforms are created equal, and some may be better suited to your site’s specific needs. Common types include:
Shared Hosting: Ideal for smaller websites with limited traffic. However, performance can be affected by other sites on the server.
VPS or Cloud Hosting: Offers more resources and flexibility, perfect for medium-sized websites.
Managed WordPress Hosting: Optimized for WordPress sites, often including automatic backups, updates, and enhanced security.
Make sure your new host supports easy WordPress migrations or has compatible server specifications.
4. Set Up a Temporary Domain or Environment (Optional) :
For a smoother transition, consider setting up a temporary domain or staging environment. Many hosts provide a staging area, allowing you to test the migration without disrupting your live site. This lets you catch any issues early and test your site on the new hosting environment.
5. Transfer Your WordPress Files and Database :
Migrating your files and database is the most crucial part of the process. This can be done in two ways:
Using a Migration Plugin: Plugins like Duplicator or All-in-One WP Migration handle the transfer of your site files and database, simplifying the migration.
Manual Transfer: For a manual approach, use FTP to upload your files to the new host and import your database through phpMyAdmin or a similar tool.
Many hosts offer a migration tool that can guide you through this process, making it especially easy if you’re moving within the same hosting network.
6. Configure Your Domain on the New Host :
To direct your domain to your new host, update your DNS settings with your domain registrar. This typically involves pointing your domain’s A and CNAME records to your new host’s server.
DNS changes can take up to 48 hours to propagate, though it usually happens faster. During this time, avoid making changes to your site content, as these might not appear on the new server until the DNS fully propagates.
7. Test Your Site on the New Host :
Once the DNS updates, thoroughly test your site on the new hosting platform. Check that:
All Pages Load Correctly: Ensure no pages are missing or broken.
Media Files Are Intact: Images, videos, and other media should display properly.
Plugins and Themes Work: Test your plugins and themes to verify compatibility with the new host.
Site Speed and Performance: Confirm your site’s performance meets your expectations on the new platform.
8. Troubleshoot Common Migration Issues :
Some common issues you may encounter include:
Broken Links: Run a tool like Broken Link Checker to identify and fix any links that may have broken during migration.
Database Connection Errors: Double-check your wp-config.php file to ensure it matches your new database credentials.
Permalink Issues: Go to Settings > Permalinks and click "Save Changes" to refresh your permalinks, which can resolve some 404 errors.
9. Delete the Old Hosting Account (Optional) :
After you’re confident your site is functioning correctly on the new host, you can cancel your old hosting account. However, you might want to keep it active for a few extra days as a backup.
Conclusion
Migrating your WordPress website to a new hosting platform doesn’t have to be a hassle. With careful planning and a systematic approach, you can complete the migration process smoothly, ensuring your site remains available and fully functional for your visitors. Just remember to back up everything, test thoroughly, and don’t rush—migration is a process that rewards patience and preparation. Happy migrating!
Note: IndiBlogHub features both user-submitted and editorial content. We do not verify third-party contributions. Read our Disclaimer and Privacy Policyfor details.
Copyright © 2019-2025 IndiBlogHub.com. All rights reserved. Hosted on DigitalOcean for fast, reliable performance.


