Navigating the Wiring Maze: Essential Steps for Efficient and Safe House Wiring

Strong 8k brings an ultra-HD IPTV experience to your living room and your pocket.
Introduction:
House wiring is the backbone of any modern home, responsible for delivering power to appliances, lighting, and various electrical devices. Whether you're building a new home or renovating an existing one, understanding the steps involved in house wiring is crucial for ensuring safety, efficiency, and compliance with electrical codes. In this article, we'll guide you through the essential steps to navigate the wiring process successfully.
Plan Your Electrical Layout:
The first step in house wiring is careful planning. Before you start running wires, create a comprehensive electrical layout for your home. Identify the location of outlets, switches, lighting fixtures, and major appliances. Consider the specific needs of each room and allocate circuits accordingly. A well-thought-out plan will serve as a roadmap for the wiring process, minimizing errors and ensuring optimal functionality.
Acquire Necessary Permits:
Before beginning any electrical work, it's crucial to obtain the necessary permits from your local building department. Permits ensure that your wiring project complies with safety regulations and building codes. Working without the proper permits may lead to fines and pose safety risks. Check with your local authorities to understand the specific requirements for your area.
Install the Service Panel:
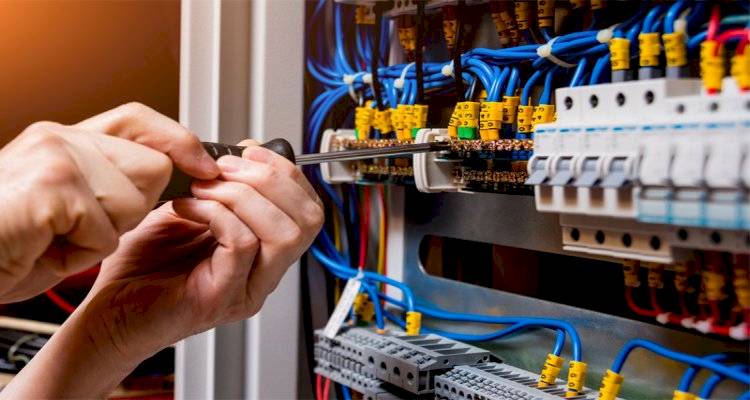
The service panel, also known as the breaker box, is the heart of your electrical system. It distributes electricity to different circuits throughout the house. Install the service panel in a designated, easily accessible location. Label each circuit breaker clearly to simplify troubleshooting and maintenance in the future.
Run Electrical Wiring:
With the service panel in place, it's time to run the electrical wiring. Use approved wiring materials, such as non-metallic sheathed cable (NM) or conduit, depending on your local building codes. Carefully route wires through walls, ceilings, and floors, ensuring they are secured properly and avoiding any potential damage. Keep wires organized and separated from plumbing and gas lines to prevent interference.
Install Outlets and Switches:
Once the wiring is in place, install outlets and switches according to your electrical layout. Follow proper spacing guidelines for outlets and switches to ensure convenience and compliance with building codes. Use electrical boxes to enclose connections and provide protection. Consider installing Ground Fault Circuit Interrupter (GFCI) outlets in areas prone to moisture, such as kitchens and bathrooms, for enhanced safety.
Connect Lighting Fixtures:
Lighting fixtures play a significant role in the functionality and ambiance of your home. Connect lighting fixtures to the wiring, ensuring proper grounding and secure connections. Consider energy-efficient options, such as LED fixtures, to reduce electricity consumption and lower utility bills. Install dimmer switches for customizable lighting levels in various rooms.
Test Circuits and Ensure Safety:
Before finalizing your house wiring project, thoroughly test each circuit to ensure proper functionality. Check for any loose connections, exposed wires, or signs of overheating. Use a voltage tester to verify that outlets and switches are wired correctly. Implement safety measures, such as installing smoke detectors and carbon monoxide detectors, to enhance the overall safety of your home.
Final Inspection and Approval:
After completing the house wiring process, schedule a final inspection with your local building department. An inspector will assess the wiring installation to ensure it meets all safety and code requirements. Address any issues identified during the inspection promptly. Once the wiring passes inspection, you can proceed with closing up walls and finishing the interior spaces.
Conclusion:
House wiring is a critical aspect of creating a safe and functional living environment. By following these essential steps – planning your electrical layout, acquiring necessary permits, installing the service panel, running electrical wiring, installing outlets and switches, connecting lighting fixtures, testing circuits, and undergoing a final inspection – you can navigate the wiring process successfully. Whether you're a DIY enthusiast or working with a professional electrician, understanding these steps ensures that your house wiring project is efficient, safe, and compliant with industry standards.
Note: IndiBlogHub features both user-submitted and editorial content. We do not verify third-party contributions. Read our Disclaimer and Privacy Policyfor details.


