 Zapier Automation – Automate Publishing. Free Your Time!
Written by hexagon lights » Updated on: June 17th, 2025

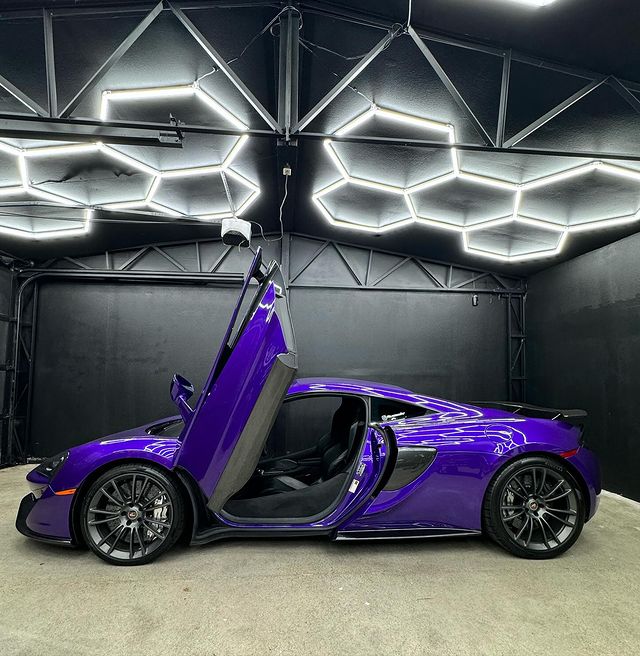
Hexagon auto detailing lights are powerful tools that can elevate your detailing game and help you achieve professional-level results. In this step-by-step tutorial, we'll guide you through the process of using hexagon led shop lights for ceiling car workshop detailing to maximize visibility, accuracy, and efficiency in your detailing projects, ensuring that you achieve flawless results every time.
Step 1: Set Up Your Hexagon Auto Detailing Lights
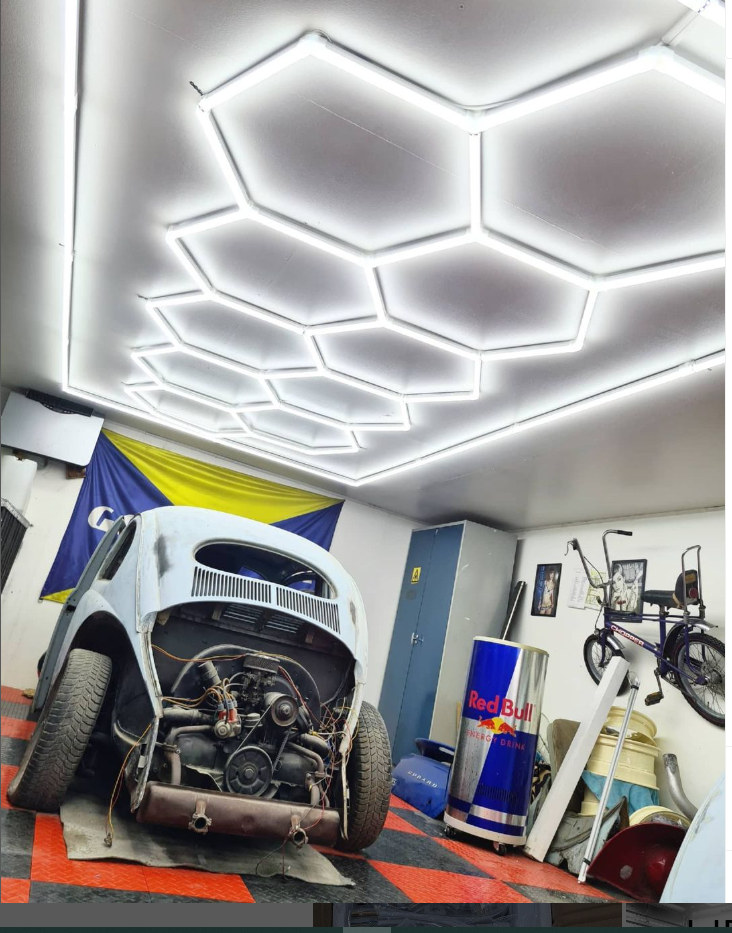
Start by setting up your hexagon auto detailing lights in your workspace. Position the lights strategically around the vehicle to ensure even illumination from all angles. Experiment with different angles and heights until you find the optimal setup that provides maximum visibility and clarity.
Step 2: Adjust the Color Temperature
Next, adjust the color temperature of your hexagon lights to match the ambient lighting in your detailing space. This ensures accurate color representation and helps you identify imperfections and color variations more effectively. Choose a color temperature that provides a balanced and natural-looking light for optimal results.
Step 3: Customize the Angle and Intensity
Take advantage of the adjustable features of your hexagon lights to customize the angle and intensity of the illumination. Direct the light precisely where it's needed most, focusing on areas that require extra attention such as swirl marks, scratches, or intricate details. Adjust the intensity of the light to achieve the perfect balance between visibility and comfort.
Step 4: Begin the Detailing Process
With your Ceiling Light Box supplier set up and adjusted, you're ready to begin the detailing process. Start by inspecting the vehicle carefully under the bright, uniform illumination provided by the lights. Identify any imperfections or areas that require attention, and plan your detailing approach accordingly.
Step 5: Perform Paint Correction and Enhancement
Use your hexagon lights to guide you through the paint correction and enhancement process. The precise and accurate lighting provided by the lights allows you to see every scratch, swirl mark, and imperfection, ensuring that you achieve flawless results. Take your time and work methodically, focusing on one section of the vehicle at a time.
Step 6: Address Interior and Exterior Details
Continue using your hexagon lights to guide you through the interior and exterior detailing process. Whether you're cleaning the upholstery, polishing the exterior, or detailing the engine bay, the bright and uniform illumination provided by the lights ensures that you don't miss any details.
Step 7: Final Inspection and Touch-Ups
Once you've completed the detailing process, perform a final inspection of the vehicle under the bright light of your hexagon lights. Look for any remaining imperfections or areas that require touch-ups, and address them promptly to ensure that the vehicle looks its best.
Step 8: Clean Up and Maintenance
After completing the led hexagon lights process, clean up your workspace and perform any necessary maintenance on your hexagon lights. Keeping your lights clean and well-maintained ensures that they continue to perform at their best and provide optimal illumination for future detailing projects.
Conclusion
By following this step-by-step tutorial, you can harness the full potential of your hexagon auto detailing lights and achieve professional-level results in your detailing projects. From setting up and adjusting the lights to performing paint correction, interior detailing, and final inspection, proper lighting is essential every step of the way. So, invest in high-quality hexagon lights and take your detailing game to the next level today!
Note: IndiBlogHub features both user-submitted and editorial content. We do not verify third-party contributions. Read our Disclaimer and Privacy Policyfor details.
Sponsored Ad Partners


![]()


Copyright © 2019-2025 IndiBlogHub.com. All rights reserved. Hosted on DigitalOcean for fast, reliable performance.


