How a Professional Photographer Elevates Home Staging: Workflow, ROI, and Best Practices
-

- March 24th, 2026
- 421 views

FREE SEO Topical Map Generator: Find Your Next Content Ideas
Why hire a professional photographer for home staging
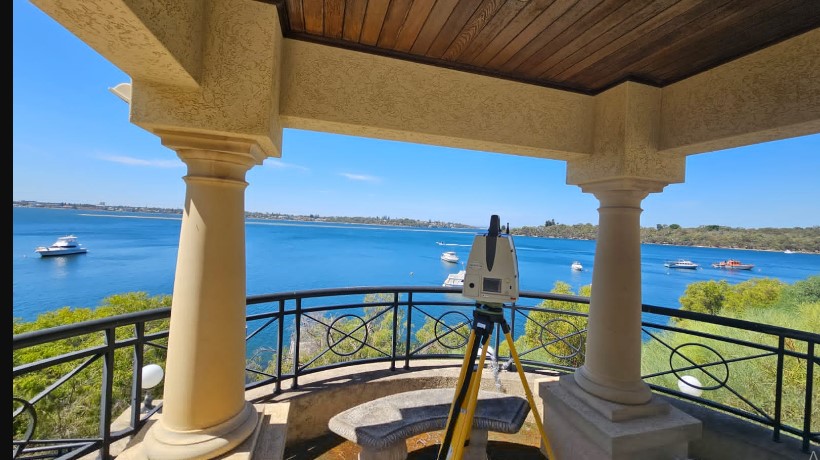
The role of a professional photographer for home staging is to translate physical staging decisions into images that attract buyers, increase listing engagement, and shorten time on market. High-quality photography is the bridge between staged interiors and buyer perception; on listing sites a single strong photograph often determines whether a potential buyer clicks through to view details.
This guide explains what a professional photographer does during home staging projects, offers the S.T.A.G.E. photography checklist for shoot planning, outlines a practical staging photo workflow, describes trade-offs and common mistakes, and includes actionable tips to improve listing photos.
Detected intent: Informational
Core cluster questions (for related articles or internal links):
- How much does a professional home staging photographer cost?
- What equipment does a real estate photographer need for staged homes?
- How long does a staging photoshoot typically take?
- What retouching is appropriate for staging photos?
- How to coordinate a photographer with a stager and listing agent?
What a professional photographer does on a staged property
A professional photographer for home staging combines technical skills, staging awareness, and visual storytelling. Primary responsibilities include lighting control, composition tailored to room function, color and exposure consistency for MLS standards, selecting angles that show flow and scale, and delivering retouched images optimized for web listings and print. Photographers also advise on minor staging tweaks to improve image composition and help create floor-plan friendly photo sets and virtual tours.
Key tasks and deliverables
- Pre-shoot consultation to align staging goals with listing strategy.
- On-site shooting: bracketed exposures for HDR, wide-angle framing, and detail shots that highlight staging accents.
- Post-processing: color correction, lens correction, perspective adjustment, and tasteful retouching.
- Final deliverables: web-optimized JPGs for MLS, high-resolution images for print, and optional 360° or video walkthrough assets.
S.T.A.G.E. photography checklist (named framework)
Use the S.T.A.G.E. checklist as a repeatable framework to prepare for staging photography shoots.
- S — Survey: Walk the property with the stager and agent. Confirm target rooms, focal points, and any off-limits items.
- T — Timing: Schedule golden-hour exterior shots and allow time to adjust window coverings for interior lighting balance.
- A — Angle: Plan primary and secondary angles for each room; mark floor positions if needed to replicate shots.
- G — Gear: Prepare tripod, wide and tilt-shift capable lenses, flash or continuous lighting, and backup media/batteries.
- E — Edit: Define retouching limits, color profile (sRGB for web), cropping ratios, and delivery formats before shooting.
Practical staging photo workflow
Real estate photography benefits from a predictable staging photo workflow that minimizes interruptions and aligns the team.
Step-by-step process
- Confirm shot list with agent and stager the day before the shoot.
- Arrive early to adjust lighting, remove distractions, and set up gear.
- Shoot wide-angle bracketed exposures for each angle, then add detail and amenity shots.
- Perform quick on-site checks for color balance and composition; request small staging fixes if necessary.
- Deliver proofs within the agreed turnaround time and apply final edits after client review.
Short real-world example
Example: For a two-bedroom condo, a scheduled 90-minute shoot produced 30 images: 10 wide-angle room shots, 8 detail shots, 6 exterior/daylight pictures, and 6 twilight/exterior images. Following minor staging adjustments suggested by the photographer (swap a lamp, remove a clutter item), the listing received higher click-through rates than similar units staged but photographed without professional lighting consistency.
Practical tips to improve staged photos
- Coordinate timing: schedule photography after staging is complete and allow time for final tweaks.
- Prioritize natural light: open blinds and use fill lighting only to match color temperature.
- Limit heavy editing: maintain realism; avoid changing fixture colors or altering room proportions.
- Include lifestyle details: a neatly set table or a book on a coffee table improves perceived livability.
Trade-offs and common mistakes
Trade-offs to consider
- Cost vs. impact: Hiring a photographer with advanced lighting and HDR skills costs more but can be critical for high-end listings. For budget properties, prioritize one high-quality exterior and hero interior shot.
- Speed vs. polish: Faster turnarounds reduce time-to-list but may limit the level of retouching and color consistency.
- Realism vs. enhancement: Minimal retouching preserves buyer trust, while aggressive edits might increase initial interest but risk disappointment at showings.
Common mistakes
- Skipping the pre-shoot walk-through with the stager and agent.
- Overuse of wide-angle distortion that misrepresents room size.
- Inconsistent color temperature between shots, which reduces professional appearance on MLS galleries.
Standards, compliance, and linking resources
Follow listing platform standards and local MLS photo guidelines for size, file type, and acceptable edits. For guidance on professional marketing practices and listing photography standards, consult resources from industry organizations such as the National Association of Realtors NAR.
When to hire a professional photographer
Consider hiring a professional photographer for home staging when the property is above local average price, when the staging investment is significant, or when the listing competes in a visual market. Also hire a professional if the agent or seller needs high-quality imagery for print, social ads, or virtual tours.
Deliverables and turnaround expectations
Typical deliverables include web-optimized JPGs for MLS, high-resolution files for print, and optional virtual tour files. Standard turnaround ranges from 24 to 72 hours depending on workload and agreed retouching levels.
Frequently asked questions
What does a professional photographer for home staging do differently from a general photographer?
Staging photographers specialize in composition that highlights flow, scale, and function of staged interiors, plus they coordinate with stagers and agents to suggest small changes that improve photos. Technical differences include HDR bracketing, perspective correction, and web optimization tailored to real estate platforms.
How much advance time is needed to schedule staging and photography?
Schedule at least 24–72 hours in advance to allow the stager to finish setup and to confirm shot lists; complex shoots may require a few days for coordination.
What are reasonable expectations for photo turnaround and pricing?
Expect turnaround of 24–72 hours for standard edits. Pricing depends on market, property size, and deliverables; options commonly include per-room rates, per-photo pricing, or bundled packages for staging shoots.
How should staging photos be optimized for MLS and social media?
Deliver images in sRGB color profile, correct aspect ratios per platform, and prioritize a hero exterior and primary living area photo for social ads. Keep file sizes balanced between quality and load speed.
Can a photographer advise on staging choices and props?
Yes. Experienced real estate photographers often advise on small staging changes (lighting, removing clutter, adjusting textiles) that improve composition and buyer perception without major expense.