 DA 70+ Guest Post Placements – Elite Authority at Your Fingertips!
Written by Freya Parker » Updated on: October 25th, 2024
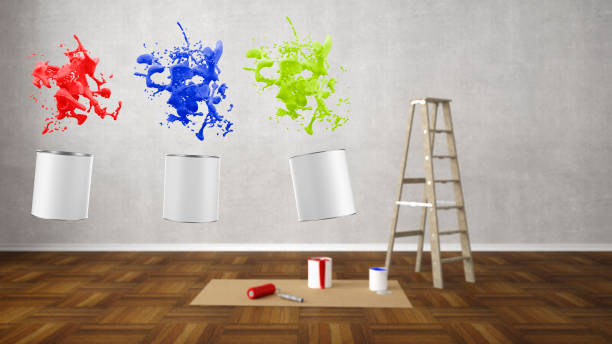
In terms of home improvement, painting is among the most efficient and cost-effective methods to improve your living space. If you're looking to freshen up one room or transform your entire home, taking the proper approach to painting ceilings and walls will significantly enhance the overall appearance and atmosphere in your space. This guide will take you through all you should learn about painting ceilings and walls projects, from selecting the right colors and tools to preparation and implementation.
Step 1: Planning Your Ceiling and Wall Painting Project
Before you get the brush or roller, the first step is meticulous planning. A well thought-out strategy will save you money, time, and stress in the future.
1.1 Choosing Your Colors
The right color for your walls and ceilings can establish the mood for your entire space. When choosing colors, consider the following aspects:
• Room size Lighter colors make smaller spaces appear larger, whereas darker shades create a warm and inviting atmosphere in larger rooms.
• Natural lighting rooms that have many natural lights are able to handle brighter colors; even dimly lit areas could be better served by light, reflective shades.
• Ceiling Color The majority of people choose white for ceilings; however, a different hue can be a bold statement. For ceilings that are lower, the lighter colors can make the room appear more spacious, and darker hues will create an intimate atmosphere.
1.2 Choosing the Right Paint Type
Selecting the right paint type for your walls and ceilings is crucial, as not all paints are equal. Below are the main kinds:
• Flat or matte paint is perfect for ceilings and areas with minimal traffic. Flat paint conceals imperfections very well, but it is more difficult to wash.
• Eggshell or satin finishes Bedrooms and dining rooms prefer these finishes for their walls. They provide a soft appearance and are more long-lasting than the flat ones.
• Semi-gloss and glass finishes they are ideal for doors, trim kitchens, bathrooms, and trim where resistance to moisture and the ease of cleaning are crucial.
1.3 Gathering Your Tools
To make a painting project successful, it is essential to have the proper tools. Here's a list of the essentials:
• Paint (the right type and amount)
• Paint brushes and rollers
• Tape for painting
• Plastic sheeting or drop cloths
• Paint Trays
• Ladders and extension poles
• Sandpaper and packing paste are used for surface preparation.
• The tool for edging is optional, but it can be useful in creating straight lines.
Step 2: Preparing Your Space
Readiness is the key to a successful ceiling and wall painting. Inadequate preparation or rush could lead to unbalanced coverage or drips, as well as other issues in the final product.
2.1 Clear the Room
To clear the space, remove as much furniture from the room as possible. If you can't move the larger objects, protect them from paint splatters by wrapping them in drop cloths or plastic sheets.
2.2 Protect the Floors and Trim
Place drop cloths on the floor or plastic sheeting to shield your flooring. Use painter's tape to cover the baseboards, door frames, windows, and other areas that don't require paint. To prevent paint from getting under the tape, apply it with firm pressure.
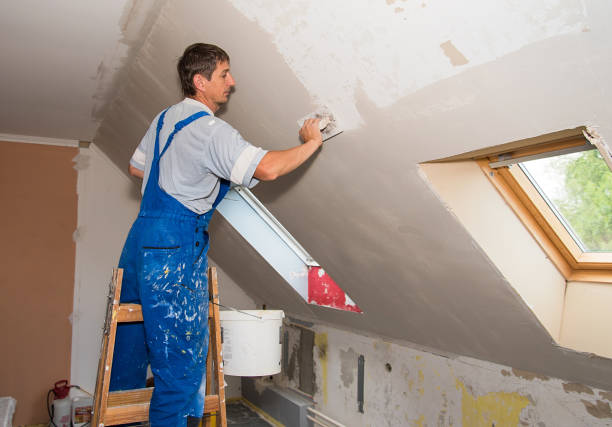
2.3 Patch and sand the walls and ceiling.
Before you paint, check the ceiling and walls for cracks, holes, or flaws. Patch any holes with packing paste, then smooth the patched areas with sanding. This guarantees a uniform application of paint across the surface.
2.4 Clean the Walls and Ceiling.
Dust, dirt, and grease can hinder paint from adhering to the substrate. Clean the ceiling and walls with a sponge or damp cloth to get rid of any dust. Use a mild cleaner or degreaser on any soiled or stained areas.
Step 3: Painting the Ceiling
To avoid paint splashes on freshly painted walls, paint the ceiling before painting the walls.
3.1 Cutting In Around the Edges
Begin by using an edging brush to cut into your ceiling's edges. This is done by painting a 2-inch border along the ceiling's perimeter when it meets the walls. Make sure you apply painter's tape to your walls to shield them from ceiling paint.
3.2 Rolling the Ceiling
After cutting the edges into the ceiling, use an extension rod-attached roll to cover the majority of your ceiling. Start with one corner and move across to the ceiling in sections. The strokes should overlap slightly to warrant uniform coverage. Make sure you do not fill your roller to the top with paint, so that drips do not occur.
Step 4: Painting the Walls
Once you've finished the ceiling, you can move on to the wall. Be sure that the ceiling paint is dry prior to starting.
4.1 Cutting In Around the Edges
Like with ceilings start by cutting the walls edges with a paintbrush. This is for the corners of the walls, baseboards, door, and window frames, as well as the intersection where the walls meet the ceiling. An edging tool can help you achieve straight, clean lines.
4.2 Rolling the Walls
After finishing the edges, apply paint to the walls using a roller. Begin near the cut-in region and work your way from the top to the bottom. Utilize a "W" or "M" pattern. To avoid streaks and uneven coverage, do not press too much on the roller.
Step 5: Finishing Touches
Check your work for any missed spots or areas that need touch-ups once the paint has dried.
5.1 Remove Painter's Tape
When the paint is dry at the point of contact, you can remove the painter's adhesive. Take the tape off slowly, at a 45-degree angle to ensure that it doesn't damage the new paint.
5.2 Clean Up
Clean your rollers, brushes, and paint trays thoroughly using the water (for latex paint) or the solvent of your choice (for oil-based paint). Clean drop cloths and remove plastic sheets with care so that paint splatters don't get everywhere. After everything has dried completely, replace the furniture and other decorative items.
5.3 Inspect and Touch Up
Walk around the room and look for any missing areas or flaws. For finishing touches, use a small brush, making sure to mix the new paint in with the previous coverage.
Tips for a Successful Painting Project
• Ventilation Ensure the room receives sufficient ventilation both while painting and during the drying process. Open the windows and doors to allow fresh air to circulate.
• Multiple coats: Don't rush the procedure. Paint different thinner coats instead of one large coat to get greater coverage and a smoother look.
• Patience Between coats, let the paint dry for a long time, and do not rush to remove furniture or hang things on the wall until the paint has completely dried.
Conclusion
A well-planned wall and ceiling painting project can bring a new look to your home. Following the steps described in this article—careful planning, careful preparation, and meticulous execution—you are able to produce professionally styled payoff that lasts. With the appropriate tools, techniques, colors, and tools, painting your home can be an enjoyable DIY project that improves the appearance and value of your space.
Disclaimer: We do not promote, endorse, or advertise betting, gambling, casinos, or any related activities. Any engagement in such activities is at your own risk, and we hold no responsibility for any financial or personal losses incurred. Our platform is a publisher only and does not claim ownership of any content, links, or images unless explicitly stated. We do not create, verify, or guarantee the accuracy, legality, or originality of third-party content. Content may be contributed by guest authors or sponsored, and we assume no liability for its authenticity or any consequences arising from its use. If you believe any content or images infringe on your copyright, please contact us at [email protected] for immediate removal.
Sponsored Ad Partners


![]()


Copyright © 2019-2025 IndiBlogHub.com. All rights reserved. Hosted on DigitalOcean for fast, reliable performance.
