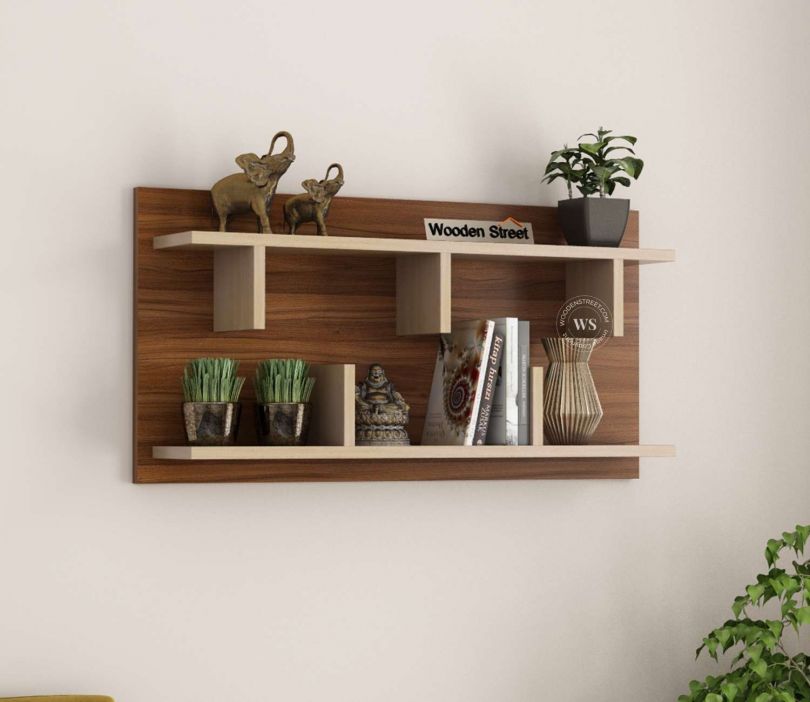
What Tools Do I Need to Install a Wall Shelf | Wooden Street

Strong 8k brings an ultra-HD IPTV experience to your living room and your pocket.
Installing a wall shelf is a fantastic way to enhance both the functionality and aesthetics of your living space. Whether you're looking to display decor, organize books, or create additional storage, a well-installed wall rack can make a significant difference. Brands like Wooden Street offer a variety of stylish wall shelves that cater to diverse tastes, from minimalist to intricate wall shelf designs. However, to ensure a secure and professional installation, having the right tools is essential. This article outlines the tools you'll need, along with tips to make the process smooth and efficient.
Why Install a Wall Shelf?
Before diving into the tools, let’s explore why wall shelves are such a popular choice. They maximize vertical space, making them ideal for small apartments or rooms where floor space is limited. A wall shelf design from Wooden Street, for example, can transform a plain wall into a focal point with options like floating shelves, geometric patterns, or rustic wooden finishes. Installing one yourself is not only cost-effective but also rewarding, provided you have the right equipment.
Essential Tools for Installing a Wall Shelf
To install a wall shelf securely, you’ll need a combination of measuring, marking, drilling, and fastening tools. Below is a comprehensive list of the tools required, along with their purposes.
1. Stud Finder
A stud finder is crucial for locating the wooden studs behind your drywall. Mounting a wall rack to studs ensures it can support significant weight, which is especially important for shelves holding heavy items like books or electronics. Electronic stud finders are user-friendly and provide accurate results. Run the device along the wall until it indicates a stud, and mark the spot for reference.
2. Measuring Tape
Precision is key when installing a wall shelf. A measuring tape helps you determine the exact placement of your shelf, ensuring it’s level and aligned with your room’s layout. Measure the distance between mounting points and the height from the floor to achieve the desired placement. For intricate wall shelf designs, such as those from Wooden Street, accurate measurements prevent misalignment and enhance the overall aesthetic.
3. Level
A spirit level ensures your wall shelf is perfectly horizontal. An uneven shelf not only looks unprofessional but can also cause items to slide off. Place the level on top of the shelf or along the marked line before drilling to confirm alignment. A laser level is an advanced option for larger shelves or multiple wall racks installed in a row.
4. Pencil and Marker
Marking tools like a pencil or fine-tip marker are used to indicate where you’ll drill holes or place brackets. After using the stud finder and measuring tape, mark the stud locations and the positions for screws or brackets. These marks serve as your guide during installation, ensuring accuracy.
5. Drill
A power drill is essential for creating holes in the wall for screws or wall anchors. Choose a drill bit size that matches the screws or anchors provided with your wall shelf. For Wooden Street shelves, check the installation manual for specific bit sizes. Cordless drills offer flexibility, but ensure the battery is fully charged before starting.
6. Screwdriver
While a drill can drive screws, a manual screwdriver (Phillips or flathead, depending on the screws) is useful for final tightening or working in tight spaces. Some wall shelf designs may require precise screw adjustments to secure brackets or the shelf itself.
7. Wall Anchors and Screws
Wall anchors are critical if you’re mounting a wall rack into drywall without studs. They provide a secure mounting point by expanding and gripping the wall material. Most Wooden Street wall shelves come with appropriate screws and anchors, but double-check the weight capacity to ensure they match your shelf’s requirements. For heavier shelves, toggle bolts or heavy-duty anchors may be necessary.
8. Hammer
A hammer is useful for gently tapping wall anchors into place or aligning brackets. It’s a versatile tool that can also help with minor adjustments during installation. Use a lightweight hammer to avoid damaging the wall or shelf.
9. Safety Gear
Safety should never be overlooked. Wear safety glasses to protect your eyes from dust or debris while drilling. Gloves can provide a better grip and protect your hands when handling tools or sharp-edged wall shelves.
10. Ladder or Step Stool
If you’re installing a wall shelf at a height, a sturdy ladder or step stool is necessary. Ensure it’s stable and placed on a flat surface to prevent accidents. This is especially important for taller wall shelf designs that add drama to high-ceiling rooms.
Optional Tools for a Professional Finish
- While the above tools are sufficient for most installations, additional tools can enhance the process:
- Drill Bit Set: Different wall materials (drywall, masonry, or plaster) may require specific drill bits. A versatile set ensures you’re prepared for any surface.
- Wall Patch Kit: If you make a mistake while drilling, a wall patch kit can repair small holes, leaving your wall looking pristine.
- Tape: Painter’s tape can hold templates or mark lines without damaging the wall’s finish.
Step-by-Step Guide to Installing a Wall Shelf
- Here’s a quick overview of how to use these tools to install a wall rack:
- Plan the Placement: Decide where your wall shelf will go. Consider the height, accessibility, and aesthetic balance. Wooden Street offers designs that complement various interiors, so choose a spot that highlights the shelf’s style.
- Locate Studs: Use the stud finder to locate studs and mark them with a pencil.
- Measure and Mark: Use the measuring tape to mark the exact positions for brackets or mounting holes. Ensure symmetry for multiple shelves.
- Check Alignment: Place the level along your marks to confirm they’re even.
- Drill Holes: Drill pilot holes at the marked spots. If not using studs, insert wall anchors.
- Install Brackets or Shelf: Secure brackets or the shelf itself with screws, using a screwdriver for final tightening.
- Test Stability: Gently press on the shelf to ensure it’s secure before adding weight.
Tips for Choosing the Right Wall Shelf
When selecting a wall shelf, consider both function and style. Wooden Street offers a range of wall shelf designs, from sleek floating shelves to robust wooden wall racks with intricate carvings. Ensure the shelf’s weight capacity matches your needs, especially for heavier items. Check the provided hardware, as some designs may require specific anchors or screws not included in the package.
Maintenance and Safety Tips
After installation, regularly check your wall shelf for stability, especially if it holds heavy items. Tighten screws as needed and avoid overloading the shelf beyond its capacity. For Wooden Street shelves, follow the care instructions to maintain the finish and durability.
Conclusion
Installing a wall shelf is a manageable DIY project with the right tools and approach. From a stud finder to a trusty screwdriver, each tool plays a vital role in ensuring your wall rack is secure and visually appealing. Brands like Wooden Street make it easy to find a wall shelf design that elevates your space, whether you’re aiming for modern minimalism or rustic charm. Gather your tools, follow the steps, and enjoy the satisfaction of a beautifully installed shelf that enhances your home’s functionality and style.
Note: IndiBlogHub features both user-submitted and editorial content. We do not verify third-party contributions. Read our Disclaimer and Privacy Policyfor details.


