Everything You Need to Know About Using Silk Screen Stencils

Strong 8k brings an ultra-HD IPTV experience to your living room and your pocket.
Silk screen stencils have been a staple of printmaking for everyone from professional apparel designers to DIY crafters for decades. Whether you're producing custom t-shirts, tote bags, posters, or fine art prints, understanding how to use silk screen stencils can enable you to bring your designs to life with precision and style. In this guide, we'll cover everything you should know to get started, including tools and methods and how a screen print software can simplify your workflow.
What Are Silk Screen Stencils?
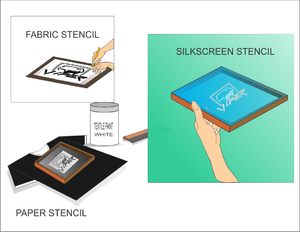
Silk screen stencils are the designs used in screen printing for blocking areas of a screen mesh in a way that the ink only goes through when the design is open. Silk screen stencils can be made from various materials like paper, vinyl, or photo emulsion. Silk screen stencils are mounted on a mesh screen, and when there is a movement of ink across the screen with a squeegee, the design is deposited on a substrate like paper or cloth.
Tools You'll Need
Before you begin using silk screen stencils, gather the supplies you'll need:
- Screen Printing Frame: Wooden or aluminum frame with a tightly stretched fine mesh fabric over it.
- Stencil Material: Pre-cut stencils, vinyl, or photo emulsion stencils.
- Squeegee: Evenly applies pressure and forces ink through the screen.
- Screen Printing Ink: Special ink designed to print on fabric, paper, or other materials.
- Surface to Print On: T-shirts, tote bags, posters, and wood are all popular choices.
- Tape: To block out areas of the screen that you do not want to print through.
How to Use Silk Screen Stencils: Step-by-Step
1. Prepare the Design
Start by creating your design. A screen print program such as Adobe Illustrator, CorelDRAW, or free alternatives such as Inkscape will enable you to produce sharp, high-contrast images that are perfect for stencils. If you have multiple colors, these also enable you to separate the layers for each color.
2. Produce or Order the Stencil
If you're using a pre-cut stencil, just place it on the bottom of the screen. If you're using photo emulsion stencils, coat the screen with a layer of emulsion, let it dry, and then expose it to light through your design on a transparency. The light cures the emulsion except where the design stops it, forming a stencil.
3. Set Up the Screen
Place your screen onto the printing surface. Tape off the edges and hold the stencil in position. Ensure that everything is properly aligned, particularly if you are conducting multi-color printing.
4. Apply the Ink
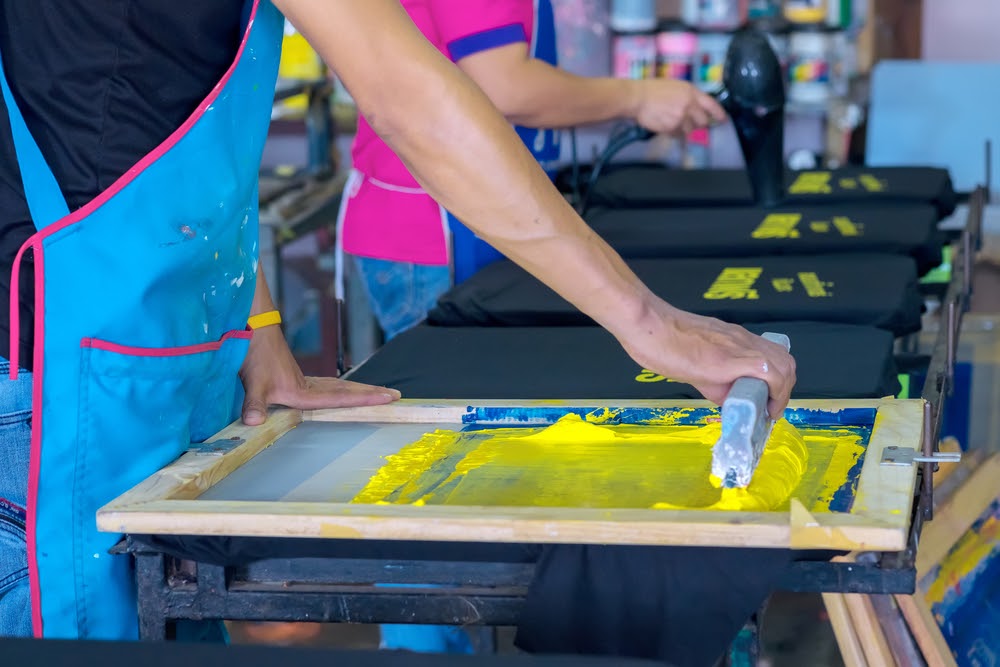
Apply a little ink above your design on the screen. At a 45-degree angle on your squeegee, pull the ink across the screen with firm and even pressure. The ink will pass through the open areas of the stencil and print the design on your surface.
5. Lift and Dry
Carefully lift up the screen to reveal your printed design. Allow the ink to dry totally before handling. Depending on the type of ink and material, you may need to heat-set the design for durability.
Tips for Optimum Results
- Use the Correct Ink: Always use ink compatible with your printing surface.
- Practice on Scrap Material: Practice printing on scrap material prior to printing on your final product.
- Clean Your Screen Immediately: Dried ink can gum up the mesh and ruin future prints.
- Use a Screen Print Program: These programs can simplify your process, especially for detailed or multi-layer designs.
Conclusion
Screen printing with silk screen stencils is a rewarding and fun way to produce custom prints, either for profit or for fun. With the right equipment and techniques—and a little help from a good screen print software program—you can produce professional-quality prints right in your own studio or home. As with any art, practice and experimentation are key. So pull out your screen, ink, and stencil, and start printing!
Note: IndiBlogHub features both user-submitted and editorial content. We do not verify third-party contributions. Read our Disclaimer and Privacy Policyfor details.


