How to Create Textured Effects in Embroidery Digitizing
Strong 8k brings an ultra-HD IPTV experience to your living room and your pocket.
Embroidery digitizing is a versatile art form that goes beyond merely transferring designs onto fabric. One of the most captivating aspects of digitizing is the ability to create textured effects, giving your embroidery depth and a three-dimensional appearance. These textures can elevate a design, making it more dynamic and visually appealing.
In this blog, we will delve into the techniques, tools, and tips required to digitize for embroidery with textured effects. From stitch types to thread selection, we’ll explore how you can make your designs stand out. We'll also answer frequently asked questions to guide you through the process.
1. What Is Textured Embroidery?
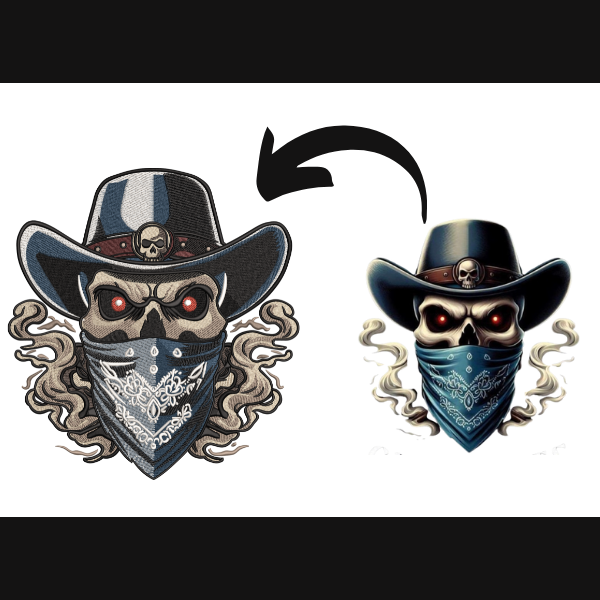
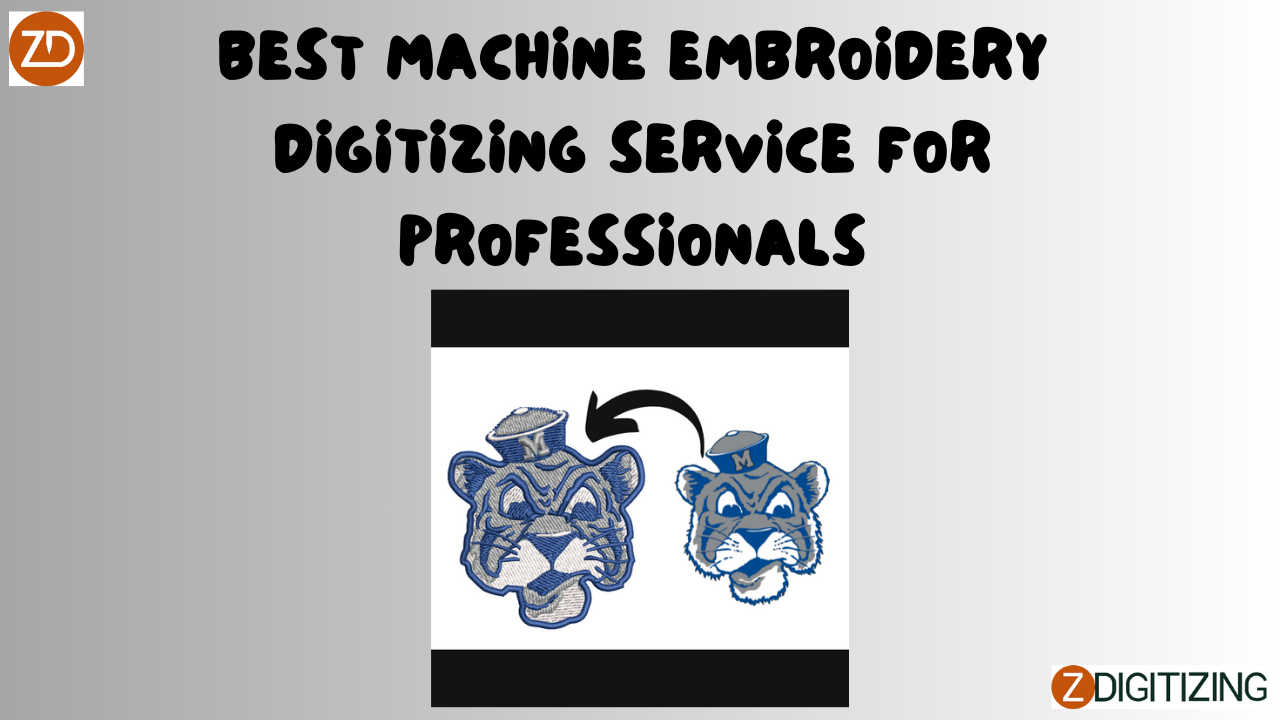
Textured embroidery involves using various stitch types, densities, and layers to create a tactile feel and visual depth. It mimics the appearance of physical textures like fur, wood grain, or waves, adding realism to designs.
2. Why Add Textured Effects to Embroidery Designs?
Enhance Visual Appeal: Textured embroidery catches the eye with its intricate details.
Elevate Perceived Value: Designs with textures often look more luxurious and professional.
Expand Creative Possibilities: Textures allow you to replicate natural elements like hair, foliage, or fabric folds in embroidery.
3. The Basics of Creating Textured Effects
To achieve textured effects in your embroidery designs, you’ll need to experiment with the following components:
3.1 Stitch Types
The type of stitch you use significantly impacts the texture. Common stitch types include:
Satin Stitches: Perfect for smooth and glossy textures like ribbons or hair.
Fill Stitches: Ideal for large areas requiring patterns or gradient effects.
Running Stitches: Best for outlining and adding subtle details.
Manual Stitches: For highly customized textures.
3.2 Stitch Density
Adjusting stitch density helps create variations in texture. Lower density can give a light and airy feel, while higher density creates a firm, solid texture.
3.3 Directional Stitching
Altering the direction of stitches can mimic natural patterns like wood grains or flowing hair.
4. Steps to Digitize for Embroidery with Textured Effects
Step 1: Select a Design
Choose a design that benefits from textured effects, such as animals, landscapes, or abstract patterns.
Step 2: Analyze the Design Elements
Break the design into sections. Identify areas that require different textures (e.g., fur for an animal, petals for a flower).
Step 3: Choose Appropriate Stitch Types
Assign stitch types to each section based on the desired texture.
Step 4: Adjust Stitch Parameters
Modify stitch density, length, and direction to achieve the desired effect.
Step 5: Test the Design
Run a test on similar fabric to check how the texture translates into the embroidery.
5. Tools and Software for Creating Textures
5.1 Embroidery Digitizing Software
Software like Wilcom, Hatch, or Brother PE-Design offers advanced tools to create textured effects.
5.2 High-Quality Threads
Using threads with varying finishes (e.g., metallic, matte) can enhance textures.
5.3 Stabilizers
The right stabilizer prevents fabric distortion during stitching, ensuring your textured effects remain intact.
6. Advanced Techniques for Textured Embroidery
6.1 Layering Stitches
Stacking multiple stitch types creates depth. For example:
A base of fill stitches can be overlaid with running stitches for added detail.
6.2 Gradient Effects
Blending colors through stitch density and direction creates gradients, perfect for realistic textures like skies or water.
6.3 Using Negative Space
Leaving certain areas unstitched can enhance the overall texture and create a contrast effect.
6.4 Variegated Threads
Using variegated threads with multiple colors adds a unique texture without changing stitch types.
7. Common Applications of Textured Effects
7.1 Animal Designs
Replicate fur or feathers with layered satin and fill stitches.
7.2 Floral Patterns
Create petal textures with directional stitching and varying densities.
7.3 Logos and Branding
Add depth to logos with textured backgrounds or embossed effects.
7.4 Landscapes
Recreate natural elements like grass, trees, or clouds using a combination of stitch types and threads.
8. Tips for Digitizing Textured Effects
8.1 Start Simple
Begin with small areas to understand how different textures translate onto fabric.
8.2 Use Contrast
Combine smooth and rough textures to make each element stand out.
8.3 Test and Iterate
Always test designs on scrap fabric before finalizing them.
8.4 Learn from Nature
Observe natural textures and experiment with stitch patterns to replicate them.
9. Challenges in Creating Textured Effects
Challenge 1: Fabric Distortion
Solution: Use stabilizers and proper hooping techniques.
Challenge 2: Excessive Stitch Density
Solution: Balance density to avoid puckering or thread breakage.
Challenge 3: Misaligned Layers
Solution: Calibrate the embroidery machine and use precise digitizing.
10. Conclusion
Creating textured effects in embroidery digitizing opens a world of creative possibilities. By mastering stitch types, densities, and layering techniques, you can digitize for embroidery designs that stand out with depth and dimension. Whether you’re crafting animal portraits, floral motifs, or abstract patterns, textured embroidery can add a unique touch that captivates and impresses.
With practice, patience, and the right tools, you can transform your embroidery projects into masterpieces that showcase your skills and creativity. Happy digitizing!
11. FAQs About Textured Effects in Embroidery Digitizing
1. Can textured effects be created on any fabric?
Yes, but the fabric type affects the outcome. Sturdy fabrics like denim or canvas work best for textured embroidery.
2. Do I need special software to digitize for embroidery with textures?
Advanced embroidery software like Wilcom or Hatch provides tools specifically for textured effects.
3. How do I create realistic fur effects?
Use layered satin stitches with varying densities and directions to mimic the flow of fur.
4. Are textured effects suitable for small designs?
Textured effects can be used in small designs, but the details might not be as prominent.
5. How do I avoid thread breakage when creating textures?
Ensure your machine is well-maintained, use high-quality threads, and adjust stitch density to prevent breakage.
6. Can textured embroidery be done on home embroidery machines?
Yes, many home embroidery machines can handle textured designs with the right settings.
7. What is the best thread for textured effects?
A combination of matte, metallic, and variegated threads can enhance textures.
8. How do I ensure my textures remain consistent?
Use proper stabilization, test designs, and follow a systematic emb digitizing approach.
9. Can I mix textured effects with flat designs?
Yes, combining textures with flat areas creates visual contrast and highlights certain elements.
10. How long does it take to digitize a textured design?
The time varies based on complexity but can range from 1-3 hours for detailed designs.
Note: IndiBlogHub features both user-submitted and editorial content. We do not verify third-party contributions. Read our Disclaimer and Privacy Policyfor details.

