How to Install Box Profile Metal Roofing Sheets
-

- August 23rd, 2025
- 136 views

Get a free topical map and start building content authority today.
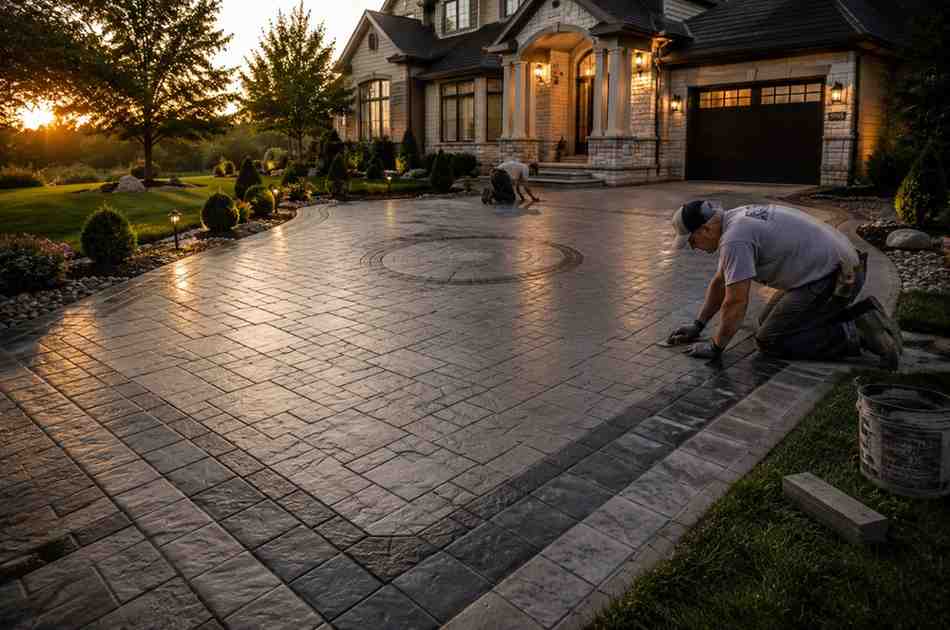
When it comes to durable and cost-effective roofing solutions, box profile metal roofing sheets from Infrakeys Technologies stand out as an excellent choice. These metal profile sheets are widely used in residential, commercial, and industrial buildings due to their strength, weather resistance, and sleek appearance.
If you're planning to install them yourself or want to understand the process, this 800-word guide will walk you through each step for a secure and professional installation.
Why Choose Box Profile Metal Roofing Sheets?
Before starting the installation, it's important to understand why box profile metal roofing sheets are preferred:
✅ Durability – Made from galvanized steel, aluminum, or coated metal, they resist rust, corrosion, and extreme weather.
✅ Lightweight – Easier to handle and install compared to traditional roofing materials.
✅ Waterproof Design – The interlocking profile prevents leaks and ensures efficient water runoff.
✅ Low Maintenance – Requires minimal upkeep, saving time and costs in the long run.
✅ Aesthetic Appeal – Available in various colors and finishes to match any architectural style.
At Infrakeys Technologies, we provide premium-quality metal profile sheets designed for superior performance and longevity.
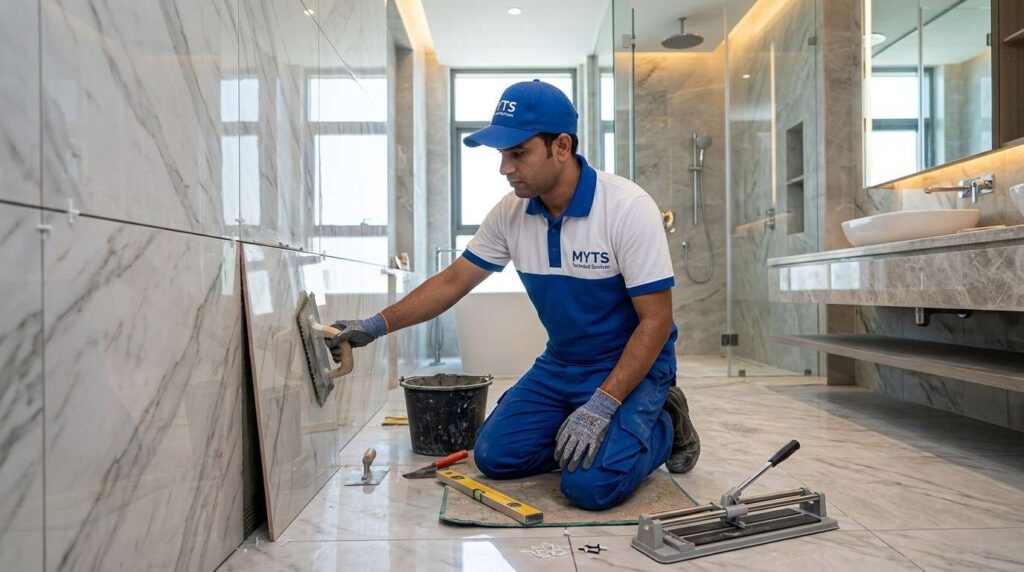
Tools and Materials Required
Before starting the installation, gather the following:
Essential Tools:
Measuring tape & chalk line – For accurate measurements and markings.
Drill with metal-cutting bits – For securing screws and trimming sheets.
Safety gear – Gloves, goggles, and a harness (for working at heights).
Ladder or scaffolding – For safe roof access.
Tin snips or circular saw – For cutting sheets to size.
Materials Needed:
Box profile metal roofing sheets (from Infrakeys Technologies).
Roofing screws with neoprene washers – Prevents leaks and ensures a tight fit.
Underlayment (optional) – Adds insulation and moisture protection.
Ridge caps and flashings – For sealing edges and joints.
Sealant – For extra waterproofing around penetrations.
Step-by-Step Installation Guide
Step 1: Prepare the Roof Structure
Inspect the roof frame (rafters or purlins) to ensure it is sturdy and properly spaced (typically 600mm to 1000mm apart).
Install underlayment (if needed) – A breathable membrane helps with insulation and moisture control.
Step 2: Measure and Plan the Layout
Measure the roof area to determine the number of sheets required.
Mark screw positions using a chalk line (usually along the ridges for secure fastening).
Step 3: Install the Starter Sheets
Begin at the eaves (bottom edge) and overlap the first sheet by at least 150mm for proper water runoff.
Secure with roofing screws at the pre-marked points, ensuring they are tight but not over-tightened (to avoid warping).
Step 4: Fix Subsequent Sheets
Overlap each sheet by one full corrugation to ensure a watertight seal.
Align carefully before drilling to maintain a straight and professional appearance.
Step 5: Install Ridge Caps and Flashings
Seal the roof’s peak with ridge caps to prevent water ingress.
Add flashings around chimneys, vents, and edges for complete weatherproofing.
Step 6: Final Inspection and Adjustments
Check all screws to ensure they are tight and properly sealed.
Trim excess material if necessary for a clean finish.
Pro Tips for a Professional Finish
✔ Use Self-Drilling Screws – These prevent leaks and ensure a secure fit.
✔ Work in Calm Weather – Avoid installation during strong winds or rain.
✔ Follow Safety Protocols – Always use a harness when working at heights.
✔ Check Local Building Codes – Ensure compliance with regional roofing standards.
Why Choose Infrakeys Technologies?
At Infrakeys Technologies, we pride ourselves on delivering:
🔹 Premium-quality box profile metal roofing sheets
🔹 Expert guidance for flawless installation
🔹 Custom solutions tailored to your project needs
🔹 Durable, weather-resistant, and aesthetically pleasing roofing options
Conclusion
Installing box profile metal roofing sheets is a straightforward process when you have the right tools, materials, and knowledge. By following this guide, you can achieve a durable, weatherproof, and visually appealing roof that stands the test of time.
Related Posts


Note: IndiBlogHub is a creator-powered publishing platform. All content is submitted by independent authors and reflects their personal views and expertise. IndiBlogHub does not claim ownership or endorsement of individual posts.
Please review our Disclaimer and Privacy Policy for more information.