 Website Copy Makeover – Turn Visitors into Buyers Instantly!
How to make 3D mockups in Photoshop
Written by Wizard » Updated on: June 17th, 2025

Creating realistic 3D mockups in Photoshop can elevate your designs, making them look professional and engaging. Whether you’re a graphic designer, marketer, or business owner, using 3D mockups can help showcase products in an appealing way. In this guide, we’ll walk you through the process of creating 3D mockups in Photoshop, from start to finish.
Why Use 3D Mockups?

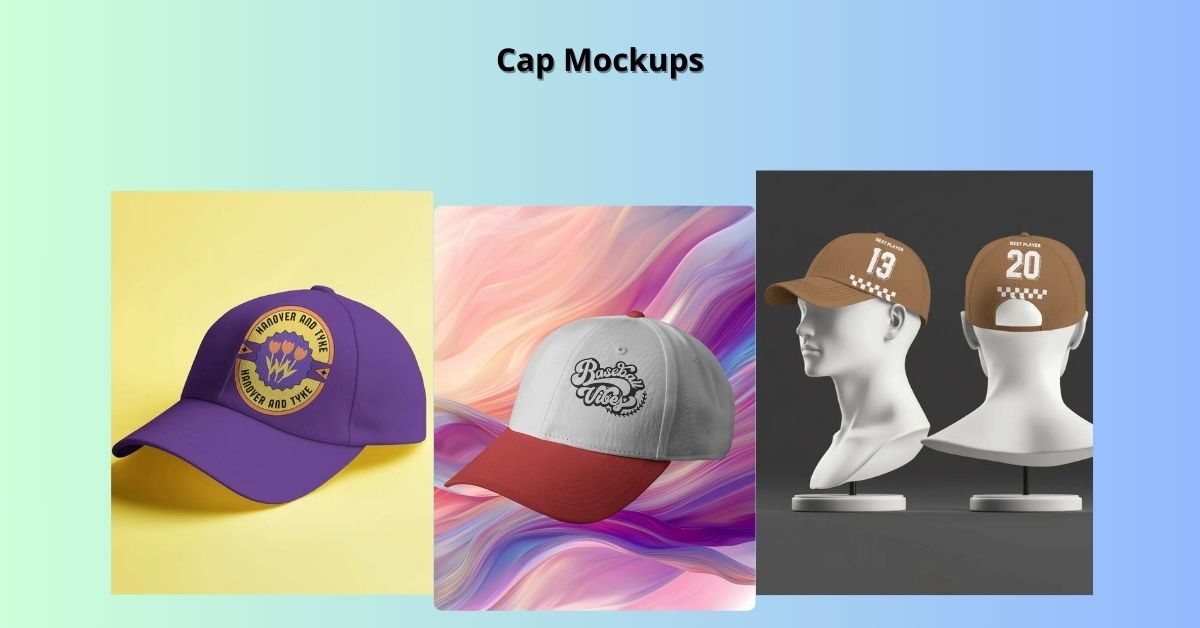
3D mockups are essential for presenting product designs, packaging, and branding in a more dynamic way. Instead of showcasing a flat design, 3D mockups allow you to display your artwork in real-world scenarios. Here are some key benefits:
Professional Presentation – Gives a polished and realistic view of your design.
Client Approval – Helps clients visualize the final product.
Marketing Material – Great for product advertisements and promotional content.
Time-Saving – Eliminates the need for physical prototypes.
Now, let’s dive into the step-by-step process of creating a 3D mockup in Photoshop.
Step 1: Set Up Your Photoshop Workspace
Before creating a 3D mockup, make sure you have Adobe Photoshop installed (preferably the latest version) and prepare your workspace:
Open Photoshop and create a new document (File > New).
Set the dimensions and resolution according to your project requirements (e.g., 1920x1080 pixels at 300 DPI for high-quality images).
Enable the 3D workspace by going to Window > Workspace > 3D.
Step 2: Import or Create Your Design
If you already have a pre-made design, go to File > Place Embedded to insert it into the document.
If you’re starting from scratch, use Photoshop’s tools (Pen Tool, Shape Tool, or Brushes) to create your design.
Ensure your design is on a separate layer, as this will make it easier to apply onto a 3D object.
Step 3: Convert Your Design into a Smart Object
To make the design editable and non-destructive:
Right-click on the design layer.
Select Convert to Smart Object.
This allows you to make changes later without affecting the 3D transformation.
Step 4: Create a 3D Object
Select your design layer.
Go to 3D > New Mesh from Layer > Depth Map to Plane.
Adjust the perspective using the 3D panel and move the object using the Move Tool (V).
For more complex shapes (such as a box or cylinder for packaging mockups):
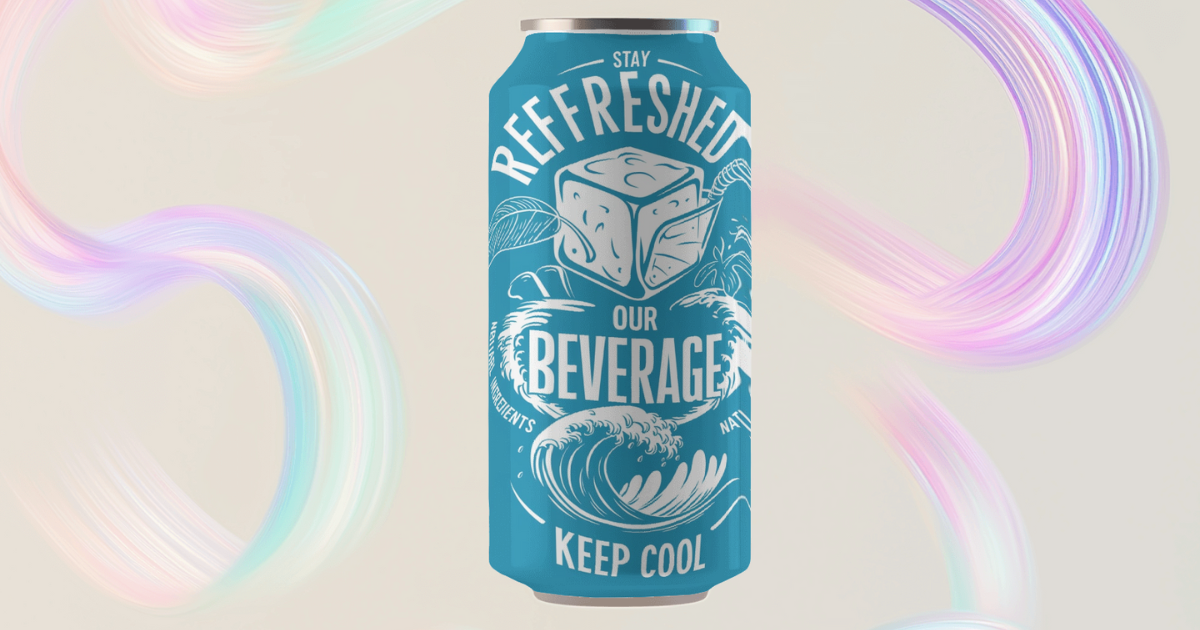
Use 3D > New Mesh from Layer > Mesh Preset and select the desired shape (e.g., Sphere, Cylinder, or Cube).
Step 5: Apply Your Design to the 3D Object
To apply your design to the mockup:
Open the 3D Panel and select the Material Layer.
Click on Diffuse and choose Replace Texture.
Select your smart object design file.
Adjust the scale and position using the Properties Panel.
Step 6: Adjust Lighting and Shadows
For a more realistic look:
Go to the 3D Panel and select the Environment.
Adjust the lighting direction using the Infinite Light Tool.
Modify the shadow settings to make the mockup appear grounded.
You can also add a soft shadow by duplicating the object, converting it to a rasterized layer, and applying Gaussian Blur (Filter > Blur > Gaussian Blur).
Step 7: Render Your 3D Mockup
Once you’re happy with the positioning and lighting:
Go to 3D > Render 3D Layer.
This process may take some time, depending on your computer’s power.
After rendering, you can export your mockup by going to File > Export > Export As and choosing the desired format (PNG, JPEG, etc.).
Bonus Tip: Use Pre-Made Photoshop 3D Mockup Templates
If you want to speed up the process, you can use pre-made PSD mockup templates available online. Simply download a template, open it in Photoshop, and replace the design with your own using Smart Objects.
Final Thoughts
Creating 3D mockups in Photoshop may seem complex at first, but once you get the hang of it, the process becomes much smoother. By following these steps, you can create professional-looking 3D product presentations that impress clients and enhance your branding. Whether you’re designing packaging, apparel, or digital products, 3D mockups help bring your ideas to life.
Now, it’s time to experiment and create stunning 3D mockups for your next project! Let us know in the comments if you have any questions or need further assistance.
Note: IndiBlogHub features both user-submitted and editorial content. We do not verify third-party contributions. Read our Disclaimer and Privacy Policyfor details.
Copyright © 2019-2025 IndiBlogHub.com. All rights reserved. Hosted on DigitalOcean for fast, reliable performance.


