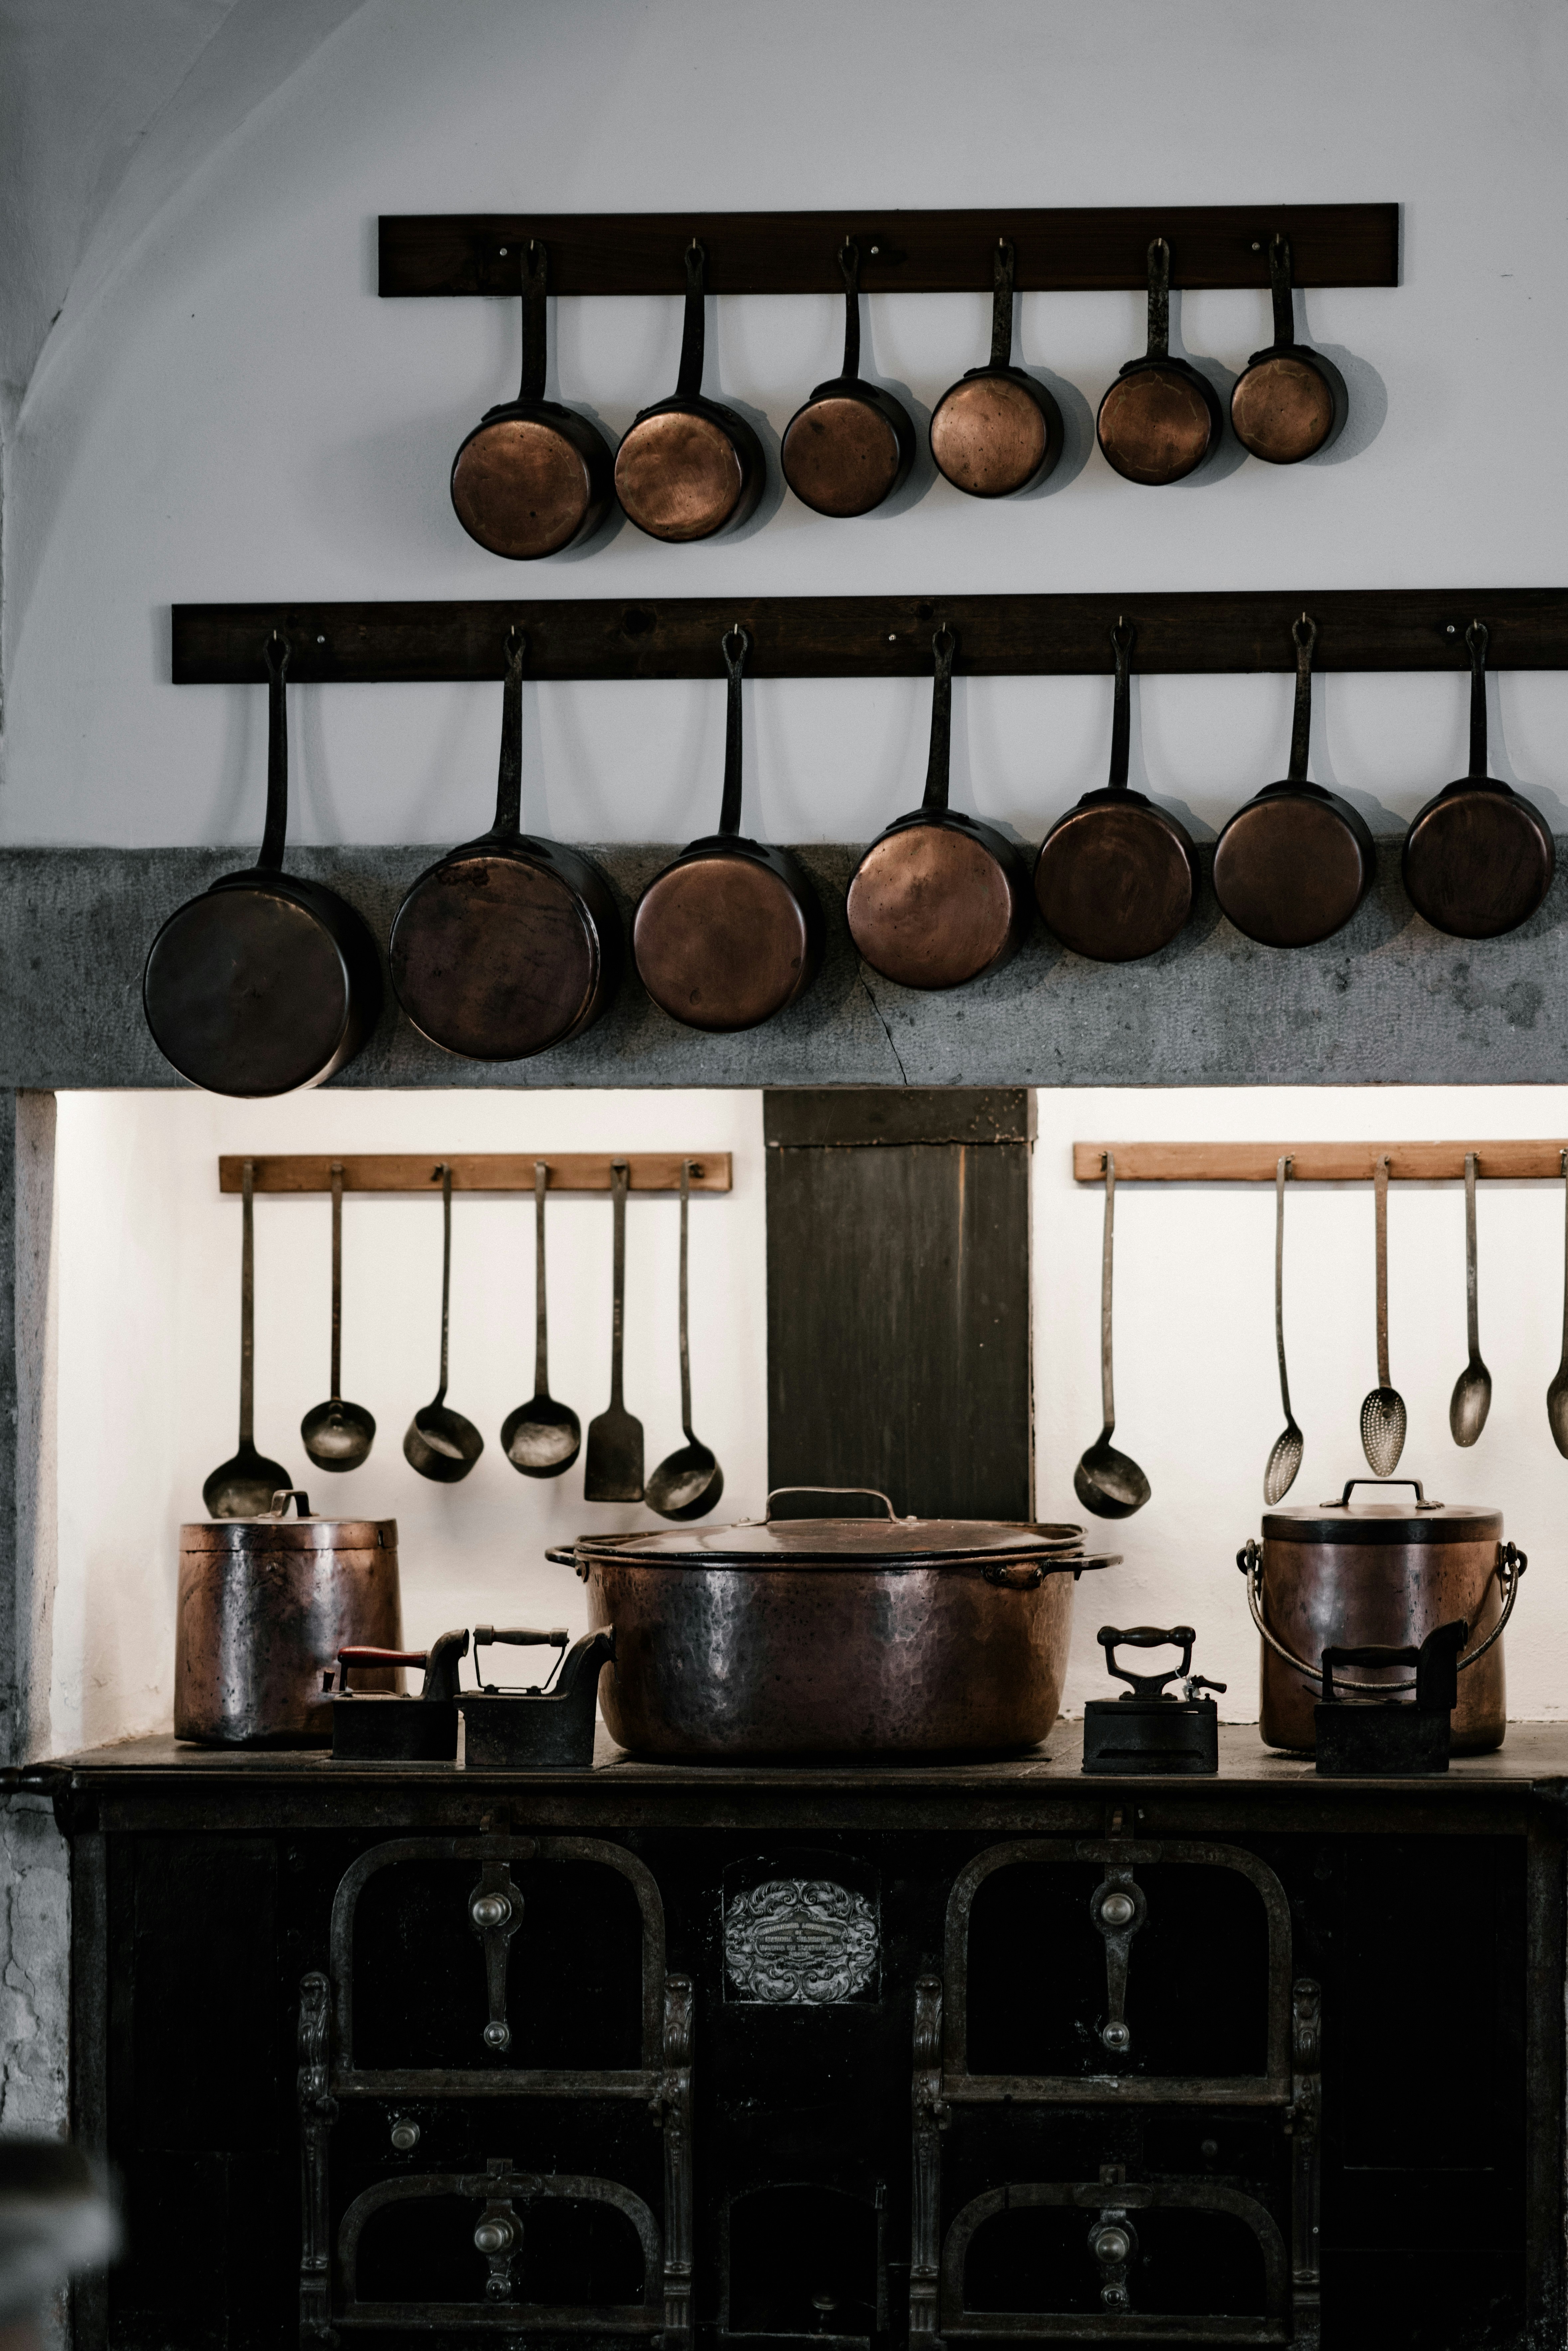
How to Plan Your Commercial Kitchen Layout for Efficiency

Strong 8k brings an ultra-HD IPTV experience to your living room and your pocket.
An efficient commercial kitchen layout is more than just a smart design choice—it’s the foundation for smooth operations, reduced labor costs, enhanced food safety, and faster service. Whether you're launching a new restaurant or redesigning an existing space, how you organize your kitchen can directly impact staff productivity and customer satisfaction.
In this guide, we’ll walk you through the essential principles, layout types, and tips to plan a commercial kitchen equipment that maximizes efficiency, supports safety protocols, and aligns with your business goals.
1. Understand Your Menu and Workflow
Before designing any kitchen layout, you need to fully understand your menu. Your food offerings will dictate the type of equipment, prep stations, storage needs, and overall workflow.
Do you serve grilled items, baked goods, or complex sauces?
Do you require specialized stations like wok ranges, pizza ovens, or sushi counters?
Will you serve high volume during rush hours?
Once you understand the flow of ingredients from storage to prep to cooking and service, you can map out the kitchen workflow. A well-planned workflow minimizes backtracking, collisions, and delays.
2. Follow the Kitchen Work Zones
To build an efficient kitchen, break the space into key work zones based on function:
Receiving & Storage: Dry goods, cold storage, and packaging
Food Prep: Cutting, mixing, portioning
Cooking Line: Ovens, ranges, grills, fryers
Plating & Service: Assembly and delivery to the pass or service window
Warewashing: Dish area, three-compartment sink, drying racks
Design your layout so that food moves logically from receiving to service, with minimal crossover. Dirty dishes should never cross paths with clean ingredients or finished meals.
3. Choose the Right Layout Type
There are five common commercial kitchen layout types. Your choice depends on your available space, staff size, and foodservice model.
1. Assembly Line Layout
Best for: Fast food, high-volume restaurants
Features: Stations arranged in a straight line from prep to service
Pros: Very efficient for repeatable, standardized tasks
Cons: Not flexible for menu changes or multi-course meals
2. Island Layout
Best for: Open kitchens, large restaurants
Features: Central cooking station (island) with surrounding prep and storage areas
Pros: Encourages teamwork and visibility
Cons: Requires large footprint and strong ventilation
3. Zone-Style Layout
Best for: Restaurants with diverse menus
Features: Separate zones for prep, cooking, baking, salad, etc.
Pros: Supports multiple chefs and tasks simultaneously
Cons: Needs more equipment and coordination
4. Galley Layout
Best for: Small kitchens, food trucks
Features: Stations aligned along two parallel walls
Pros: Space-efficient and linear workflow
Cons: Can get cramped and cause congestion
5. Open Kitchen Layout
Best for: Restaurants emphasizing transparency or chef performance
Features: Visible kitchen with seating nearby
Pros: Engaging for guests and adds ambiance
Cons: Requires pristine cleanliness and sound control
Choose a layout that supports your daily volume, enhances communication, and fits within your floor plan.
4. Prioritize the Kitchen Work Triangle
A concept borrowed from residential kitchens, the kitchen work triangle refers to the efficient spacing between the sink, refrigerator, and cooking station. These three points should be easily accessible, ideally without obstruction.
In commercial kitchens, the concept extends to:
Storage to prep
Prep to cooking
Cooking to plating
Plating to dish return
Minimizing the distance between key stations saves time and reduces physical strain on your staff.
5. Optimize for Safety and Sanitation
Efficiency is important, but not at the cost of safety. Make sure your layout meets all health and fire codes and supports safe kitchen practices.
Keep raw and cooked food areas separate
Ensure hand sinks are accessible in prep and cook areas
Allow sufficient space between hot and cold equipment
Use non-slip flooring, rounded corners, and fire suppression systems
Provide proper ventilation to remove heat, smoke, and odors
Leave at least 3 to 4 feet of aisle space between workstations to allow two people to pass without bumping into each other.
6. Maximize Vertical and Undercounter Space
Efficient use of space doesn’t just happen on the floor. Use vertical storage, wall-mounted shelves, and undercounter units to keep tools, ingredients, and equipment within reach without crowding the workspace.
Install shelving over prep tables
Use undercounter refrigeration below prep stations
Store infrequently used equipment in overhead storage
Every square inch matters—especially in small kitchens.
7. Choose the Right Equipment Footprint
Large equipment may seem appealing, but over-sized appliances can hurt your kitchen’s flow. Measure your kitchen space and choose equipment that balances capacity with efficiency.
Consider multi-functional equipment like combi ovens or cook-and-hold units
Choose compact dish machines or prep tables for tight areas
Look for modular or mobile units that offer flexibility
Always plan for future expansion, even if you’re starting small.
8. Ensure Proper Utility Access
Plan your layout to align with utility lines—gas, electric, water, and ventilation. This reduces renovation costs and keeps inspections hassle-free.
Group similar appliances by utility type
Ensure enough electrical outlets and circuit breakers for peak usage
Install floor drains where needed (e.g., dish area, prep sinks)
Plan for hoods and fire suppression over cooking equipment
Consult with a licensed contractor or kitchen designer to verify code compliance.
9. Design for Communication and Flow
A chaotic kitchen slows down productivity. Your layout should promote clear communication between stations.
Keep the expediter’s station (or “the pass”) clearly accessible
Ensure servers and cooks don’t cross paths unnecessarily
Designate clear entry and exit routes for dish return, deliveries, and staff traffic
Adding clear signage, colored floor lines, or physical dividers can also help guide movement and reduce confusion.
10. Involve Your Staff in the Planning Process
Your team knows the kitchen best. Involve chefs, line cooks, and dish staff in the layout process. They can offer insights on:
Bottlenecks they face during rush hours
Tools and appliances that need to be relocated
Communication or visibility issues between stations
Staff buy-in also boosts morale and smooths the transition to a new design.
Final Thoughts
A well-planned commercial kitchen layout is more than just a functional necessity—it’s a strategic investment in your team’s productivity, food quality, and customer satisfaction. Whether you’re building from scratch or optimizing an existing space, focus on flow, safety, accessibility, and adaptability.
Take the time to evaluate your space, menu, and workflow, and consider consulting with a commercial kitchen designer or architect for a tailored plan that meets your current needs and future goals.
Note: IndiBlogHub features both user-submitted and editorial content. We do not verify third-party contributions. Read our Disclaimer and Privacy Policyfor details.


