How to Use SVG Files in Cricut Design Space: A Step-by-Step Guide
Strong 8k brings an ultra-HD IPTV experience to your living room and your pocket.
SVG (scalable vector graphics) files are easily adoptable graphics that can be resized without losing quality, making them ideal for use with cutting machines like Cricut Joy, Cricut Explore, and Cricut Maker. Whether you are creating paper designs projects, paper flowers, or other designs, this guide will show you how to use SVG files in Cricut Design Space on various platforms.
The steps cover uploading and customizing SVG files before cutting them with your Cricut machine. You will learn to work with SVG files sourced from websites, memberships like Especially Paper's collection of over 300 digital cut file designs, or other online sources.
Downloading and Unzipping SVG Files
To download and unzip SVG files for use in Cricut Design Space, follow these steps:
- Scroll to the bottom of the project post to find the SVG files for the project.
- Click and download the SVG file, which will be a compressed (zipped) file.
For Mac Users
- Double-click the zipped folder to extract the SVG file.
For Windows Users
- Right-click the zipped folder, select 'Extract All', and click 'Extract'.
The SVG file is now ready to be uploaded and used in Cricut Design Space. You can also download your own SVG files from various sources and upload them to Cricut Design Space to cut with your Cricut machine. Any image file type, including JPEG, SVG, and PNG, can be uploaded and used. When uploading, select 'Complex Image' to get the best detail on the image. You can use the editing tools to erase any unwanted parts of the image, and save the image as a 'Cut Image' to prepare it for cutting.
Uploading SVG Files to Cricut Design Space
To upload an SVG file to Cricut Design Space, follow these steps:
1. Log into Design Space and create a new project.
2. Click the 'Upload' button or icon in the left panel or sidebar.
3. Select 'Upload Image'.
4. Browse your computer and select the SVG file you want to upload.
5. The uploaded SVG file will appear in the 'Recently Uploaded Images' section.
6. You can optionally:
- Rename the file
- Add tags to the file for easier searching later
- View the file before uploading
7. Select the SVG file and click 'Insert Images' or 'Insert Image' to add it to the canvas.
Once the SVG file is on the canvas, you can:
- Resize the image
- Change the colors
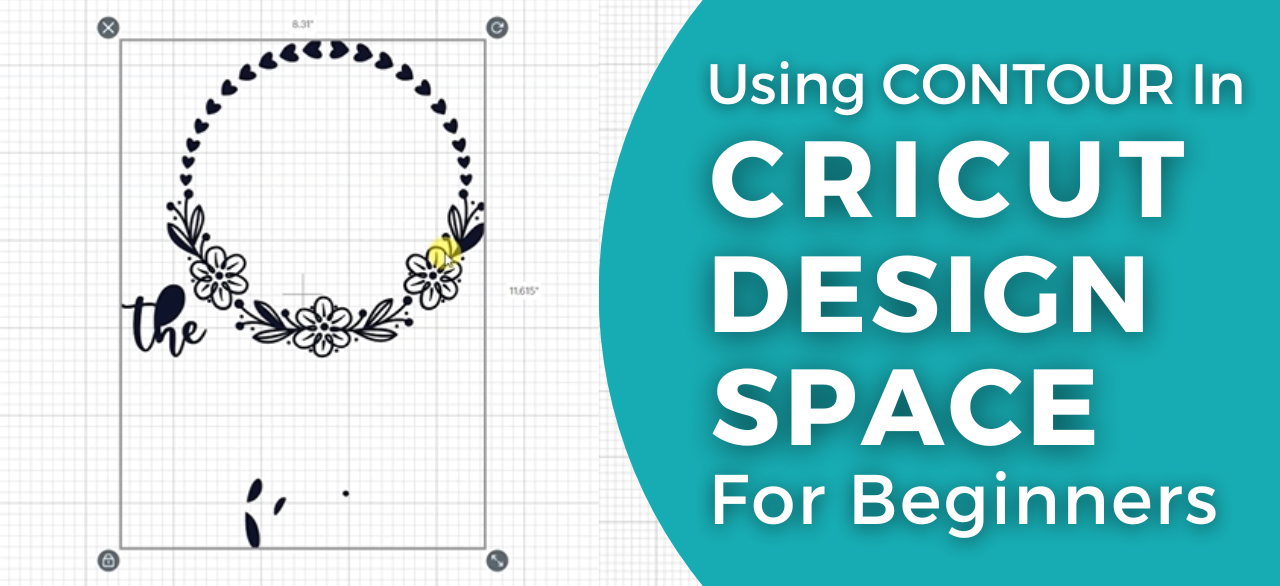
- Ungroup the image to edit individual layers (for vector SVGs)
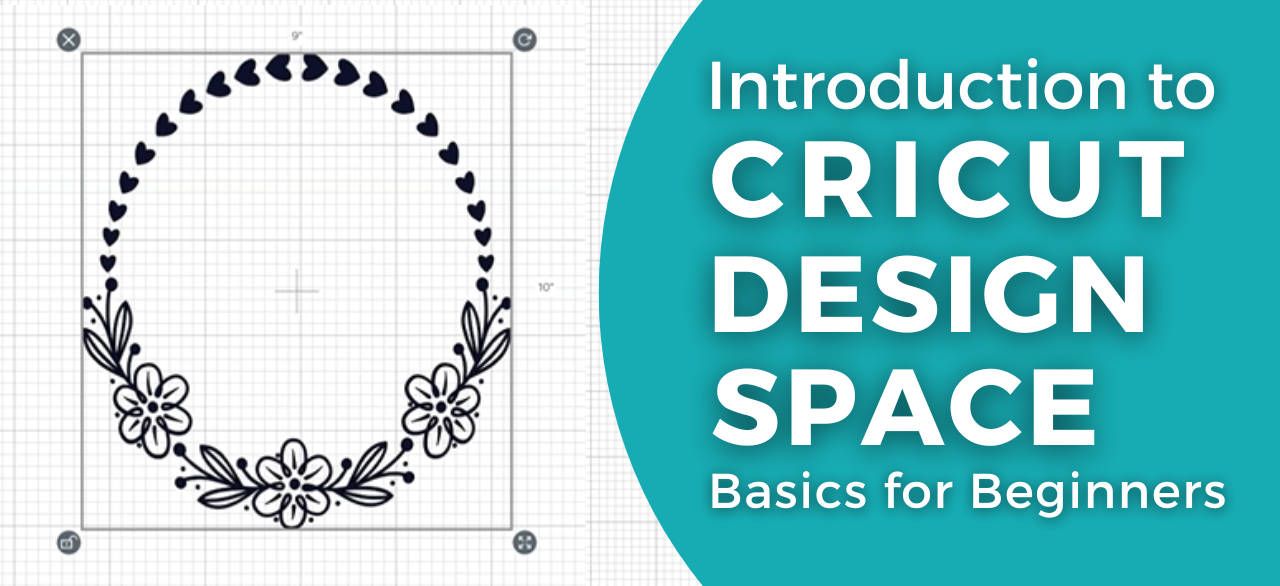
Design Space allows you to upload vector images like SVGs and DXFs, as well as raster images like PNGs and JPEGs. Vector images will appear as grouped objects on the canvas, which you can ungroup to edit individual layers.
Cutting the SVG Project
Once the SVG file is uploaded and prepared in Cricut Design Space, you can proceed to cut the project. Here are the steps:
- Click the 'Make It' button to send the project to the cutting machine.
- Cricut Design Space will automatically select a 12x12" mat and sort the pieces. You can rearrange the pieces manually and hide individual pieces if needed.
- Set the material type (e.g. 80lb cardstock) in the materials menu.
- The Cricut machine will automatically switch between cutting and scoring tools as needed. It will prompt you to switch tools when transitioning between cutting and scoring.
- When ready to cut, select the appropriate material (in this case, holographic vinyl) and load the mat into the Cricut machine.
- Press the flashing arrow to load the material and start the cutting process.
After cutting, follow these steps:
- Remove the excess vinyl around the design using a weeding tool.
- Use the transfer tape to carefully transfer the cut design from the mat to the desired surface, in this case, a notebook.
- Use a scraper tool to firmly press the design onto the surface.
- Slowly peel away the transfer tape, leaving the design adhered to the notebook.
For complex projects with writing or scoring:
- Ungroup the pieces so you can select them individually.
- Change the operation to 'Pen' for any writing layers and select the pen type.
- Change the operation to 'Score' for any score lines.
- Attach pieces that should be cut together to keep them grouped on the mat.
You can hide or delete any pieces you don't want to cut.
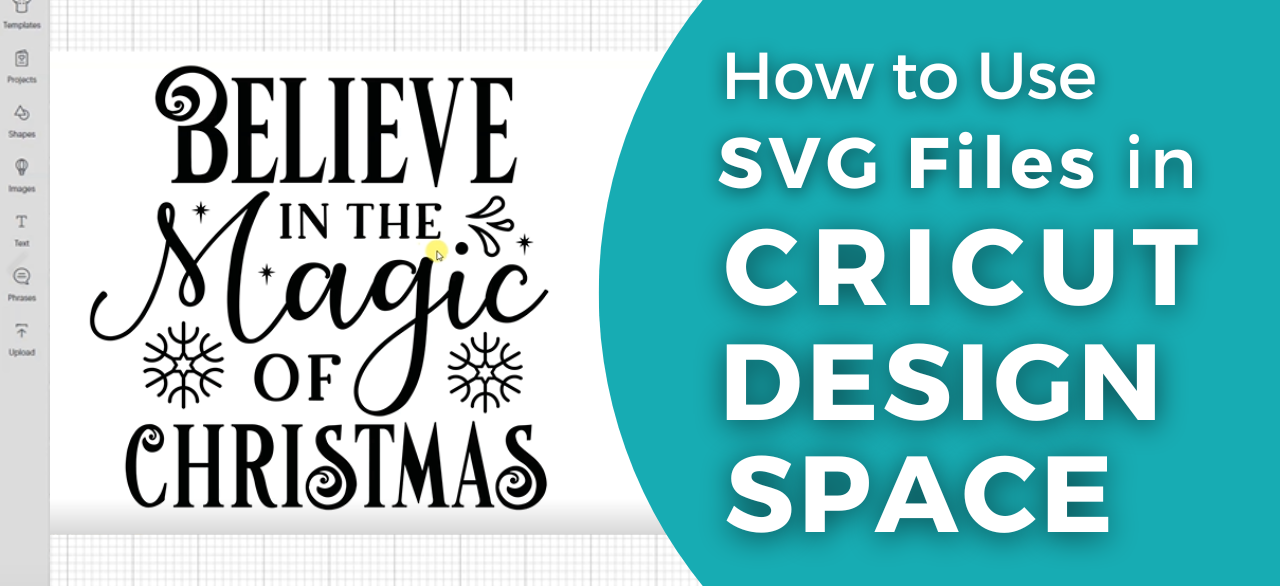
In this video, we will show you how to use SVG files in Cricut Design Space. You can learn step by step how to use SVG files in Cricut Design Space, perfect for beginners or anyone
Note: IndiBlogHub features both user-submitted and editorial content. We do not verify third-party contributions. Read our Disclaimer and Privacy Policyfor details.


