Pellet Stove Repair in Jacksonville: A Safer, Faster, Transparent Process
-
- March 09th, 2026
- 176 views

Get a free topical map and start building content authority today.
Choosing a technician for pellet stove repair Jacksonville often comes down to trust, safety, and clarity. This guide explains the differences that make a repair process reliable, how a structured approach reduces repeat visits, and what homeowners should expect during a professional service visit.
Detected intent: Commercial Investigation
Key points: a formal repair framework, local code and safety checks, transparent pricing and documentation, and a follow-up plan. Includes a named REPAIR Framework, a pellet stove maintenance checklist, a short real-world scenario, practical tips, and common mistakes to avoid.
Why pellet stove repair Jacksonville process matters
Local conditions, building codes, and climate in Jacksonville affect appliance performance and safety. A consistent process for pellet stove repair Jacksonville reduces risk of carbon monoxide leaks, improves heating efficiency, and prevents recurring breakdowns by addressing root causes instead of symptom fixes.
Unique elements of a best-practice repair process
1. Pre-visit intake and remote diagnostics
A structured intake collects model information, symptom history, and recent fuel changes. When possible, technicians use photos or short videos to identify obvious issues before the appointment. This reduces on-site diagnostic time and ensures correct replacement part inventory.
2. Safety-first inspection and testing
Before any repairs, a complete safety inspection includes an airtightness check, venting integrity, combustion airflow, and a carbon monoxide test. Adherence to standards from the National Fire Protection Association (NFPA) and industry organizations reduces risk; for practical chimney and venting safety guidance see the Chimney Safety Institute of America.
3. Transparent diagnosis, options, and pricing
A clear diagnosis, stepwise repair options, parts list, and fixed labor estimate help homeowners compare value. Documenting what was inspected, what was repaired, and why helps avoid unexpected charges later.
4. Parts inventory and OEM compatibility checks
Using compatible parts and verifying serial/model compatibility prevents control board conflicts and auger/motor mismatches that commonly cause repeat calls.
5. Post-repair verification and follow-up plan
After repairs, a functional test under load, flue draft measurements, and a homeowner walkthrough explain new settings and maintenance intervals. A follow-up check or scheduled maintenance reminder ensures the repair holds.
The REPAIR Framework: a named checklist for consistent outcomes
REPAIR is a practical model to structure every visit:
- Reveal — Collect model, serial, and symptom history before arrival.
- Evaluate — Conduct safety checks: CO, venting, combustion, electrical.
- Plan — Present repair options, parts, timeline, and cost estimate.
- Align — Confirm OEM compatibility and ordered parts or replacements.
- Implement — Perform repairs, replace parts, and adjust settings.
- Review — Run performance tests, document results, and schedule follow-up maintenance.
Pellet stove maintenance checklist (quick reference)
This pellet stove maintenance checklist helps homeowners and technicians prioritize tasks during service visits:
- Empty and clean burn pot and ash pan; inspect for corrosion.
- Inspect and clean the heat exchanger and combustion chamber.
- Check auger operation and motor; test feed rate and adjust if needed.
- Inspect and tighten electrical connections; test control board diagnostics.
- Clean or replace gaskets and seals; verify door and hopper seals.
- Inspect venting system for blockage, creosote, or leaks.
- Conduct a carbon monoxide and flue gas check under operating conditions.
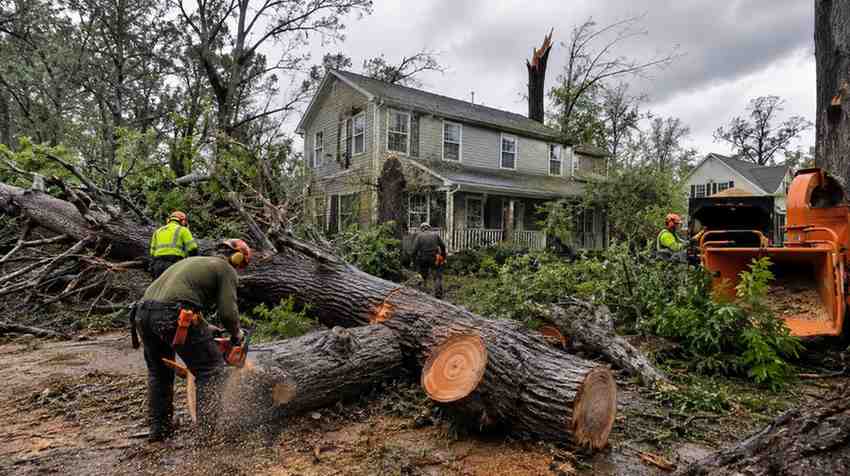
Real-world example: diagnosing smoke and low heat
A Jacksonville homeowner reported visible smoke in the living area and low heat output. Pre-visit photos showed incomplete combustion deposits on the heat exchanger. On-site evaluation found an obstructed exhaust elbow, a partially seized auger motor, and worn door gaskets. The repair sequence followed the REPAIR Framework: safety checks first, replacement of the auger motor and gaskets, vent cleaning, and a combustion adjustment. After implementation, CO readings normalized and heat output returned to expected levels. Documentation included images and a two-week follow-up reminder.
Practical tips for homeowners
- Keep the model and serial number of the stove in a visible place to speed diagnostics.
- Use good-quality pellets and store them dry to prevent feed issues and corrosion.
- Request a written estimate that lists parts, labor, and the planned tests to be performed.
- Ask for CO and flue draft test results after the repair; accept refusal as a red flag.
Trade-offs and common mistakes
Trade-offs
Faster visits can mean less thorough documentation. Keeping parts in stock can increase inventory costs for a provider but reduce return visits. Choosing generic parts may save money initially but can create compatibility issues that lead to repeated service calls.
Common mistakes
- Failing to test under operating load—some faults only appear when the unit runs for 20–30 minutes.
- Skipping venting inspection—small blockages can cause smoke backflow and CO hazards.
- Not documenting the repair—without records, future technicians may repeat diagnostic steps unnecessarily.
Core cluster questions (good targets for related articles)
- How often should a pellet stove be serviced?
- What are the most common pellet stove failure modes?
- How to test a pellet stove for carbon monoxide and draft issues?
- When is replacement more cost-effective than repair for a pellet stove?
- How to maintain a pellet stove to extend its service life?
Choosing a provider: evaluation checklist
When evaluating a service provider in Jacksonville, use this short checklist during phone intake:
- Can the provider identify the stove by model and typical issues over the phone?
- Does the provider perform CO and draft testing as part of a standard visit?
- Is there clear documentation and a written estimate before work begins?
- Are replacement parts documented with OEM numbers where applicable?
FAQ
How long does a typical pellet stove repair in Jacksonville take?
Most diagnostic visits take 45–90 minutes. Simple repairs like gasket replacement or cleaning can often be completed in one visit; more complex jobs requiring ordered parts may require return visits and are scheduled after a clear estimate is provided.
How often should a pellet stove be serviced?
Annual professional service is recommended, with light homeowner maintenance (ash removal, pellet quality checks) monthly during heavy use. Coastal and humid climates like Jacksonville may need more frequent inspections due to moisture-related issues.
What does a professional pellet stove safety check include?
Standard safety checks include carbon monoxide testing, flue draft measurement, vent and chimney inspection, heat exchanger inspection, electrical connection checks, and a combustion test under load.
What are common warning signs that a pellet stove needs repair?
Signs include increased smoke or smell, reduced heat output, frequent auger jams, unusual noises, visible corrosion, or alerts from the control panel. Any unexplained CO alarm should prompt immediate shutdown and professional inspection.