Suture Removal Without a Doctor, How to Do It Right
-

- December 21st, 2025
- 2,571 views

FREE SEO Topical Map Generator: Find Your Next Content Ideas
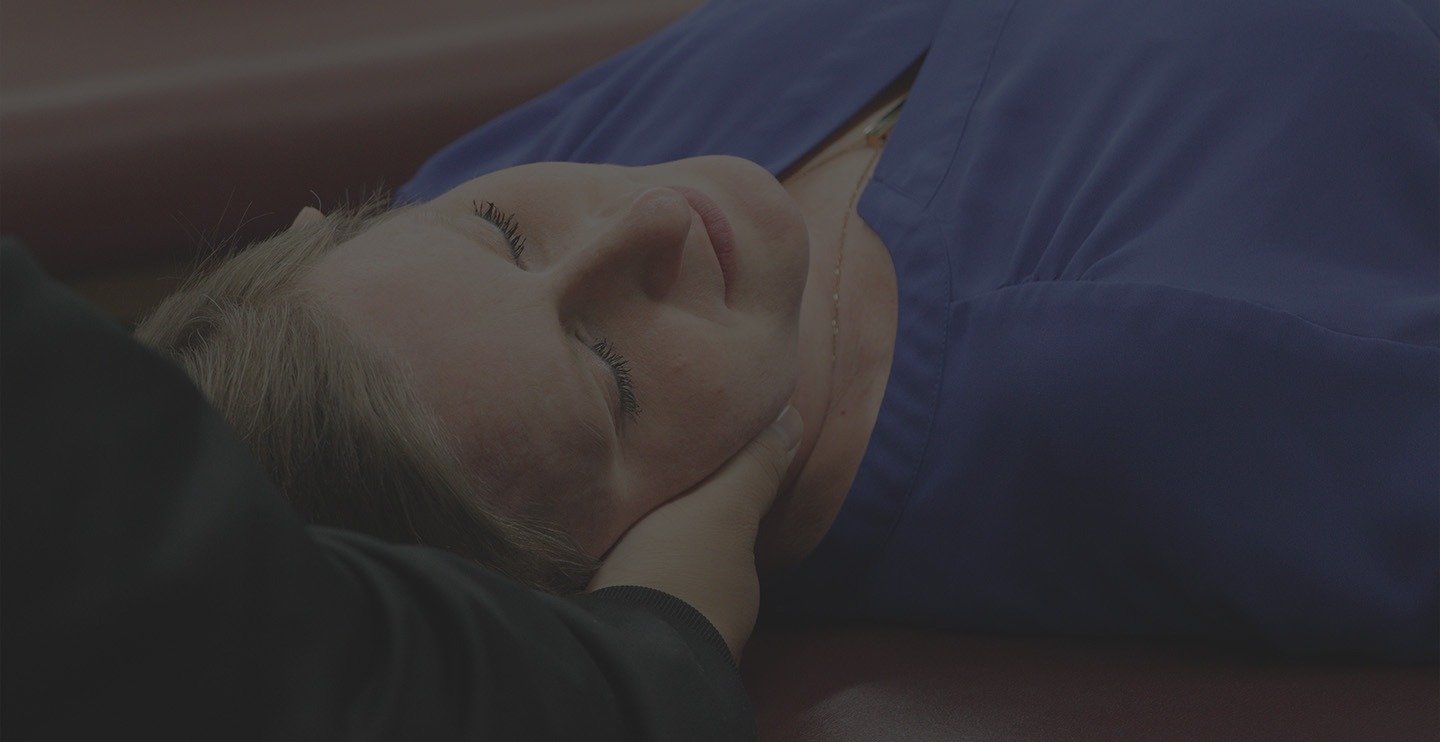
Suture removal without a doctor is an option for individuals who have minor stitches and are looking for a convenient way to manage their wound care at home. While it can be done safely, it's crucial to follow proper procedures to avoid complications like infection, improper healing, or unnecessary scarring. This guide will walk you through how to Suture Removal at Home(إزالة الغرز في المنزل) correctly, ensuring that your healing process continues smoothly without the need for a doctor's visit.
When It’s Safe to Remove Sutures Without a Doctor?
Before attempting to remove your sutures without a doctor, you must be sure that it’s the right time. Generally, sutures are removed after 7 to 14 days, depending on the location and type of wound. If the wound appears fully closed, with no gaps or openings, and there are no signs of infection such as redness, swelling, or drainage, it may be safe to proceed with removal. For facial stitches or superficial wounds, the healing process may take less time, while deeper or larger wounds may require a bit longer. Always consult your healthcare provider if you're unsure about whether your stitches are ready to be removed.
Preparing for Suture Removal at Home:
Proper preparation is key to ensuring a safe and effective suture removal process. First, you will need to gather the necessary tools, such as sterile scissors, tweezers, antiseptic solution, cotton balls, or gauze. You can also consider using a suture removal kit, which includes all the essential tools. Make sure that all your tools are disinfected by wiping them down with rubbing alcohol or boiling them in water. It’s also important to wash your hands thoroughly with soap and water, and you may want to use hand sanitizer afterward to eliminate any germs before touching the wound.
Cleaning the Wound and Surrounding Area:
Before removing the sutures, cleaning the wound area is critical to reduce the risk of infection. Use a mild antiseptic solution like iodine or hydrogen peroxide to gently clean the wound and surrounding skin. Avoid scrubbing or using harsh chemicals, as this can irritate the skin or delay healing. Be sure to clean any dried blood or debris around the stitches without disturbing the sutures themselves. Once the area is clean, allow it to air dry completely. This will ensure that the area remains sterile and free from bacteria, reducing the chances of infection.
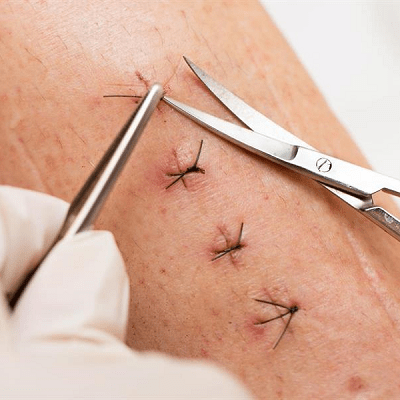
Step-by-Step Guide to Removing Sutures at Home:
Now that the area is clean, you can begin the process of removing the sutures. Use the tweezers to gently lift one end of the stitch, and then use your sterilized scissors to cut the suture close to the knot. Cutting the suture as close to the skin as possible is crucial, as this reduces the chance of pulling on the wound while removing the stitch. Once the suture is cut, use the tweezers to carefully pull the stitch out, taking care not to tug too hard on the wound. Move slowly and gently to avoid unnecessary irritation or injury to the skin. If you feel any resistance or discomfort while removing the stitch, stop immediately and consult your healthcare provider for further guidance.
Post-Suture Removal Care and Monitoring for Infection:
After removing all the sutures, proper care is necessary to ensure that the wound heals correctly. Apply an antibiotic ointment to the cleaned wound to prevent bacteria from entering. Cover the wound with a sterile bandage to protect it from dirt, bacteria, and other environmental factors. Make sure to change the bandage regularly, especially if it gets wet or soiled. Keep the wound clean and dry at all times, and avoid activities that may cause friction or irritation to the healing area. It's also important to monitor the wound closely for any signs of infection, such as increased redness, swelling, or pus. If any of these symptoms appear, seek medical attention immediately.
When to Seek Professional Help for Suture Removal?
Although many minor sutures can be removed safely at home, there are situations where professional help is needed. If the wound is in a sensitive area, such as the face or near joints, it may be better to have a doctor remove the stitches to avoid scarring or complications. Additionally, if you experience significant pain, bleeding, or notice that the sutures are embedded deeply into the skin, it’s best to seek medical attention. If you’re unsure at any point during the process or if something doesn’t feel right, don’t hesitate to visit your healthcare provider for assistance.
Removing sutures without a doctor can be a simple and effective way to manage minor injuries at home, but it requires caution and proper care. By following the steps outlined in this article, including knowing when to remove stitches, preparing the right tools, cleaning the wound, and monitoring for infection, you can safely remove sutures at home. Always be mindful of your healing progress and seek professional help if necessary to ensure the best outcome for your recovery.