Remove Watermarks from Video and Images Fast
-

- May 16th, 2026
- 50 views

Get a free topical map and start building content authority today.
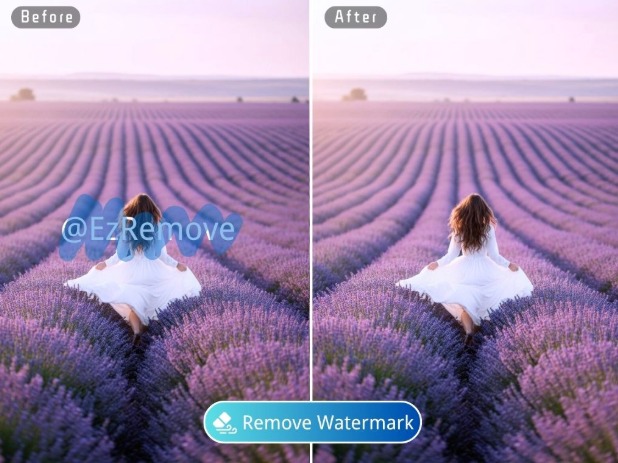
You often find the perfect video clip for a project only to realize it has a distracting logo or text overlay. This can make your work look messy and unprofessional. You can solve this problem quickly by using a video watermark remover to clean up your footage. These tools use smart technology to identify the unwanted area and fill it in with pixels that match the surrounding background. It saves you from having to re-shoot or buy expensive stock footage when you already have what you need.
Sometimes you might want to grab a still frame from that video to use as a thumbnail or a social media post. If the frame still has small artifacts or if you want to enhance the quality of the shot, you should use an AI image editor to finish the job. This tool allows you to touch up specific parts of the picture and ensure the final result looks clean. Using these two tools together gives you a complete kit for handling any visual content that needs a bit of cleaning.
Step-by-Step Guide to Cleaning Your Media
The process of removing unwanted elements from your videos and photos is much easier than it used to be. You do not need to be a professional editor to get great results. Follow these steps to transform your files.
#### Step 1: Prepare Your Video File
Start by looking at your video to see where the watermark is located. You should check if the logo stays in one place or if it moves around the screen. Most logos are static, which makes them easier to remove. Open your browser and go to the removal tool. You will see an upload button where you can drag and drop your file. Make sure the file format is supported, though most tools handle MP4 and MOV files without any issues.
#### Step 2: Select the Watermark Area
Once your video is uploaded, you will see a preview window. You need to tell the software exactly what to remove. Most tools provide a brush or a box selection tool. Click and drag over the logo or text you want to disappear. You should try to keep the selection as tight as possible. If you select too much of the background, the AI might get confused and create a blurry patch. If the watermark moves, you may need to use a timeline feature to track the object across different frames.
#### Step 3: Run the Removal Process
After you have selected the area, click the process button. The software will start analyzing the frames. It looks at the pixels before and after the watermark to guess what should be behind it. This is called inpainting. You'll need to wait a few minutes, depending on how long your video is. Once it finishes, play the video back to make sure the area looks natural. If you see any flickering, you might need to adjust your selection and try again.
#### Step 4: Save and Export Your Video
If you are happy with the results, you can download the file. Choose the highest resolution possible to maintain the quality of your original footage. You now have a clean video that is ready for use in your projects. You can stop here if you only needed the video, but if you want to create high-quality images from the footage, there is one more step.
#### Step 5: Capture a Still Frame
Play your cleaned video and pause it on the exact frame you want to use as a photo. Use a screen capture tool or the export frame feature in your video player to save this as a JPG or PNG file. Even though the video looks good, a still image might show small imperfections that were not visible while the video was moving. This is where the second tool comes in handy.
#### Step 6: Polish the Image
Open your captured frame in the photo editing tool. You can use the healing brush to fix any tiny spots where the video removal process left a mark. You can also use the AI to improve the lighting or sharpen the details of the image. This ensures that your still photo looks just as professional as a dedicated photograph. Save your final image once you are satisfied with the look.
Tips and Best Practices
To get the best results, you should keep a few things in mind while working. Not all videos are the same, and some backgrounds are harder for the AI to recreate than others.
First, always look for the highest quality source file. If your video is blurry or pixelated, the AI will have a hard time matching the texture of the background. A clear, high-definition video gives the software more data to work with. This results in a much smoother removal that is harder for the human eye to spot.
Second, pay attention to the background behind the watermark. If the logo is over a solid color like a blue sky, the removal will be nearly perfect. If the logo is over a complex pattern like a brick wall or a crowd of people, the AI might struggle. In these cases, you should use the smallest selection box possible to avoid disturbing the complex patterns around the logo.
Third, use the image editor for final touches. AI is very good, but it is not perfect. Sometimes it leaves a slight smudge. By taking the frame into a photo tool, you can manually fix those small errors. You can also adjust the contrast and brightness to help hide any areas where the AI had to guess the background.
Task |
Video Tool Use |
Image Tool Use |
Removing Logos |
Best for moving footage |
Best for single frames |
Fixing Backgrounds |
Uses surrounding frames |
Uses surrounding pixels |
Processing Time |
Takes longer for clips |
Very fast for photos |
File Size |
Produces larger files |
Produces small files |
Common Mistakes to Avoid
Many people make the same few errors when they start using these tools. Avoiding these mistakes will save you time and help you produce better content.
One common mistake is selecting an area that is too large. You might think that covering the whole corner of the screen is safer, but it actually makes the job harder for the AI. The more original background you leave visible, the better the tool can copy that texture into the space where the watermark was. Keep your brush strokes or boxes tight around the edges of the logo.
Another mistake is ignoring the movement in the video. If the camera is panning or zooming, the background behind the watermark is constantly changing. You must ensure the tool is tracking the watermark correctly through the entire duration of the clip. If the selection box slips, the logo will reappear for a few seconds, which ruins the effect.
Do not forget to check the audio as well. Sometimes when you edit or process a video through various tools, the audio can get out of sync. Always play the final exported file from start to finish to ensure the sound matches the action on the screen. If you only need the visuals, this is less of a concern, but for most projects, sync is vital.
Finally, do not expect the tool to work perfectly on very large objects. If a watermark covers half the screen, the AI has to invent too much new information. These tools work best for logos, timestamps, and small text overlays. If you have a massive object blocking the view, you might be better off cropping the video instead of trying to remove the object.
Conclusion
Using a video watermark remover alongside an AI image editor is the smartest way to handle messy media files. You can quickly clean up your videos and then use the image tool to make sure your still frames look perfect. This workflow saves you hours of manual editing and allows you to use content that would otherwise be unusable. By following the steps and tips mentioned above, you can create clean, professional visuals for any project. Start with a small selection, check your results, and use the image tool for that final bit of polish. You'll find that even the most stubborn logos can be removed with just a few clicks.


