How to Fit Car Seat Covers at Home: A Step-by-Step Guide
-

- June 30th, 2026
- 1,332 views

FREE SEO Topical Map Generator: Find Your Next Content Ideas
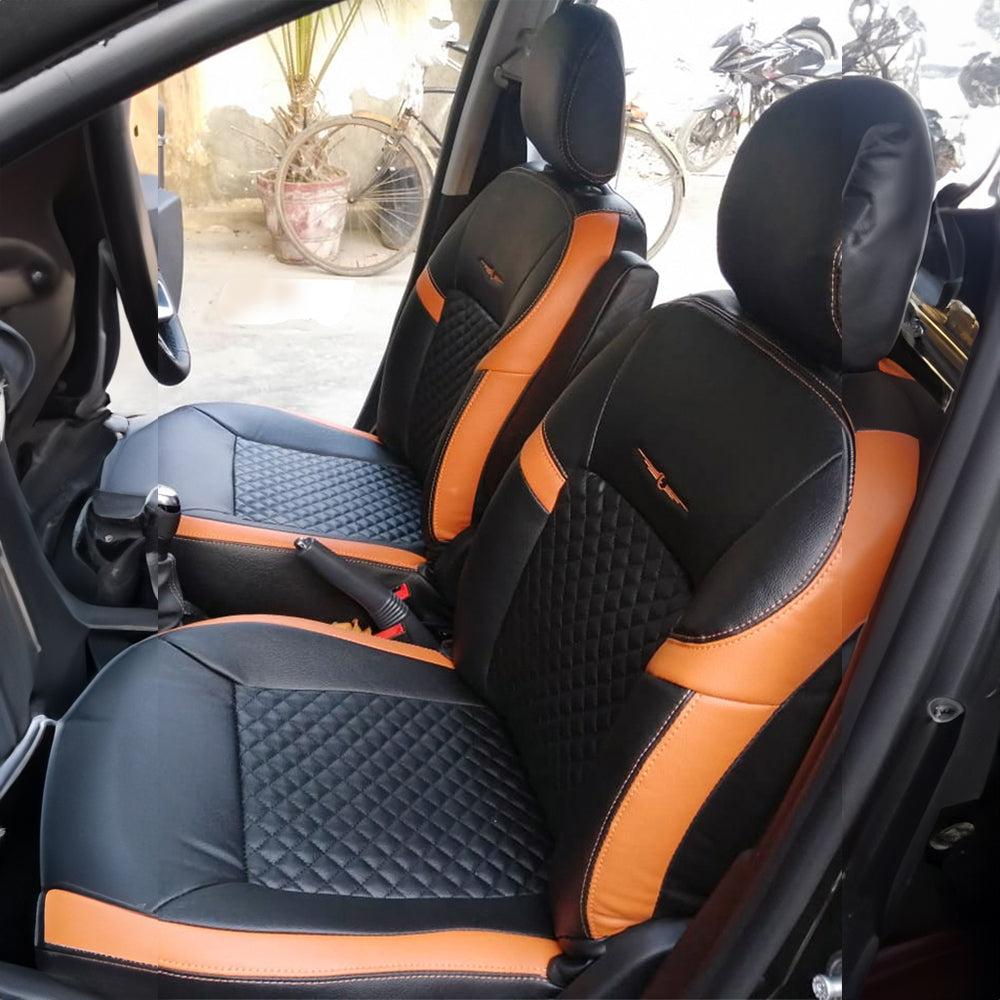
Installing car seat covers is one of the easiest and most effective ways to upgrade your vehicle's interior. Whether you want to protect your original upholstery, improve comfort, or give your cabin a fresh new look, quality seat covers can make a noticeable difference. While many car owners believe seat cover installation requires professional help, the reality is that most modern seat covers can be fitted at home with a little patience and attention to detail.
A properly installed seat cover not only enhances the appearance of your vehicle but also ensures comfort, durability, and long-term protection. In this guide, we will walk you through the process of fitting car seat cover at home and achieving a clean, factory-like finish.
Why Install Car Seat Covers?
Car seats are exposed to daily wear from dust, sunlight, spills, pets, and regular use. Over time, these factors can cause fading, stains, and deterioration of the original upholstery. Seat covers act as a protective layer while also enhancing the overall appearance of your vehicle.
They are particularly useful for drivers who spend a significant amount of time on the road, travel with children, or simply want to preserve the resale value of their vehicle. Modern seat covers are available in various materials, including fabric, PU leather, and premium leather, allowing vehicle owners to choose an option that matches their style and requirements.
Preparing for Installation
Before fitting the seat covers, take some time to prepare your vehicle. Proper preparation can make the installation process much smoother and ensure a better final result.
Begin by removing any items stored on or around the seats. Vacuum the seats thoroughly to remove dust, crumbs, and debris that may have accumulated in the corners and crevices. Once vacuumed, wipe the seats with a clean microfiber cloth to remove any remaining dirt.
Installing seat covers on clean seats prevents trapped dust and helps the covers sit more evenly against the upholstery.
Understanding Your Seat Cover Set
Most car seat cover kits come with separate pieces designed for specific sections of the seat. These usually include covers for the front seat backrests, seat cushions, rear seats, and headrests.
Before beginning installation, lay all the components on a clean surface and identify where each piece belongs. Many custom-fit seat cover manufacturers label each section to simplify the process.
Taking a few minutes to familiarize yourself with the components can prevent confusion later during installation.
Step 1: Remove the Headrests
The first practical step is removing the headrests from the front and rear seats whenever possible. Most modern vehicles have adjustable headrests that can be removed by pressing a release button and pulling upward.
Removing the headrests creates enough space to slide the seat covers into position and helps achieve a smoother, wrinkle-free fit.
Set the headrests aside and keep them ready for installation later.
Step 2: Fit the Front Seat Backrest Covers
Start with the backrest section of the front seats. Carefully slide the cover over the top of the seat and pull it downward until it covers the entire backrest.
As you position the cover, pay attention to the alignment of seams and stitching. The contours of the cover should match the shape of the original seat. Smooth the material with your hands to remove any wrinkles or folds.
If your vehicle is equipped with side airbags, ensure that the seat covers are specifically designed to accommodate airbag deployment.
Step 3: Secure the Backrest Cover
Once the cover is correctly positioned, secure it using the provided straps, hooks, or buckles. Most seat covers include fastening systems that pass behind and underneath the seat.
Pull the straps evenly and tighten them gradually. The objective is to achieve a snug fit without stretching the material excessively. A properly secured backrest cover should remain stable and not shift during regular use.
Take a moment to inspect the fit from different angles before moving to the next step.
Step 4: Install the Seat Cushion Covers
The seat cushion experiences the highest level of pressure and movement, making proper installation especially important.
Place the cushion cover over the seat base and carefully align it with the seat edges. Tuck the material into the gaps between the seat cushion and backrest to create a seamless appearance.
Secure the straps underneath the seat frame and tighten them evenly. Once fastened, sit on the seat briefly to check whether the cover remains firmly in place.
A well-installed cushion cover should feel comfortable and maintain its position even during frequent entry and exit.
Step 5: Fit the Headrest Covers
With the main seat sections completed, move on to the headrests.
Slide each headrest cover into position and adjust it carefully to align the seams. Depending on the design, the cover may be secured using a zipper, Velcro closure, or elastic fastening system.
Once secured, reinstall the headrests into the seats and verify that height adjustment functions continue to operate smoothly.
Step 6: Install Rear Seat Covers
Rear seat installation may vary depending on your vehicle's configuration. Some vehicles feature split-folding rear seats, while others have fixed seating arrangements.
Begin with the rear seat cushion. Position the cover evenly and secure any straps or hooks provided by the manufacturer. If the seat base can be removed, installation will typically be easier and produce a cleaner finish.
Next, install the rear backrest cover. Pull it over the seat and align all openings for seat belts, armrests, and folding mechanisms. Secure the cover according to the manufacturer's instructions and ensure all functions remain accessible.
Pay particular attention to seat belt openings, as they must remain fully functional for passenger safety.
Step 7: Make Final Adjustments
Once all sections have been installed, inspect the entire interior carefully.
Look for wrinkles, loose areas, uneven seams, or exposed portions of the original upholstery. Use your hands to smooth the material and make minor adjustments where necessary.
Small corrections at this stage can significantly improve the overall appearance of the installation and give the interior a more professional finish.
Step 8: Test Seat Functions
Before completing the process, test every seat function to ensure nothing has been obstructed during installation.
Check that the seats recline properly, slide forward and backward without restriction, and allow access to seat belts and adjustment controls. If your vehicle has foldable rear seats, verify that they continue to operate as intended.
A successful installation should enhance appearance without affecting comfort, safety, or functionality.
Common Installation Mistakes to Avoid
One of the most common mistakes is rushing through the process. Seat cover installation requires patience, especially when aligning seams and securing straps.
Another frequent issue is failing to clean the seats beforehand, which can cause uneven fitting and premature wear. Similarly, overtightening straps may distort the shape of the cover and reduce comfort.
Taking your time during installation will almost always result in a better outcome.
Final Thoughts
Fitting car seat covers at home is a straightforward project that can dramatically improve the appearance and protection of your vehicle's interior. With proper preparation and careful installation, you can achieve results that closely resemble a professional fitting service.
Whether you choose premium leather, PU leather, or fabric seat covers, following the correct installation process ensures maximum comfort, durability, and visual appeal. By investing a small amount of time and effort, you can enjoy a cleaner, more stylish, and better-protected vehicle interior for years to come.