How Collision Repair Restores Vehicle Safety: A Practical Guide
-

- March 05th, 2026
- 810 views

FREE SEO Topical Map Generator: Find Your Next Content Ideas
Detected intent: Informational
Understanding how collision repair services restore vehicle safety after a collision is essential for vehicle owners, insurers, and repair technicians. This guide explains the processes, inspections, and decisions that return a damaged vehicle to safe, roadworthy condition.
Collision repair restores safety by addressing structural damage, repairing or replacing safety systems (airbags, seatbelts, crash boxes), performing alignment and calibration, and completing a thorough vehicle safety inspection after collision. Follow a clear framework and checklist to verify repairs meet manufacturer and regulatory standards.
How collision repair services restore vehicle safety after a collision
Restoring safety begins with a damage assessment and proceeds through structural repair, component replacement, system recalibration, and a final inspection. The goal is to restore crashworthiness, occupant protection, and predictable vehicle dynamics—matching pre-loss performance wherever possible.
Key stages of safety-focused collision repair
1. Initial damage assessment and documentation
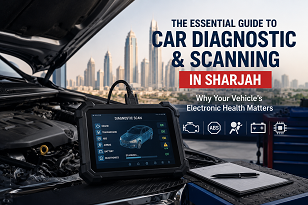
A certified technician performs a comprehensive inspection to identify visible and hidden damage. This includes scanning for diagnostic trouble codes (DTCs), checking airbag control module status, and measuring unibody or frame alignment using OEM specifications and computerized measuring systems.
2. Structural and chassis repair
Structural damage is repaired or the affected components replaced to restore the vehicle's energy management path. Repair centers follow manufacturer repair procedures or structural damage repair checklist items that specify permissible tolerances, welding methods, and approved replacement parts.
3. Safety systems repair and replacement
Airbags, seatbelt pretensioners, sensors, and related wiring are inspected and replaced as required. Control modules that store crash data may require replacement or reprogramming. Repairs must follow the vehicle maker's safety system procedures to ensure activation and timing remain within design limits.
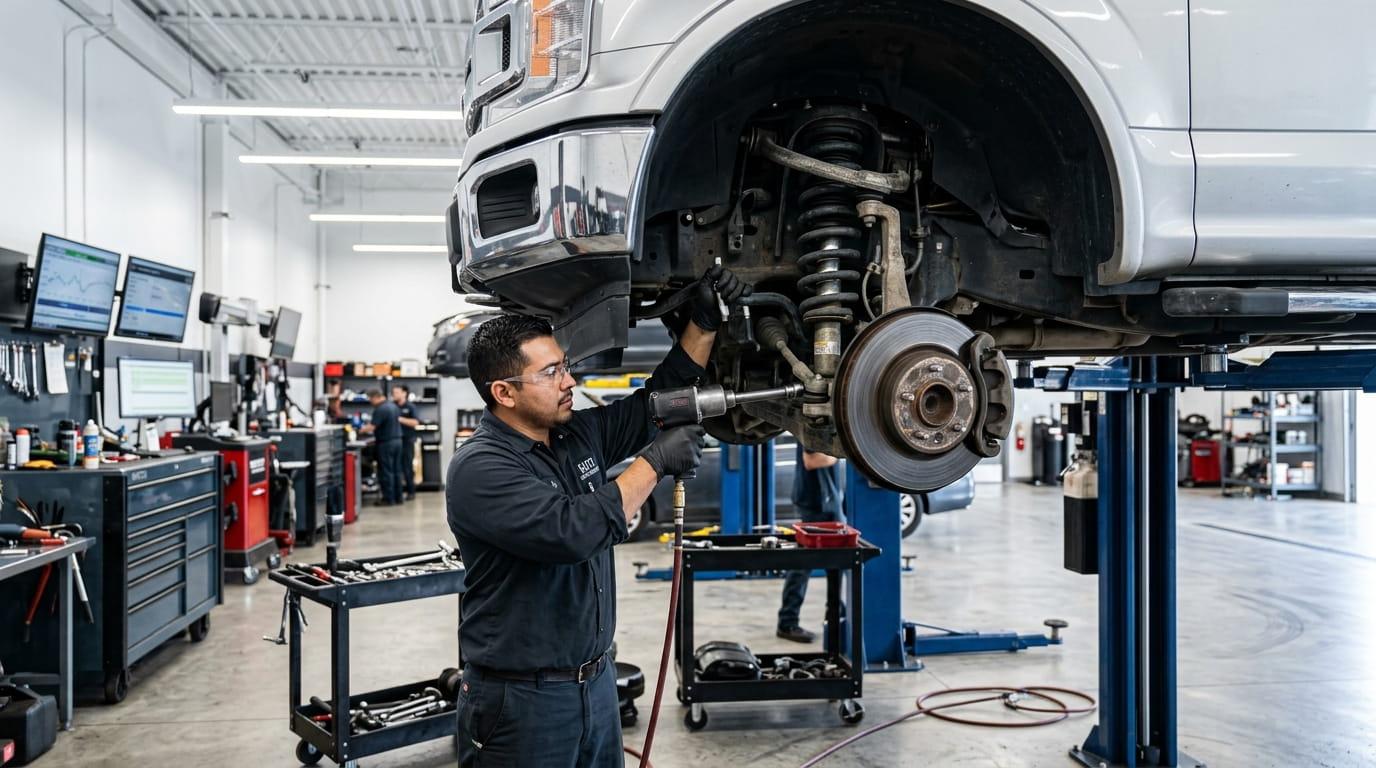
4. Mechanical systems, alignment, and calibration
Suspension, steering, brakes, and wheel alignment are corrected to restore handling stability. Advanced driver-assistance systems (ADAS) like lane-keeping, forward-collision warning, and cameras require calibration after repairs to maintain sensor accuracy.
5. Final vehicle safety inspection after collision
A final inspection confirms all repairs meet the RESTORE framework standards (see below). Road testing, diagnostic scans, and verification against repair documentation complete the process.
RESTORE framework: a named checklist for safety-first repair
Use the RESTORE framework as a step-by-step checklist to ensure consistent, safety-focused repairs:
- R – Record: Document pre-repair condition, codes, and measurements.
- E – Evaluate: Identify structural and system-level damage with OEM specs.
- S – Secure: Replace or repair structural components per approved methods.
- T – Test: Run diagnostic scans, system tests, and component bench tests.
- O – Optimize: Perform alignment, suspension adjustments, and ADAS calibration.
- R – Recheck: Reinspect fasteners, welds, and replaced systems for integrity.
- E – Endorse: Complete final safety inspection and sign-off documentation.
Practical example: a front-end collision scenario
Scenario: A mid-size sedan is involved in a 30 mph frontal collision, deploying the driver airbag and damaging the bumper, radiator support, and front frame rails. Repair sequence: document pre-repair photos and DTCs; measure frame and replace bent rails per OEM; replace airbag and crash sensors; replace radiator and cooling components; calibrate forward-facing camera and radar; perform alignment and road test; complete final inspection to verify proper airbag readiness and ADAS function. The RESTORE checklist guides each step and records acceptance criteria.
Practical tips for vehicle owners and repair managers
- Always ask for documented measurements and the repair procedure reference—OEM procedures are the industry standard.
- Require post-repair diagnostic reports showing cleared codes and ADAS calibrations where applicable.
- Retain photos and invoices that list replaced safety components (airbags, sensors, structural parts).
- Choose repair shops that use computerized measuring systems and have technician certifications from recognized bodies (ASE or manufacturer training).
Common mistakes and trade-offs
Common mistakes include cosmetic-only repairs that ignore hidden structural damage, using non-approved repair methods, or failing to calibrate ADAS after body work. Trade-offs often occur between cost and OEM compliance: after-market parts or shortcut welding techniques may reduce expense but can compromise crash performance and legal liability. Prioritizing certified procedures and documented inspections reduces long-term risk.
Regulation and standards to check
Repair decisions should reference manufacturer service information and safety standards from bodies such as the National Highway Traffic Safety Administration (NHTSA) for occupant protection guidance. For more details on post-crash safety considerations, consult the NHTSA resources here.
Core cluster questions for related content and internal links
- What does a vehicle safety inspection after collision include?
- How are airbags and restraint systems replaced and tested?
- When is a frame repair vs frame replacement required?
- How is ADAS calibration performed after body repairs?
- What documentation proves a collision repair restored safety?
Practical quality-control checklist
Before releasing a repaired vehicle, verify:
- All structural measurements are within OEM tolerances.
- All deployed safety components were replaced with appropriate items and recorded.
- Diagnostic scans show no active safety-related fault codes.
- ADAS sensors were calibrated and camera/radar alignment validated.
- Road test confirms stable steering, braking, and no unusual noises.
Final recommendations
Restoring safety requires following manufacturer procedures, documenting each repair step, and verifying function through testing and calibration. Prioritize shops and technicians who can show evidence of measurement, certification, and a formal checklist-driven process.
FAQ: How do collision repair services restore vehicle safety after a collision?
Collision repair services restore vehicle safety by identifying structural and system damage, performing OEM-compliant repairs or replacements, recalibrating safety systems (including ADAS), and completing a documented final inspection and road test to verify crashworthiness and occupant protection.
What is included in a vehicle safety inspection after collision?
A post-repair inspection checks structural integrity, fastener torque, airbag and restraint system status, braking and steering function, alignment, and ADAS sensor calibration. It also includes a review of diagnostic reports and replacement part documentation.
Can a repaired vehicle be as safe as before the collision?
Yes—if repairs follow OEM procedures, use appropriate parts, and include proper measurement, testing, and calibration. Skipping steps or using non-approved methods can reduce crash performance compared with pre-collision condition.
How important is ADAS calibration in modern collision repair?
Very important. Improperly calibrated cameras, radar, or LiDAR can cause incorrect system behavior. Calibration should be done per manufacturer instructions after any work that affects sensors, windshield, suspension, or steering geometry.