 Website Copy Makeover – Turn Visitors into Buyers Instantly!
How to Convert Raster Images for a Digitizing Embroidery Service
Written by zdigitizinga » Updated on: June 17th, 2025 119 views

Embroidery brings designs to life on fabric, blending creativity with precision, and digitizing embroidery services are key to this transformation. While vector images are ideal for digitizing, many users start with raster images—common formats like JPEG or PNG—that need conversion to achieve embroidery-ready quality. For businesses, crafters, and designers, understanding how to convert raster images for a digitizing embroidery service is crucial for seamless results. This comprehensive blog guides you through the process, offering step-by-step instructions, tools, and tips to ensure your raster images turn into stunning stitch files.
What is a Digitizing Embroidery Service?
A digitizing embroidery service converts artwork into stitch files (e.g., DST, PES, EXP) that embroidery machines use to sew designs onto fabric. These services rely on clear, precise images to map stitches accurately. Raster images, being pixel-based, require preparation or conversion to work effectively in this process, unlike scalable vector files.
Understanding Raster vs. Vector Images
Raster images (JPEG, PNG, BMP) are made of pixels, losing quality when resized, while vector images (AI, EPS, SVG) use mathematical paths, staying sharp at any size. Digitizing prefers vectors for their clarity, but raster images are more common and can be converted with the right approach, making them viable for embroidery.
Why Convert Raster Images?
Raster images often have noise, low resolution, or jagged edges that complicate digitizing, leading to poor stitch quality—gaps, distortion, or blurry designs. Converting them enhances clarity and simplifies the digitizer’s job, ensuring your embroidery reflects your vision accurately and professionally.
Step-by-Step Guide to Converting Raster Images
Here’s how to convert raster images for a digitizing embroidery service, step by step.
Step 1: Assess Your Raster Image
Start by evaluating your image:
- Resolution: Aim for 300 DPI or higher for detail.
- Size: Check pixel dimensions (e.g., 1000x1000 pixels minimum).
- Clarity: Ensure edges are defined, not blurry.
Low-quality images (e.g., 72 DPI web graphics) need enhancement before conversion.
Step 2: Choose the Right Tools
Select software to convert or clean up your raster image:
- Adobe Photoshop: Enhances raster quality (paid).
- GIMP: Free alternative for editing rasters.
- Inkscape: Free vector tracing tool.
- Adobe Illustrator: Pro-level vector conversion (paid).
- Online Tools: Sites like VectorMagic or Convertio for quick conversions.
Pick based on your skill level and budget.
Step 3: Clean Up the Raster Image
Prep your image for conversion:
- Open in Photoshop or GIMP.
- Increase resolution (resample to 300 DPI if possible).
- Adjust brightness/contrast to sharpen edges.
- Remove noise or background clutter with eraser or selection tools.
- Simplify colors (e.g., reduce to 3-5) for embroidery feasibility.
A clean raster reduces digitizing errors.
Step 4: Convert to Vector Format
Transform your raster into a vector:
- Inkscape Method:
- Import the image (File > Import).
- Select “Path > Trace Bitmap.”
- Adjust settings (e.g., brightness cutoff, edge detection).
- Click OK to create vector paths.
- Save as SVG or EPS.
- Illustrator Method:
- Open the image, select it.
- Use “Image Trace” (high-fidelity preset).
- Expand the trace, refine paths.
- Export as AI or EPS.
- Online Tools: Upload, convert, download as SVG.
Vectors ensure scalability and precision for digitizing.
Step 5: Refine the Vector Output
Post-conversion, tweak the vector:
- Smooth jagged edges with node tools.
- Simplify paths (remove excess points) for cleaner stitches.
- Verify color separation matches your design intent.
- Resize to your embroidery dimensions (e.g., 4x4 inches).
A polished vector streamlines the digitizing process.
Step 6: Submit to the Digitizing Service
Prepare your file for the service:
- Save in a compatible format (SVG, EPS, or high-res PNG if raster-only).
- Include details: fabric type, size, machine format (e.g., PES).
- Specify stitch preferences (e.g., satin for text) if desired.
- Upload via email or the service’s portal.
Clear submission ensures accurate stitch file creation.
Step 7: Review the Stitch File
Once digitized, check the result:
- Request a stitch-out sample or preview.
- Look for clarity, density, and alignment.
- Request revisions if stitches don’t match your vision.
This final step confirms conversion success.
Tools for Conversion
Free Options
- Inkscape: Ideal for vector tracing.
- GIMP: Great for raster cleanup.
Paid Options
- Photoshop/Illustrator: Industry-standard editing and conversion.
- CorelDRAW: Robust vector tools.
Online Tools
- VectorMagic: High-quality raster-to-vector conversion.
- Convertio: Quick, simple conversions.
Choose tools that fit your workflow and expertise.
Benefits of Proper Conversion
- Improved Stitch Quality: Clear images lead to precise stitches.
- Time Savings: Clean files reduce digitizing adjustments.
- Error Reduction: Fewer gaps or distortions in the final design.
- Versatility: Vectors adapt to any size or fabric.
Conversion sets the stage for embroidery success.
Common Challenges and Solutions
- Low Resolution: Enhance in GIMP or rescan at 300 DPI.
- Complex Details: Simplify colors/patterns before converting.
- Jagged Edges: Smooth with vector tools post-conversion.
- Color Issues: Adjust in editing software to match thread options.
Addressing these ensures a smooth process.
Real-Life Examples
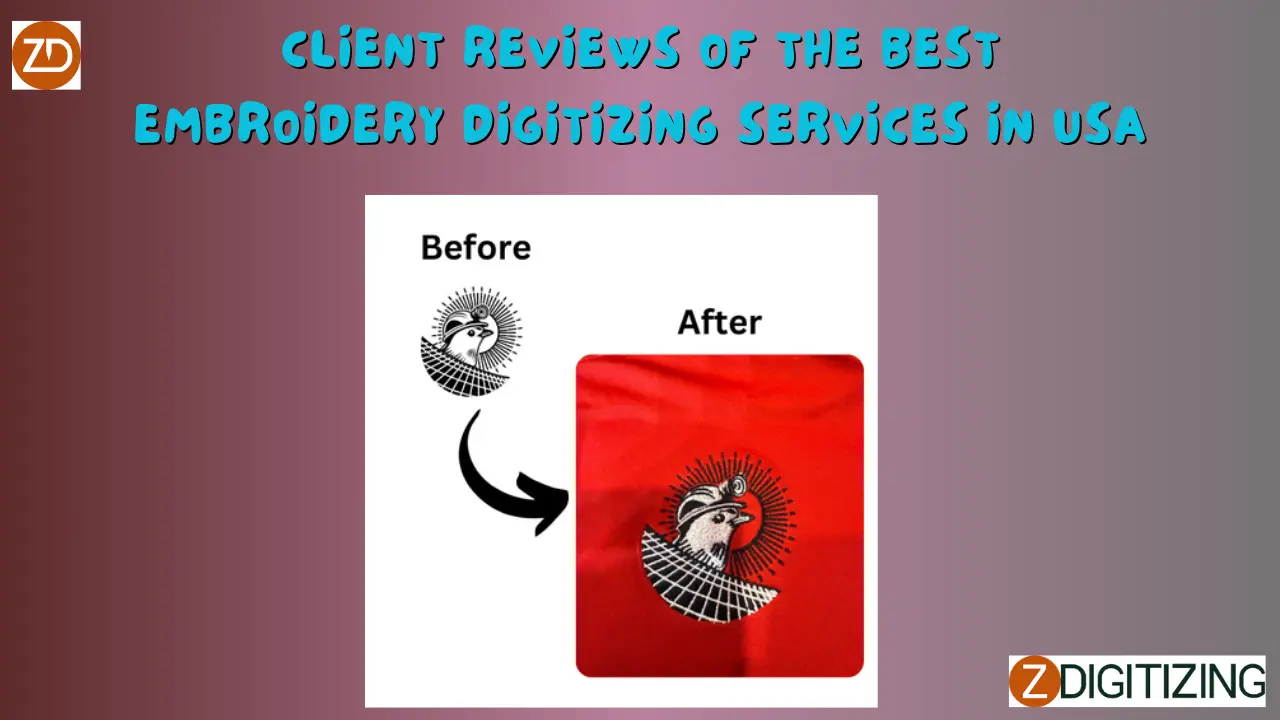
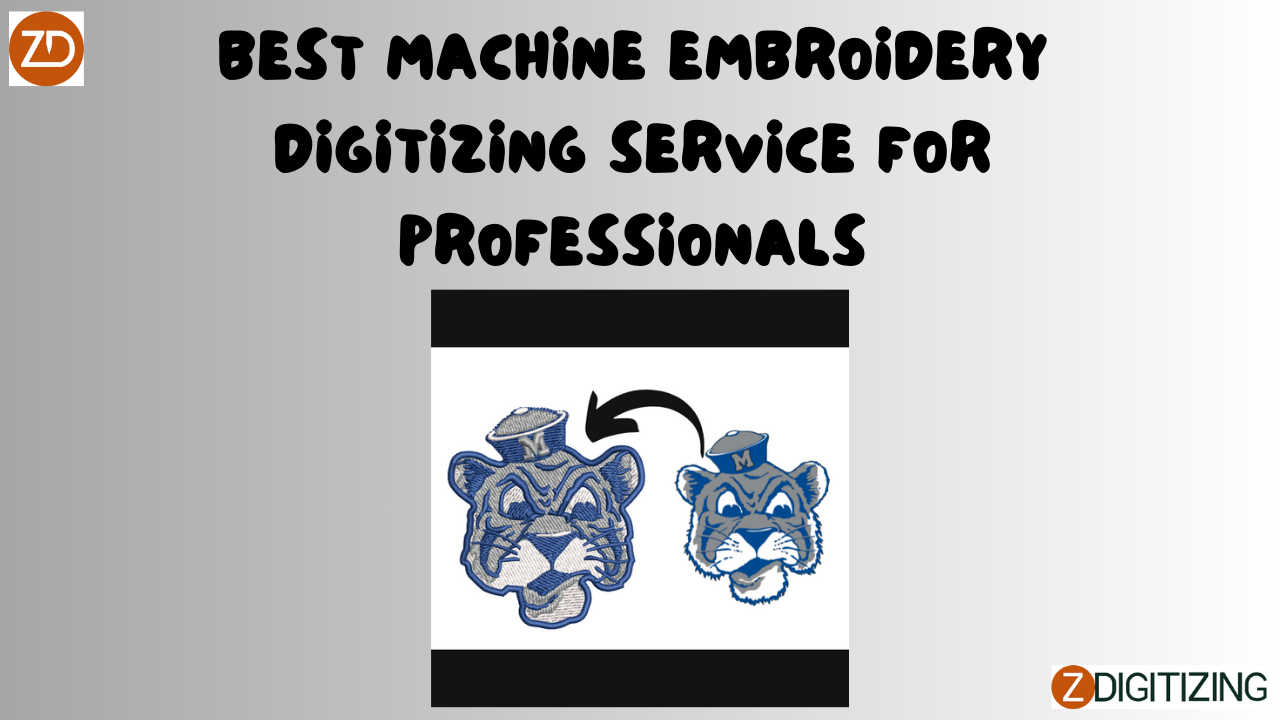
A business converts a blurry JPEG logo into a sharp SVG with Inkscape, digitizing it for 50 crisp uniforms. A crafter cleans a PNG sketch in GIMP, vectorizes it in Illustrator, and gets a perfect towel monogram. A designer uses VectorMagic to turn a photo into a stitch-ready file for a jacket patch. These cases show conversion in action.
Tips for Success
- Start with the highest resolution possible.
- Keep designs simple (fewer colors, bold shapes).
- Test conversions with small samples first.
- Communicate clearly with your digitizing service.
These steps maximize your results.
Conclusion
Converting raster images for a digitizing embroidery service is a vital skill that bridges everyday artwork with professional embroidery. By assessing, cleaning, and vectorizing your rasters, you ensure clarity and quality in the final stitch file, whether for business branding or personal projects. With the right tools and approach, this process becomes straightforward, delivering embroidered designs that shine. Ready to convert your raster? Follow these steps and stitch your vision into reality!
FAQs About Converting Raster Images for Digitizing
Why can’t I use a raster image directly?
Rasters lack scalability and clarity for precise stitch mapping.
What’s the best format after conversion?
SVG or EPS—vectors work best for digitizing.
How do I improve a low-res raster?
Increase DPI in GIMP/Photoshop or rescan at 300 DPI.
Can all rasters be converted for embroidery?
Yes, if cleaned and simplified—complex details may need adjustment.
What software is easiest for beginners?
Inkscape—free and user-friendly for vector conversion.
How long does conversion take?
15 minutes to an hour, depending on image and skill.
Do digitizing services convert rasters?
Some do, but preparing your own saves cost and ensures control.
Note: IndiBlogHub features both user-submitted and editorial content. We do not verify third-party contributions. Read our Disclaimer and Privacy Policyfor details.
Copyright © 2019-2025 IndiBlogHub.com. All rights reserved. Hosted on DigitalOcean for fast, reliable performance.


