How to Design a Kitchen Island: Size, Seating & Storage
-

- Published Updated
- 50 views
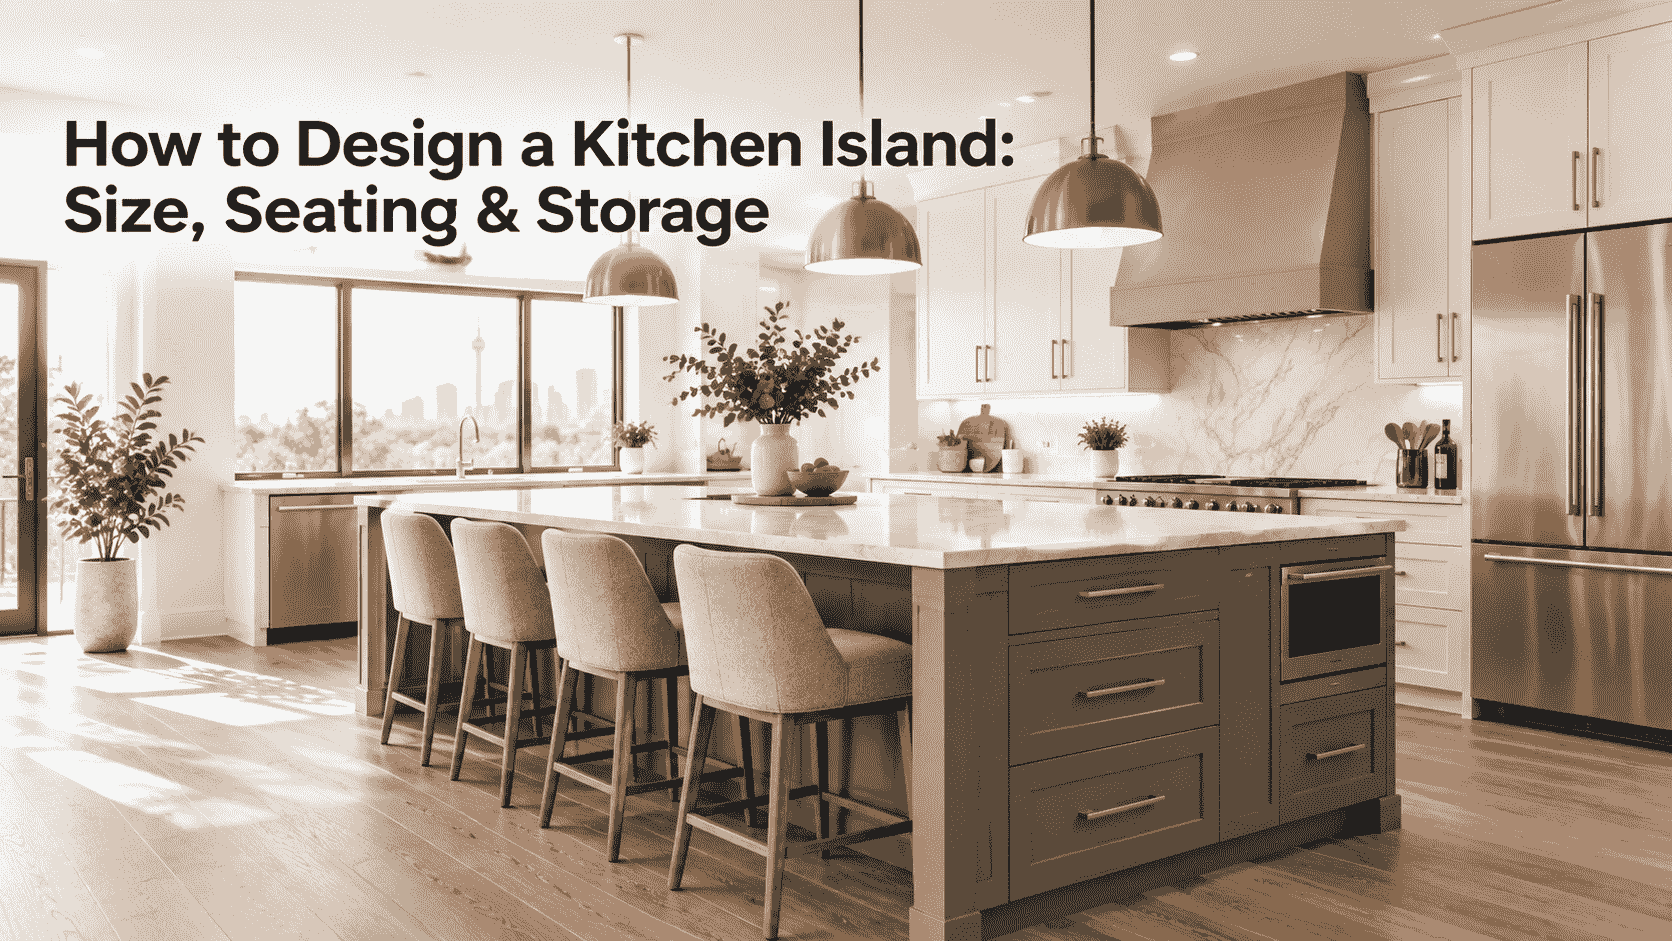
A kitchen island can be the best feature of your kitchen or its biggest frustration. Done well, it becomes a prep zone, a homework station and the spot where everyone gathers. Done poorly, it blocks traffic and leaves you short on storage and outlets.
If you're planning kitchen renovations in the GTA, the island deserves attention early, because it affects your layout, plumbing, electrical and budget. This guide covers the three decisions that matter most: size, seating and storage.
Is Your Kitchen Big Enough for an Island?
Many GTA homes, especially older detached houses, semis and condos, have tighter kitchens than they appear. As a rule of thumb, you need roughly 3.0 m (10 ft) by 4.0 m (13 ft) of open floor space for a functional island. If your kitchen is smaller, a peninsula or a slim rolling cart can offer similar benefits without crowding the room.
Getting the Size Right
Clearance around the island
Walkways should follow widely used design guidelines, such as those from the National Kitchen & Bath Association (NKBA):
| Kitchen type | Recommended clearance |
|---|---|
| Minimum walkway | 91 cm (36 in) |
| One-cook kitchen | 107 cm (42 in) |
| Two-cook kitchen | 122 cm (48 in) |
Measure from the island's edge, including any overhang, to the opposite cabinet or appliance. Open dishwasher and oven doors need room too, so a walkway that looks fine on paper can feel tight in daily use.
Length, width and height
- Minimum practical size: about 60 x 120 cm (2 x 4 ft)
- Comfortable size for prep and seating: 90 to 105 cm deep and 180 to 240 cm long
- Islands with a sink or cooktop: at least 90 cm deep
- Standard height: 91 cm (36 in), with 107 cm (42 in) for a raised bar ledge
Anything over about 3 m long usually needs a countertop seam, so factor that into your material choice.
Seating: Comfort Comes First
Allow 60 cm (24 in) of width per stool. Three comfortable seats beat four tight ones.
| Counter height | Recommended overhang |
|---|---|
| 91 cm (36 in) | 30 cm (12 in) |
| 107 cm (42 in) | 38 cm (15 in) |
Overhangs beyond 25 to 30 cm generally need support, such as corbels or a hidden steel bracket, especially with heavy quartz or granite.
For placement, seating on one side keeps the working side clear, while an L-shaped arrangement suits entertaining. Keep seats away from the cooktop, particularly with young children. Stools with backs are more comfortable for long stays, while backless stools tuck fully under the counter and save floor space.
Storage: Make Every Centimetre Count
The island is prime real estate for storage, and good planning can free up your perimeter cabinets.
- Deep drawers for pots, pans and small appliances, which are easier to reach than lower shelves
- Pull-out waste and recycling bins close to the prep zone
- Shallow cabinets on the seating side for cookbooks and serving pieces
- Open shelving on one end for everyday items and a decorative touch
- Charging drawers to keep devices off the counter
A helpful principle is to store items where you first use them. Cutting boards and prep tools belong at the island, while dishes belong near the dishwasher.
Plumbing, Electrical and Ventilation
An island with a sink, cooktop or dishwasher is a bigger construction job than cabinets alone.
- Plumbing: moving a sink into an island often means running drain and supply lines through the floor, which may require opening the subfloor. Proper venting is also required.
- Electrical: islands need receptacles that meet the Ontario Electrical Safety Code. Have a licensed electrician confirm what applies, and check local permit requirements.
- Ventilation: a cooktop needs a range hood or downdraft system, with proper ducting to the exterior.
These details affect cost and schedule, so settle them during design rather than after demolition begins. Many homeowners planning GTA kitchen renovations find that involving a contractor early helps avoid surprises.
Materials and Lighting
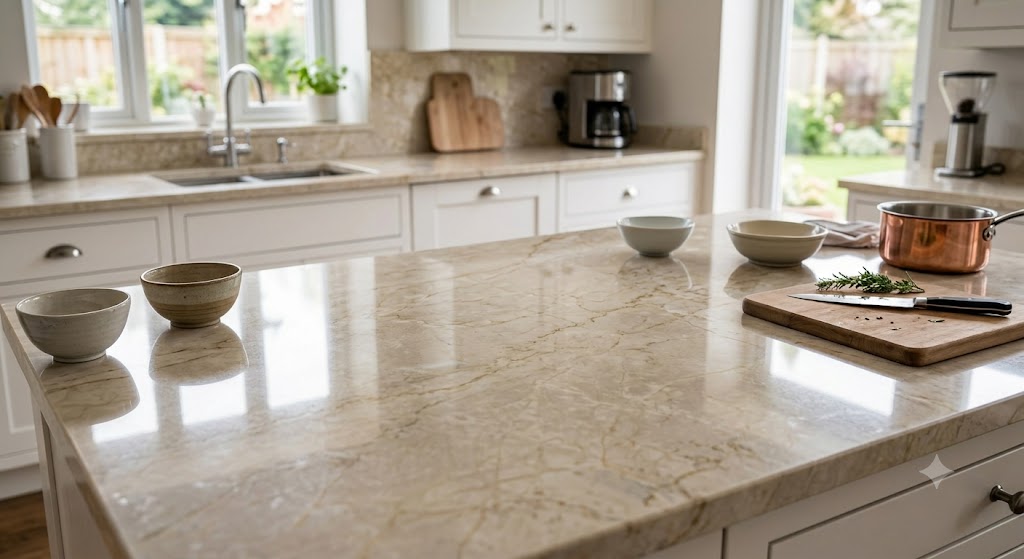
Countertops: quartz is popular for durability and low maintenance, while natural stone offers unique veining. A waterfall edge makes a bold statement but adds cost.
Contrast: a different cabinet colour on the island than on the perimeter creates a natural focal point.
Pendant lights: hang them about 75 to 90 cm (30 to 36 in) above the counter. Two or three pendants suit most island lengths, and dimmers let you shift from bright prep light to softer evening light.
Common Mistakes to Avoid
- Making it too big. An oversized island chokes traffic flow.
- Ignoring the work triangle. The path between sink, stove and fridge should stay clear.
- Skipping outlets. Adding electrical later is expensive.
- Forgetting overhang support. Unsupported stone can crack.
- Too little landing space. Leave room beside the cooktop and sink for setting things down.
- Choosing style over function. An island that doesn't suit how you cook won't stay beautiful for long.
Do You Need Professional Help?
A simple freestanding island is a manageable project, but a built-in island with plumbing, electrical and structural changes usually calls for experienced trades. If you're weighing options for kitchen renovations in the GTA, the team at ONYX Construction can walk you through layout choices and help you decide whether an island suits your space.
Final Thoughts
The best islands are planned around how a household actually lives, with generous clearance, comfortable seating and storage in the right places. Measure carefully, plan utilities early and don't force an island into a room that can't support one.
Whether you're refreshing one room or planning larger GTA kitchen renovations, a well-designed island improves how your kitchen works and feels. To discuss your project, contact ONYX Construction for a consultation.