How Does Shower Silicone Replacement Work in Australia?
-

- Published Updated
- 1,691 views
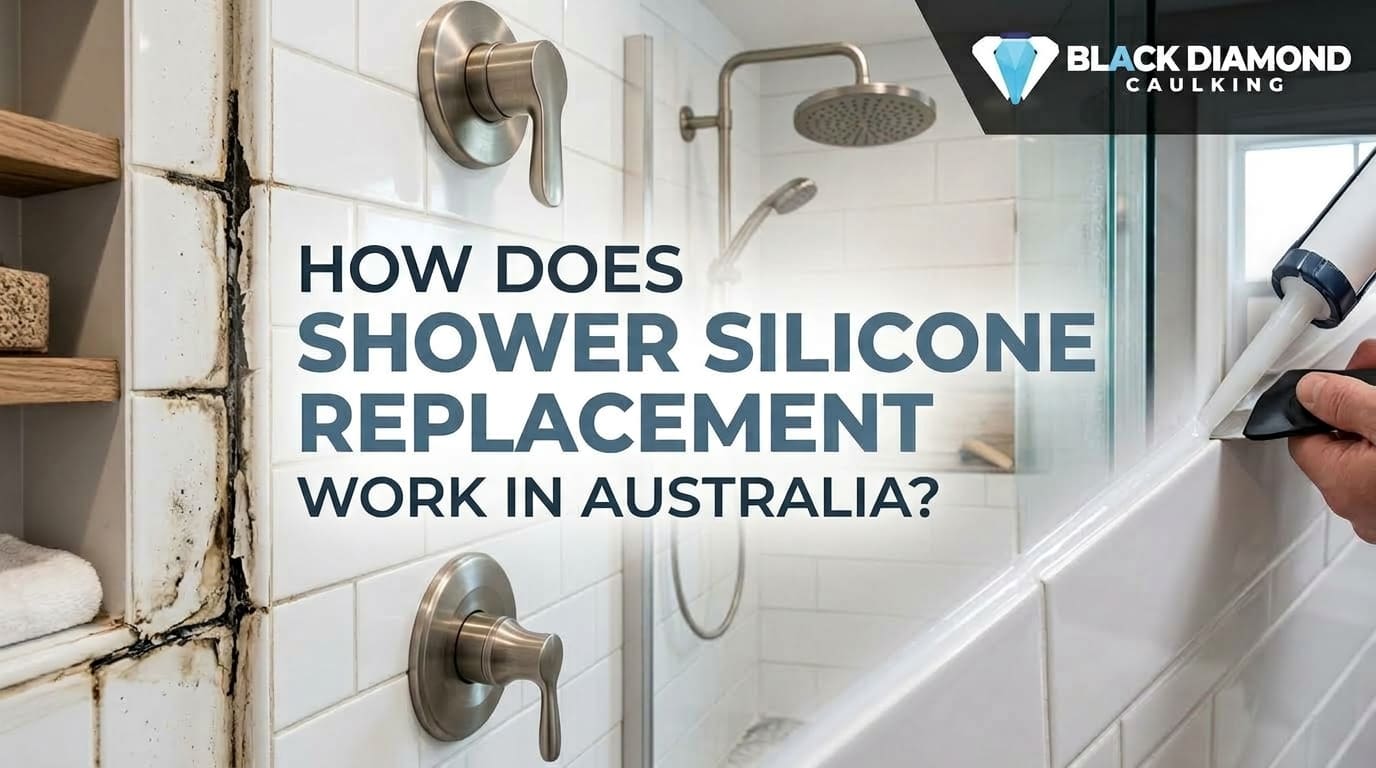
Your bathroom silicone will not last forever. Once it starts to peel, crack, or grow mould, water finds a way through the smallest gaps and slowly damages the floor underneath. That is when shower silicone replacement becomes the fix every homeowner in Australia needs to understand. This guide walks through the whole process, from spotting the early warning signs to picking the right product for your shower. Whether you plan to do this yourself on a quiet weekend or hire someone local, you will finish this article knowing what to expect, what it costs, and how the job actually gets done.
Why Silicone Breaks Down So Quickly in Australian Bathrooms
Australian homes deal with hot, humid summers in the north and dry, temperature-swinging winters further south. Both conditions stress silicone joints in different ways. Heat and moisture speed up mould growth, while temperature changes cause the seal to expand and contract until it loses its grip on tiles and glass.
A 2026 survey of local plumbers found that most household silicone seals in showers need attention within four to six years, and coastal homes with salty, humid air often see it sooner. Hard water deposits, harsh cleaning chemicals, and daily shower use all add up over time. None of this means your bathroom was built poorly. It just means shower silicone replacement is a normal part of home upkeep, similar to repainting a fence or replacing a tap washer.
Signs You Need Bathroom Silicone Replacement
Before booking anyone or buying a tube of sealant, check for these common signs around your shower:
Dark spots or black mould along the seal, even after cleaning
Silicone that has pulled away from the tile or glass, leaving a gap
A soft or spongy feel when you press the caulk line
A musty smell that will not go away
Water pooling near the shower base after use
If you notice two or more of these, it is time to plan for bathroom silicone replacement rather than waiting for the problem to spread under the tiles.
Shower Silicone Replacement Cost in Australia
Pricing depends on the size of the shower, the amount of old sealant to remove, and whether mould has spread behind the tiles. As a general guide for 2026:
DIY kits and tubes usually run between $15 and $40 for a small to medium shower
Hiring a tradie for a standard shower recess typically costs between $150 and $350
Larger bathrooms, or jobs that involve removing tiles to check for hidden water damage, can climb past $500
Shower silicone replacement cost also shifts based on your state and how quickly you need the work done. Getting a couple of local quotes before booking helps you compare pricing and avoid paying more than needed for a straightforward job.
Replacing Silicone Around Shower Tray Step by Step
If you want to try this yourself, here is a simple order to follow:
Turn off water access to the shower and let the area dry fully for a few hours.
Use a sharp utility knife or a silicone removal tool to cut along both edges of the old bead.
Peel away the old silicone by hand, then scrape off any leftover residue with a plastic scraper.
Wipe the joint with isopropyl alcohol to remove soap scum, oil, and mould spores.
Apply painter's tape on both sides of the gap for a clean, straight line.
Load your sealant gun and run a steady bead along the joint in one smooth pass.
Smooth the bead with a caulking tool or a wet finger, then pull the tape away right away.
Replacing silicone around shower tray joints takes patience more than skill. Rushing the drying and cleaning stage is the most common reason a new bead fails within months.
Best Silicone for Shower Australia: What Actually Works
Not every tube of sealant belongs in a wet bathroom. Look for a product labelled for wet areas, with mould resistant additives built in. Neutral cure silicone is a safer pick around metal fittings and mirrors, since acidic formulas can corrode certain surfaces over time.
For the base of your shower, the best silicone for shower floor jobs is usually a sanitary grade sealant made to handle standing water and constant foot traffic. It should also carry a local certification for wet area use, which most Australian hardware stores list clearly on the packaging. When people search for the best silicone for shower australia conditions in particular, humidity resistance and UV stability matter more than they would in a drier climate.
How Long to Wait After Silicone Shower Application
Patience matters here. Most sealants feel dry to the touch within thirty minutes, but that is not the same as being fully cured. As a rule, plan for the following:
Light contact, such as closing the shower door gently: around 3 to 6 hours
Normal daily shower use: at least 24 hours
Full cure and maximum water resistance: 48 to 72 hours
How long to wait after silicone shower jobs finish depends on humidity and room temperature too. A warm, dry bathroom cures faster than a cold, damp one, so give it extra time during winter months.
DIY, or Search for Shower Silicone Replacement Near Me?
Some homeowners enjoy a hands on weekend project, and a simple bead of sealant is a fair place to start. Others would rather leave it to someone with steady hands and the right tools, especially in awkward corners or around glass screens.
If your bathroom has hidden water damage, old tiles that lift easily, or a layout with tricky angles, typing shower silicone replacement near me into a search bar and booking a local tradie is often the safer route. A trained installer can also check for leaks behind the wall that a DIY job might miss completely.
A Few Numbers Worth Knowing
Recent 2026 home maintenance data shows that bathrooms rank among the top three rooms for water damage claims in Australian households, and a failed seal is one of the leading causes. Replacing a worn joint early, before water reaches the subfloor, costs a fraction of what structural repairs would run later. A five minute inspection every few months can save thousands down the track.
Frequently Asked Questions
How often should I redo the silicone in my shower? Most bathrooms need fresh sealant every four to six years, sooner in humid or coastal homes.
Can I put new silicone over the old bead? No, old sealant should always be fully removed first so the new layer bonds properly.
Why does my new silicone keep growing mould? It usually means the surface was not dry or clean enough before the new bead was applied.
Is it safe to shower the same day the silicone was applied? Light use is fine after a few hours, but full water exposure should wait at least 24 hours.
Do I need a professional for a small crack? Not always, a small crack can often be fixed with a basic DIY kit and a bit of care.
What tools do I actually need to start? A utility knife, isopropyl alcohol, painter's tape, and a sealant gun cover most jobs.
Final Thoughts
Shower silicone replacement is not a glamorous job, but it protects your bathroom from slow, hidden water damage that costs far more to fix later. Once you know the signs, the rough pricing, and the basic steps, the whole process feels a lot less daunting. Clean, dry surfaces and a bit of patience while the bead cures make the biggest difference in how long your new seal lasts.
If your bathroom needs a fresh, mould resistant finish and you would rather leave it to steady, experienced hands, Black Diamond Caulking offers local sealant work built for Australian showers, wet areas, and everyday family bathrooms. Reach out for a quote and get your shower sealed properly before small cracks turn into a bigger repair bill.