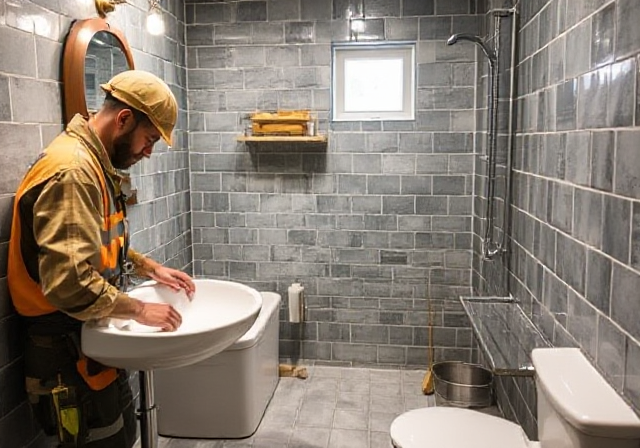
Tackling a Whole-House Renovation: A Step-by-Step Guide

Strong 8k brings an ultra-HD IPTV experience to your living room and your pocket.
Embarking on a whole-house renovation is an exciting yet daunting endeavor. Whether you're looking to update an older home, reconfigure the layout, or improve energy efficiency, careful planning and execution are crucial for a successful project. This step-by-step guide will walk you through the entire renovation process, ensuring that your project runs smoothly from start to finish.
Step 1: Define Your Goals and Budget
Before diving into a renovation, it's essential to clearly define your goals and establish a realistic budget. This foundational step will guide all your subsequent decisions.
Tips:
Identify your primary objectives: Are you looking to modernize the space, increase functionality, or enhance energy efficiency?
Consider both hard costs (materials, labor) and soft costs (permits, design fees, contingency fund).
Research similar renovations in your area to gauge realistic costs and potential return on investment.
Step 2: Assemble Your Team
Once you've outlined your goals and budget, it's time to gather the right team to help bring your vision to life. This may include architects, interior designers, contractors, and specialized tradespeople.
Tips:
Seek recommendations from friends or family who have completed renovations.
Check online reviews and portfolio work to assess potential candidates.
Schedule initial consultations to discuss your project, evaluate their expertise, and get a sense of compatibility.
Step 3: Create a Detailed Plan
With your team in place, work together to create a detailed renovation plan. This plan should outline the scope of work, timelines, and specific design elements.
Tips:
Work closely with your architect or designer to develop floor plans that meet your needs and optimize space.
Include detailed specifications for materials, finishes, and fixtures to avoid misunderstandings later in the process.
Establish a realistic timeline for each phase of the renovation, keeping in mind that delays can happen.
Step 4: Obtain Necessary Permits
Many renovations require permits to ensure compliance with local building codes and regulations. Securing the necessary permits is crucial to avoid legal issues down the line.
Tips:
Check with your local building department to determine which permits are required for your project.
Ensure your contractor is familiar with the permitting process and can assist in obtaining the necessary approvals.
Factor in the time it takes to secure permits into your overall timeline.
Step 5: Demolition and Preparation
With plans approved and permits in hand, it's time to begin the demolition phase. This step involves removing existing structures or finishes to make way for new designs.
Tips:
Prepare your home for construction by clearing out furniture and personal items from affected areas.
Consider salvage options for materials that can be reused or donated.
Ensure safety measures are in place, including protective gear for workers and securing the site to prevent unauthorized access.
Step 6: Structural Changes and Systems Updates
This phase focuses on any structural modifications and updates to essential systems within the house, such as plumbing, electrical, and HVAC.
Tips:
Coordinate with your contractor to ensure that structural changes, such as removing or adding walls, are executed correctly.
Upgrade outdated systems to improve energy efficiency and functionality. This may include new wiring, plumbing, and heating/cooling systems.
Keep an open line of communication with your contractor to address any unforeseen challenges that may arise during this phase.
Step 7: Interior and Exterior Finishes
Once the structural and systems work is complete, it’s time to focus on aesthetics—adding finishes that reflect your style and meet your functional needs.
Tips:
Select materials for flooring, countertops, cabinets, and fixtures that align with your design vision and budget.
Pay attention to details, such as trim work, paint colors, and hardware, to ensure a polished final look.
Consider outdoor elements, such as landscaping and exterior paint, to enhance curb appeal.
Step 8: Final Inspections and Adjustments
After the finishes are in place, schedule final inspections to ensure that everything complies with local codes and standards. This step is vital to confirm that your renovation is both safe and up to standard.
Tips:
Coordinate with your contractor to schedule inspections with local building authorities.
Address any punch list items—final adjustments or touch-ups needed before the project is considered complete.
Take the opportunity to walk through the space with your contractor to ensure everything meets your expectations.
Step 9: Move-In and Enjoy
With inspections complete and final adjustments made, it’s time to move in and enjoy your newly renovated home. This phase is about settling into your refreshed space and personalizing it further.
Tips:
Unpack and arrange your belongings in a way that suits your new layout and design.
Add personal touches, such as artwork, decor, and furnishings, to make the space feel truly yours.
Celebrate your hard work with friends and family by hosting a gathering in your newly renovated home.
Step 10: Maintain Your Renovation
To ensure the longevity of your renovation, establish a routine maintenance plan. Regular upkeep will help protect your investment and keep your home looking its best.
Tips:
Create a schedule for seasonal maintenance tasks, such as cleaning gutters, checking smoke detectors, and servicing HVAC systems.
Address any minor repairs promptly to prevent them from becoming larger issues.
Keep records of all work done during the renovation, including warranties and receipts, to assist with future maintenance or repairs.
Conclusion
A whole-house renovation can be a transformative journey, turning your vision of an ideal home into reality. By following this step-by-step guide, you can navigate the complexities of the renovation process with confidence and clarity. With careful planning, collaboration, and attention to detail, you’ll create a space that reflects your style and enhances your quality of life for years to come. Embrace the adventure of renovation, and enjoy the fruits of your labor in your beautifully revamped home.
Note: IndiBlogHub features both user-submitted and editorial content. We do not verify third-party contributions. Read our Disclaimer and Privacy Policyfor details.


