Smart Budget Makeover: Cheap Bathroom Tiles That Transform Your Space
-

- May 11th, 2026
- 459 views

Get a free topical map and start building content authority today.
Cheap bathroom tiles: transform a bathroom on a budget
Cheap bathroom tiles can refresh a dated or dull bathroom without a full renovation. This guide explains what low-cost tile options are, where they work best, and how to plan upgrades that look intentional instead of patched together.
Detected intent: Informational
- Compare inexpensive tile types (ceramic, porcelain, peel-and-stick) and finishes.
- Use the TILE 4-step checklist for selection and prep.
- Follow practical tips for layout, grout choice, and waterproofing to avoid common mistakes.
Why choose cheap bathroom tiles and what to expect
Cheap bathroom tiles typically include ceramic, budget porcelain, and peel-and-stick vinyl tiles. Expect narrower size ranges, simpler glazes, and fewer premium performance claims (such as high PEI wear ratings). For many rooms — guest baths, powder rooms, and shower surrounds with proper waterproofing — low-cost tiles deliver durable, attractive results when installed and sealed correctly.
Budget bathroom tile ideas: types, looks, and uses
Common low-cost tile types with practical uses:
- Ceramic subway tiles: Classic, easy to cut, great for walls and backsplashes.
- Budget porcelain tiles: Denser than ceramic; suitable for floors if rated properly.
- Glazed mosaic sheets: Good for accents and small walls; cheaper when sold on mesh sheets.
- Peel-and-stick vinyl tiles: Quick to install on existing floors for temporary or rental-friendly updates.
- Porcelain-look planks: Achieve wood or stone aesthetic at lower cost.
Affordable bathroom tile options: choosing the right tile for the job
Selection depends on location and traffic. Wall tiles can be lighter and thinner; floor tiles must meet slip-resistance and wear standards. Consider grout color, tile size (larger tiles reduce grout lines), and finish (matte hides water spots better than gloss).
Named framework: TILE 4-step checklist for budget tile projects
Apply the TILE checklist before buying or installing tiles:
- Target the area — define wall vs floor, wet-zone vs dry-zone.
- Inspect the substrate — confirm flatness, moisture, and existing finishes.
- Layout plan — draw the tile grid, balance cuts, and choose grout color.
- Execute with right materials — thinset or adhesive, waterproofing, correct grout.
Planning and prep: the small details that make cheap tiles look expensive
Preparation adds value for minimal cost. Level floors, remove loose materials, and use the right underlayment. For showers and wet walls, add a waterproof membrane and use grout sealer. Small changes — consistent grout lines, a deliberate border, and matched trims — elevate the final look.
Short real-world example
An 8x5-foot rental bathroom received a budget refresh: subway wall tiles (12x4) for $0.75/sq ft, porcelain-look floor planks for $1.50/sq ft, basic grout and sealer $60, and adhesive $40. Total material cost under $300. With two weekend days of work, the bathroom shifted from dated to crisp and now photographs better for listings — a quick return on modest investment.
Practical tips for buying and installing cheap bathroom tiles
- Buy 10%–15% extra tile to cover cuts and future repairs — tiles from the same batch match best.
- Choose a grout color that complements tile tone. Lighter grout widens perceived space; darker grout hides stains.
- Prefer rectified-edge tiles when possible for tighter joints and a more contemporary look.
- When using peel-and-stick tiles, ensure the substrate is clean and dry and avoid high-moisture areas unless product-rated for bathrooms.
Common mistakes and trade-offs to consider
Cheap tiles save money but come with trade-offs:
- Durability vs cost: Very low-cost tiles may chip or wear faster on floors; balance cost with PEI rating when buying floor tiles.
- Appearance vs finish quality: Budget glazes sometimes repeat patterns; inspect boxes for color variation.
- Installation time vs convenience: Peel-and-stick is fast but less permanent; traditional tiles take longer but last longer.
Common mistakes
- Skipping waterproofing in wet areas — leads to mold and substrate damage.
- Underspending on grout/sealer — cheap tiles with sealed grout last much longer.
- Poor layout planning that results in narrow edge cuts — pre-plan focal points to avoid tiny cut pieces at corners.
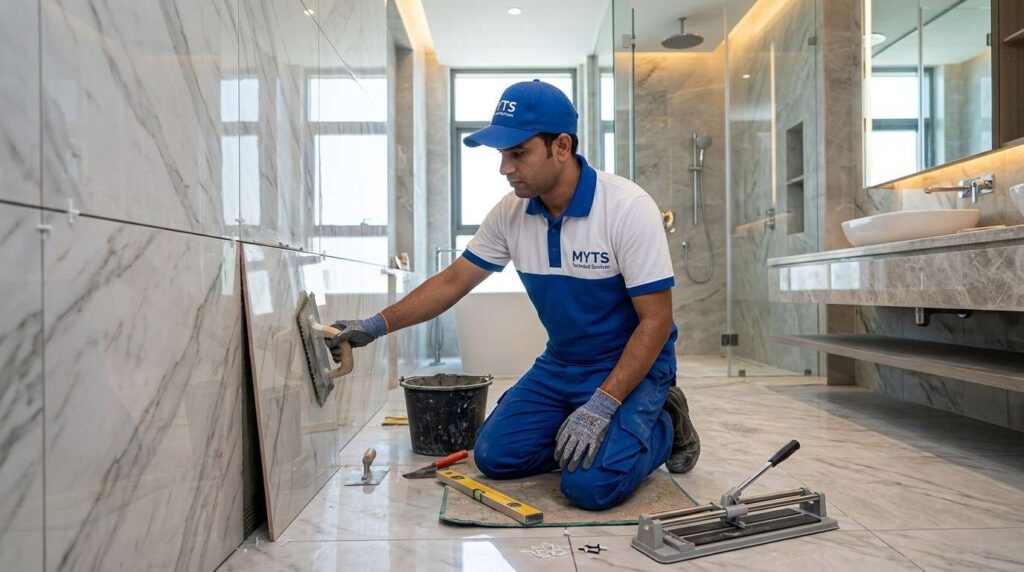
Installation basics and best practices
Follow standard installation steps: prepare substrate, dry-lay tiles for layout confirmation, spread appropriate thinset or adhesive, tile with consistent spacers, grout after recommended cure time, and apply sealer if required. For installation standards and recommended methods, refer to the Tile Council of North America guidelines for best practices: Tile Council of North America.
Core cluster questions for related articles and internal links
- How to choose grout color for small bathrooms
- Best peel-and-stick tile brands for rental properties
- When to choose porcelain vs ceramic for bathroom floors
- How to waterproof a shower before tiling
- Tile layout patterns that make a small bathroom feel larger
Practical finishing touches that add perceived value
Simple changes create a polished look: align tile joints with fixtures, use matching trim pieces, and keep fixtures and hardware consistent in finish. Add a border or change orientation (horizontal subway vs vertical stack) to make a design statement without raising costs.
When to hire a pro
Consider professional help for shower waterproofing, complex floor leveling, or mosaic installations. Labor can exceed material cost in complex jobs but prevents costly repairs later.
FAQ
Are cheap bathroom tiles a good option for a rental or short-term renovation?
Yes. Cheap bathroom tiles are suitable for rentals and short-term renovations when chosen appropriately: use durable floor-rated tiles where needed, apply proper waterproofing in wet zones, and select a neutral grout color to minimize appearance of wear.
What is the best cheap tile type for bathroom floors?
Budget porcelain that meets floor PEI ratings is the best balance of cost and durability for floors. If using ceramic, verify the manufacturer’s suitability for floor use and slip resistance ratings.
Can peel-and-stick tiles be used in showers or directly on drywall?
Most peel-and-stick tiles are not recommended for showers or high-moisture zones. For walls, use appropriate backer board or moisture-resistant drywall and follow product specifications for wet areas.
How much extra tile should be purchased to allow for cuts and repairs?
Purchase 10%–15% extra for simple layouts; increase to 15%–20% for diagonal cuts or mosaic patterns to ensure matching tiles and account for breakage.
How long will a cheap tile installation last compared to higher-end options?
Longevity depends on tile quality, installation, and maintenance. Well-installed budget tiles with sealed grout can last many years; however, premium porcelain and professional installation generally offer longer-term durability and fewer replacements.