Home Office Design Tool Guide: Setup, Ergonomics, and Productivity
-

- March 26th, 2026
- 178 views

FREE SEO Topical Map Generator: Find Your Next Content Ideas
A reliable home office design tool saves time and reduces costly mistakes when planning a workspace. This guide explains how to evaluate and use a design tool to create an ergonomic home office layout that supports productivity, with a named framework, a practical checklist, and real-world examples.
- Primary focus: use a home office design tool to map ergonomics, layout, and equipment zones.
- Use the DESK framework to evaluate placement, ergonomics, storage, and kit.
- Try a virtual room planner for home office layout, test dimensions, then iterate.
- Watch common mistakes: ignoring lighting, poor monitor height, and cramped storage.
home office design tool: what to expect and why it matters
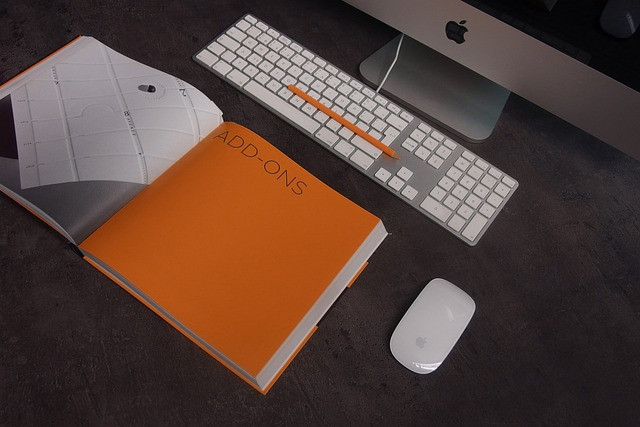
A home office design tool lets non-specialists create floor plans, place furniture, and simulate sightlines and clearances. Tools range from simple drag-and-drop room planners to more advanced 3D editors that include measurement, lighting simulation, and ergonomic overlays. Selecting the right tool shortens the feedback loop between concept and reality and improves the odds the space will support focused work.
How to evaluate a design tool (DESK framework)
Use the DESK framework to compare tools and guide setup decisions:
- D — Desk placement & Distance: Measures and clearances for the desk relative to windows, doors, and circulation paths.
- E — Ergonomics: Monitor height, keyboard reach, chair clearance, and recommended desk height ranges.
- S — Storage & Surfaces: Built-in storage, shelving placement, and available workspace for tasks.
- K — Key zones & Kit placement: Zones for video calls, reference materials, task lighting, and cable runs.
The DESK framework works both for tool selection and for final layout checks before purchasing furniture.
Choosing between a virtual room planner for home office and a simple layout sketch
Basic 2D planners are fast for measuring and placing items. 3D planners and photorealistic editors help evaluate lighting, monitor sightlines, and how a room feels on video calls. Trade-offs include learning curve, time investment, and the level of detail needed:
- Simple sketch: fastest, best for validating dimensions.
- 2D planner: good compromise for accurate measurements and furniture fit.
- 3D/lighting simulation: best when lighting, acoustics, or camera framing matter.
Practical checklist before finalizing a layout
- Measure the room and enter exact dimensions into the planner.
- Place the desk to allow at least 90–120 cm behind the chair for movement.
- Confirm monitor center is at or slightly below eye level when seated.
- Allocate a 60–80 cm deep clear work surface for laptop plus paperwork.
- Map power outlets and plan cable runs or a power hub location.
Real-world example: converting a 2.5 × 3.0 m bedroom corner
Scenario: A compact bedroom corner (2.5 × 3.0 m) needs a work zone for remote meetings and focused tasks. Using a virtual room planner for home office, place a 120 cm desk against the longest wall, set the monitor 60 cm from the user, add a narrow shelving unit to the side for storage, and test camera angles in 3D. The planner reveals that shifting the desk 30 cm toward the window keeps daylight on the side for softer lighting while preserving walkway clearance. The final layout reduces echo by adding a rug and shows clearance for a task lamp.
Practical tips to get the most from a design tool
- Start with accurate room measurements; small errors compound when laying out furniture.
- Create a simple contact sheet of standard furniture dimensions to speed placement (desk depths, chair clearances, shelving widths).
- Test monitor and camera heights with the tool’s measurement features rather than guessing.
- Simulate different light times of day when available, or preview with the tool’s lighting options to place task lighting correctly.
- Export a shopping list or dimensioned plan to confirm item fit before purchase.
Trade-offs and common mistakes
Common mistakes include relying on product photos instead of measurements, placing the monitor directly in front of a bright window (causes glare), and underestimating storage needs. Trade-offs often involve budget versus ergonomics: cheaper chairs may save money now but increase discomfort over time. Another trade-off is time investment in learning a 3D planner versus iterating with paper sketches and tape measures.
ergonomic home office layout: standards and a safety reference
Follow ergonomic recommendations for posture and equipment placement to reduce fatigue and injury risk. For evidence-based guidance on workplace ergonomics reference official sources such as the U.S. Occupational Safety and Health Administration (OSHA) for office workstation guidelines (OSHA workstation ergonomics). Use those measurements as constraints when testing layouts in a tool.
Common mistakes to avoid when using a design tool
- Ignoring cable and power planning—measure outlet positions first.
- Not checking door swing and circulation paths in the planner.
- Overloading a small room with large furniture; always verify clearances.
Next steps: test, buy, and iterate
After finalizing a plan in the design tool, create a simple mock-up: mark the desk footprint on the floor with tape, place boxes where shelving will go, and sit at the provisional console to validate ergonomics. Iterate the digital plan if real-world feel differs. This reduces returns and improves long-term comfort and productivity.
FAQ
What is the best home office design tool for measuring and planning?
There is no single “best” tool; choose based on needs. For quick measurements, a 2D planner is enough. For camera framing, lighting, and feel, select a 3D planner with lighting simulation. Prioritize tools that allow precise input of measurements and export dimensioned plans.
How does a virtual room planner for home office help prevent mistakes?
Virtual planners let users place scaled furniture and test circulation, clearances, and sightlines before purchasing. That prevents common issues such as poor monitor height, blocked doors, and oversized furniture in compact rooms.
How should an ergonomic home office layout position the monitor and chair?
Position the monitor so the top third of the screen is at or slightly below eye level when seated, about an arm’s length away. Chair height should allow feet to rest flat on the floor or a footrest, with forearms parallel to the floor when typing.
Can a home office design tool improve video-call setup and acoustics?
Yes. 3D tools can show camera sightlines and lighting; adding soft surfaces (rugs, curtains, wall panels) in the layout helps visualize and plan acoustic treatment to reduce echo on calls.
Is a home office design tool necessary before buying furniture?
Using a design tool is strongly recommended to verify dimensions, ergonomics, and power/cable needs. It reduces returns and ensures the purchased furniture supports productivity and comfort.