Stuck on Your Java Assignment? A Step-by-Step Debugging Guide for Beginners
-

- Published Updated
- 4,054 views
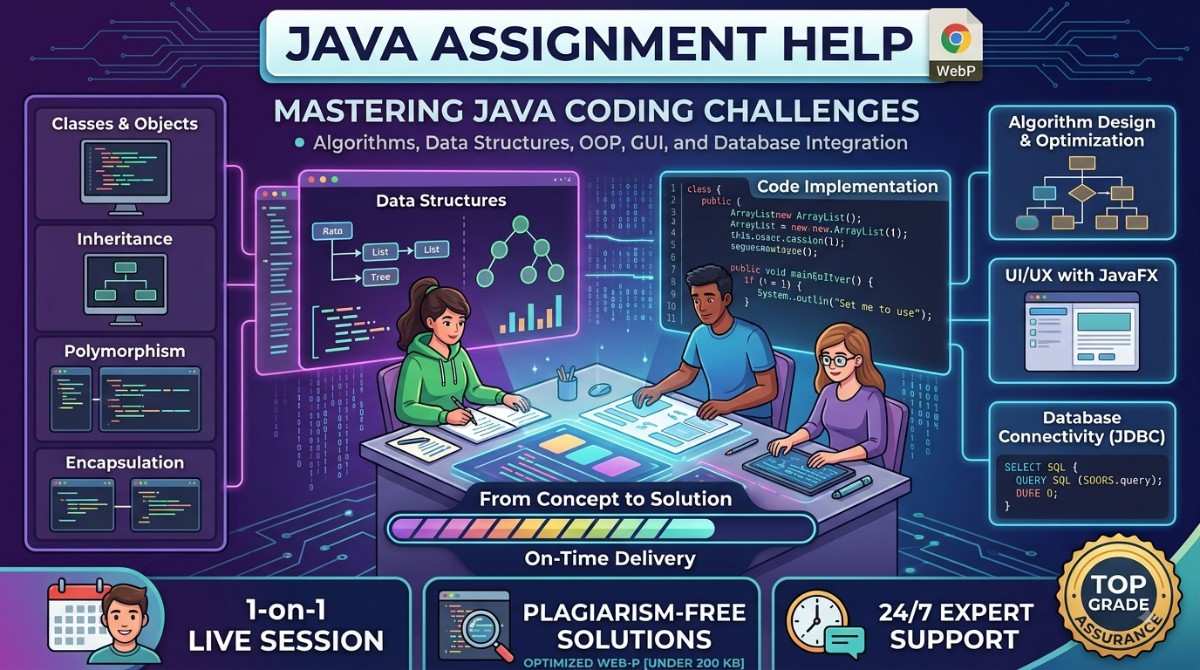
Every Java programmer, no matter how experienced, spends a huge chunk of their time fixing broken code. If you're a beginner staring at a red error message wondering what went wrong, you're not alone. Debugging isn't a sign that you're bad at coding — it's simply part of the process every programmer goes through. The good news is that with a structured approach, you can turn a frustrating error into a quick, manageable fix. Here's a step-by-step guide to help you debug your Java assignments with confidence.
Step 1: Read the Error Message Carefully
Beginners often panic the moment they see red text in the console and skip straight to guessing fixes. Don't. Java's error messages are usually quite specific. They tell you the type of error (syntax, runtime, or logical), the exact line number, and often the root cause. Take a moment to read the full stack trace from top to bottom before touching your code. Rushing past this step is one of the biggest reasons beginners waste time on simple bugs.
Step 2: Identify the Type of Error
Java errors generally fall into three categories:
- Syntax errors - Missing semicolons, unmatched brackets, or misspelled keywords. These show up at compile time.
- Runtime errors - Issues like
NullPointerExceptionorArrayIndexOutOfBoundsExceptionthat occur while the program is running. - Logical errors - The code runs fine but produces the wrong output. These are the trickiest because there's no error message to guide you.
Knowing which category you're dealing with immediately narrows down where to look and saves a lot of guesswork.
Step 3: Use Print Statements Strategically
Before jumping into advanced tools, a simple System.out.println() can work wonders. Place print statements at key points in your code to check variable values and confirm whether a method is even being reached. This "poor man's debugger" approach helps you trace the program's flow step by step and spot exactly where things go off track, without needing any extra setup.
Step 4: Learn to Use Your IDE's Debugger
Most beginners skip this step, but it's one of the most powerful tools available. IDEs like IntelliJ IDEA and Eclipse let you set breakpoints, step through code line by line, and inspect variable values in real time. Instead of guessing, you can watch your program execute and see the exact moment something breaks. Spending just 30 minutes learning how breakpoints work can save you hours of frustration later on.
Step 5: Isolate the Problem
If your assignment has multiple classes or methods, don't try to debug everything at once. Comment out sections of code or write a small test snippet that isolates just the part you suspect is causing trouble. Reducing the problem to its smallest possible form makes it far easier to identify the root cause without getting lost in unrelated code.
Step 6: Check for Common Beginner Mistakes
Many bugs come from a handful of recurring issues:
- Using
=instead of==in conditionals - Off-by-one errors in loops
- Forgetting to initialize variables or objects
- Mismatched data types
- Incorrect method signatures or return types
Running through this checklist often resolves the issue faster than deep debugging, since most beginner bugs repeat across assignments.
Step 7: Test Incrementally
Instead of writing an entire program and testing it all at once, build and test in small chunks. Compile and run your code after every meaningful change. This way, if something breaks, you know exactly which recent change caused it, rather than sifting through hundreds of lines of code trying to find one mistake.
Step 8: Don't Be Afraid to Take a Break
Sometimes the best debugging tool is stepping away from the screen. Fresh eyes catch mistakes that tired ones miss. A short walk or a few minutes away from your code can help you spot an obvious typo or logic slip you'd been staring right past for the last hour.
When You Still Feel Stuck
Even after trying all these steps, some assignments come with tight deadlines, unfamiliar concepts, or bugs that just won't budge no matter what you try. In situations like this, getting Java Assignment Help from an experienced tutor or mentor can save valuable time. It not only gets your assignment back on track but also helps you understand the "why" behind the fix, so you don't repeat the same mistake next time.
Conclusion
Debugging is a skill that improves with practice, and every error you fix makes you a stronger, more confident programmer. Follow these steps consistently, and Java assignments will start to feel far less intimidating over time. The key is patience, a systematic approach, and knowing when to ask for support instead of struggling alone.