Cheek Augmentation Techniques: The Practical Guide to Facial Contouring
-

- March 04th, 2026
- 288 views

Get a free topical map and start building content authority today.
cheek augmentation techniques cover surgical and non-surgical options used to enhance midface volume, define the malar contour, and improve facial proportions. This guide explains common methods, realistic outcomes, recovery expectations, and how to choose the safest, most predictable approach for a given anatomy.
- Primary intent: Informational
- Common methods: hyaluronic acid fillers, autologous fat grafting, malar implants
- Key trade-offs: permanence vs reversibility; downtime vs immediate results
- Use the FACE-R checklist to screen candidates and pick a plan
Detected intent: Informational
Cheek augmentation techniques: overview
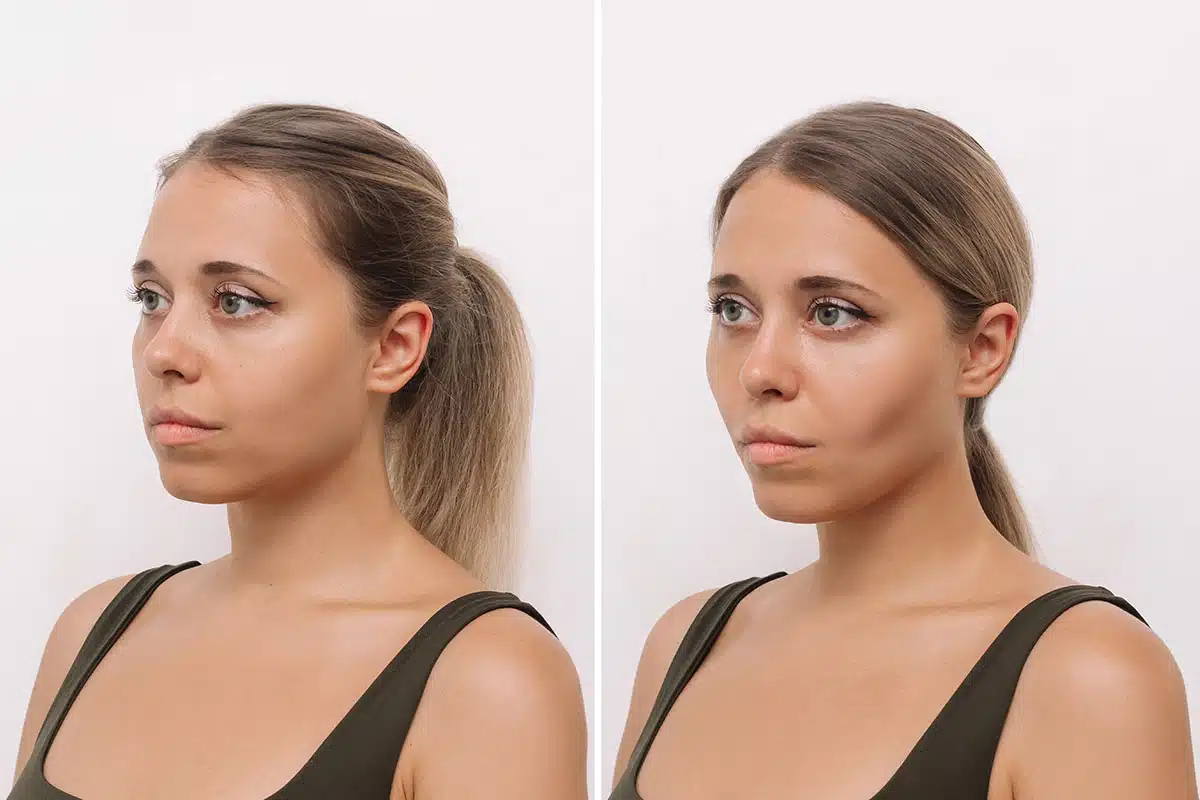
Cheek augmentation techniques fall into three practical categories: temporary injectable fillers (hyaluronic acid or calcium hydroxylapatite), autologous fat transfer, and surgical malar or submalar implants. Each approach targets the zygomatic (malar) and submalar regions to restore youthful convexity or create defined high cheekbones. Related terms to understand include midface augmentation, malar augmentation, zygoma, buccal fat, and submalar hollowing.
How each method shapes the face
- Fillers: immediate volume with variable duration (6–24 months for common hyaluronic acids).
- Fat grafting: longer-lasting when graft take is good, variable resorption rates.
- Implants: durable structural change, requires surgery and longer recovery.
Safety and standards
For best-practice safety and credential checks, consult professional society guidance such as the American Society of Plastic Surgeons on surgical consent and complication management. Techniques should follow sterile procedure, accurate anatomical layering, and realistic patient selection.
Assessment framework: the FACE-R checklist
Use the FACE-R checklist before planning augmentation to ensure predictable, safe results.
- F — Facial balance: Evaluate proportions, chin projection, and lower-face width.
- A — Anatomy: Assess skin quality, subcutaneous fat, muscle tone, and bone structure.
- C — Choice of method: Determine filler, fat graft, or implant based on goals and tolerance for permanence.
- E — Expectations: Confirm realistic outcomes with photos and digital morphs.
- R — Recovery planning: Discuss downtime, analgesia, and follow-up for complications.
Procedural steps and a short scenario
Typical step-by-step for each route
- Fillers: mark target malar points, apply topical anesthesia, place filler supraperiosteally for structure and subcutaneous for smoothing, massage as needed.
- Fat grafting: harvest via liposuction, purify, inject with microcannulas in layered pockets to maximize graft take.
- Implants: subperiosteal pocket creation, implant sizing, fixation and layered closure.
Real-world example
A 42-year-old patient with midface volume loss and mild jowling prefers a conservative approach. After FACE-R screening, a staged plan is chosen: hyaluronic acid for immediate contour testing, followed by fat grafting if long-term volume proves desirable. This staged approach minimizes surgical risk and lets the patient confirm aesthetic goals.
Recovery considerations and timelines
midface augmentation recovery time
Recovery varies: fillers often have 1–7 days of swelling/bruising; fat grafting can require 1–2 weeks for major swelling to subside and several months to see final volume; implants usually need 2–6 weeks for normal activity and several months for complete soft-tissue settling.
Choosing between options
malar implant vs fillers
Choose implants when permanent, structural projection is required and the patient accepts surgery. Choose fillers for low-downtime, reversible contouring or for testing a look before a permanent option. Consider fat grafting for a mid-term, autologous solution that also improves skin quality through stem cell–rich tissue.
Trade-offs and common mistakes
Key trade-offs
- Permanence: implants > fat grafting > fillers.
- Reversibility: hyaluronic acid fillers can be dissolved; fat and implants cannot be easily reversed.
- Downtime: fillers < fat grafting < implants.
- Cost over time: repeated filler sessions may exceed one-time surgery costs.
Common mistakes to avoid
- Overfilling the malar area without addressing the lower face or chin balance.
- Ignoring skin laxity — volume alone cannot tighten heavily sagging tissues.
- Using high-volume, superficial injections that cause lumpiness or Tyndall effect.
- Skipping staged trials (temporary filler before permanent implant) when appropriate.
Practical tips for safer, predictable results
- Document pre-treatment photos and use consistent angles for outcome comparison.
- Start conservatively with volume; undercorrection can be enhanced later.
- Use cannulas for fillers when possible to reduce vascular risks and bruising.
- Plan combined treatments (chin augmentation or jawline work) when proportions require it.
Core cluster questions
- What are the main methods of cheek augmentation and how do they differ?
- How long does recovery typically take after midface augmentation?
- When is autologous fat grafting preferred over fillers?
- What complications are most common after malar implants?
- How should patient selection be performed for predictable cheek augmentation?
FAQ
What are the most effective cheek augmentation techniques?
Effectiveness depends on goals. For temporary, low-downtime contouring, hyaluronic acid fillers are effective. For longer-term volume, autologous fat grafting often provides sustained results. For permanent structural projection, malar or submalar implants are effective but require surgery and carry higher immediate risk.
How soon will swelling and bruising resolve after fillers?
Most swelling and bruising resolve within 1 week, but subtle swelling can persist for 2–4 weeks depending on product and injection depth.
Can cheek augmentation improve sagging jowls?
Cheek volume restoration can improve perceived sagging by restoring upper-face support, but significant laxity often requires a lifting procedure for a durable correction.
What are signs of vascular compromise after injection?
Immediate severe pain, blanching, livedo reticularis, or sudden visual changes require urgent evaluation. Clinics should have protocols for hyaluronidase use and emergency referral pathways.
How long do results from fat grafting typically last?
After the initial resorption period (often 3–6 months), remaining grafted fat can be long-lasting, though some patients experience partial loss over years and may need touch-ups.