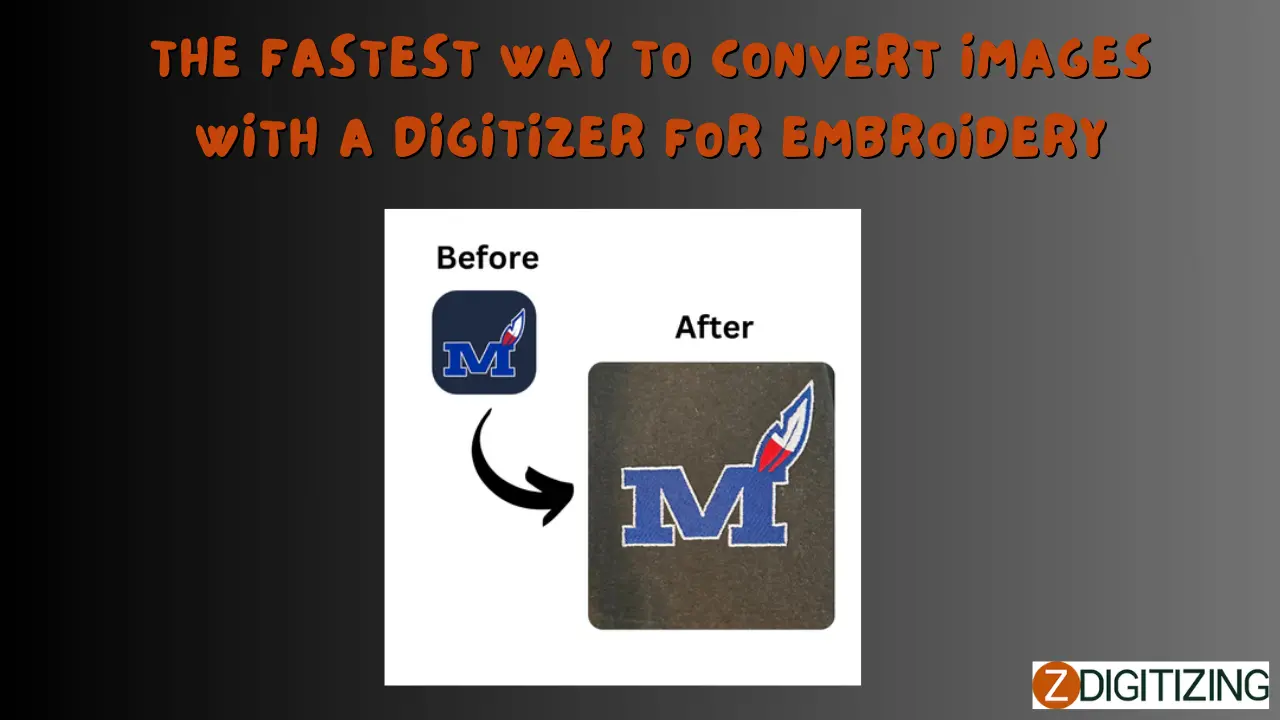
The Fastest Way to Convert Images with a Digitizer for Embroidery
Strong 8k brings an ultra-HD IPTV experience to your living room and your pocket.
Converting images into embroidery-ready designs can seem daunting, but with the right tools and techniques, it’s faster and easier than ever. Whether you’re a business owner branding apparel, a crafter personalizing gifts, or a designer creating custom pieces, using a digitizer efficiently is key. This blog reveals the fastest way to convert images with a digitizer for embroidery, offering step-by-step guidance to streamline your workflow and achieve professional results.
What Does Converting Images for Embroidery Mean?
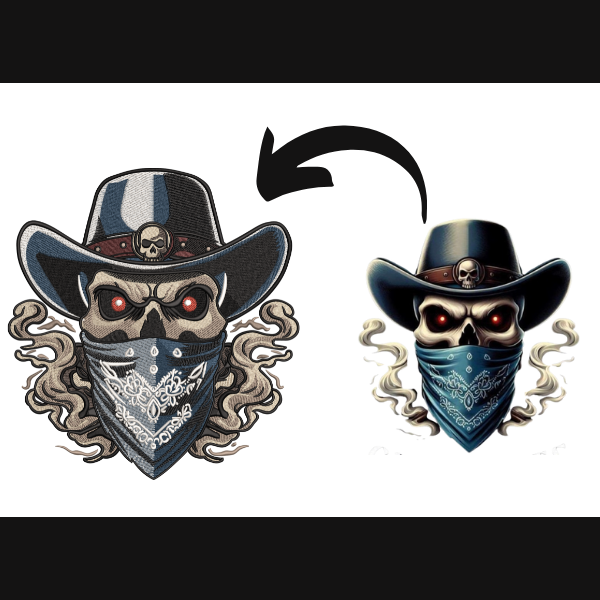
Converting an image for embroidery involves transforming a digital picture—like a logo, graphic, or photo—into a stitch file (e.g., DST, PES) that an embroidery machine can read. A digitizer, typically software or a professional service, maps out stitch types, paths, and colors to turn your image into a design ready for fabric. Speeding up this process without sacrificing quality is the goal, and here’s how to do it.
Why Speed Matters in Embroidery Digitizing
In today’s fast-paced world, quick turnarounds are crucial. Businesses need bulk orders completed swiftly, crafters want instant results for projects, and clients expect efficiency. The fastest digitizing methods save time, reduce costs, and keep you competitive, whether you’re doing it yourself or outsourcing to a pro.
The Fastest Way to Convert Images with a Digitizer
Step 1: Start with the Right Image
The foundation of fast digitizing is a high-quality image. Use:
- Vector Files (AI, EPS, SVG): These scale without losing detail, making conversion quick and accurate.
- High-Resolution Raster (PNG, JPEG): Aim for 300 DPI or higher to avoid manual cleanup.
Why It’s Fast: Clear images reduce the need for tracing or editing, speeding up the process.
Step 2: Choose the Right Digitizing Tool
Your digitizer—software or service—determines speed. Options include:
- Auto-Digitizing Software: Tools like Hatch or Brother PE-Design offer one-click conversion for simple designs.
- Professional Services: Experts deliver files in 24-48 hours, often faster with rush options.
- AI-Powered Tools: Modern software with AI (e.g., Wilcom) automates stitch mapping instantly.
Why It’s Fast: Automation and expertise cut manual work, delivering results in minutes or hours.
Step 3: Simplify Your Design
Complex images slow digitizing. Before converting:
- Remove tiny details that won’t stitch well.
- Limit colors to 4-6 for quicker thread changes.
- Clean up backgrounds (use PNG transparency).
Why It’s Fast: A streamlined design processes faster and requires less tweaking.
Step 4: Use Auto-Digitizing for Simple Images
For basic logos or text:
- Upload your image to software like SewArt or Embrilliance.
- Select “Auto-Digitize” or “Convert to Stitches.”
- Adjust basic settings (e.g., stitch type, size).
Why It’s Fast: Auto-digitizing takes seconds, ideal for straightforward designs.
Step 5: Outsource to Professionals for Complex Designs
For intricate artwork:
- Submit your image to a digitizing service (e.g., via Fiverr or a dedicated provider).
- Specify your machine format (DST, PES) and rush delivery.
- Receive a file in as little as 12-24 hours.
Why It’s Fast: Experts handle complexity quickly, freeing you to focus on stitching.
Step 6: Test and Tweak Quickly
After conversion:
- Run a test stitch-out on scrap fabric.
- Note issues (e.g., gaps, density) and adjust settings or request revisions.
Why It’s Fast: A quick test prevents delays in full production.
Step 7: Save and Reuse Files
Once digitized:
- Save the file in your machine’s format.
- Store it for future use on similar projects.
Why It’s Fast: Reusing files eliminates repeat digitizing, saving time long-term.
Tools for the Fastest Conversion
- Hatch Embroidery: Auto-digitizing and manual controls in one.
- Wilcom TrueSizer: Free tool for quick adjustments.
- SewArt: Affordable auto-digitizing for beginners.
- Professional Services: Platforms like Upwork or dedicated digitizers for speed and quality.
Tip: Pair software with a fast computer to avoid lag.
Benefits of Fast Digitizing
- Time Savings: Convert in minutes or hours, not days.
- Cost Efficiency: Less labor or software tinkering.
- Quick Turnarounds: Meet tight deadlines with ease.
- Scalability: Handle more projects without delays.
Speed doesn’t mean cutting corners—it’s about working smarter.
DIY vs. Professional Digitizing: Which is Faster?
- DIY: Fastest for simple designs with auto-digitizing software (5-15 minutes). Requires learning and trial runs.
- Professional: Fastest for complex designs or bulk needs (12-48 hours). Hands-off and reliable.
Best Choice: Use DIY for quick, basic conversions; outsource for intricate or urgent jobs.
Tips to Speed Up the Process
- Use templates for recurring designs (e.g., monograms).
- Batch-process multiple images in software.
- Communicate clearly with pros (e.g., “Need DST by tomorrow”).
- Keep your machine format handy to avoid file conversions.
Efficiency starts with preparation.
Common Mistakes to Avoid
- Starting with blurry images—delays cleanup.
- Overcomplicating designs—slows digitizing and stitching.
- Skipping tests—leads to rework.
- Using outdated software—lacks speed features.
Avoid these to keep the process swift.
How Technology Boosts Speed
- AI: Auto-maps stitches in seconds.
- Cloud Services: Instant file delivery from pros.
- High-Speed Software: Processes designs faster than ever.
Modern tools are built for speed and precision.
Conclusion
The fastest way to convert images with a digitizer for embroidery combines the right image, smart tools, and a streamlined approach. Whether you’re auto-digitizing a simple logo in minutes or outsourcing a complex design for next-day delivery, speed and quality go hand in hand. Ready to stitch faster? Pick your method—DIY software or a pro service—and turn your images into embroidered masterpieces in record time!
FAQs About Converting Images for Embroidery
What’s the fastest way to digitize an image?
Auto-digitizing software for simple designs or a rush professional service for complex ones.
How long does it take to convert an image?
DIY takes 5-15 minutes with software; pros deliver in 12-48 hours.
What file format should I use?
Start with vectors (AI, EPS) or high-res PNGs; output depends on your machine (DST, PES).
Can I convert photos for embroidery quickly?
Yes, with high-res images and auto-digitizing, though pros handle details better.
Is outsourcing faster than DIY digitizing?
For complex designs, yes—pros save hours of manual work.
What’s the best software for fast digitizing?
Hatch, SewArt, or Wilcom with AI features for speed and ease.
Note: IndiBlogHub features both user-submitted and editorial content. We do not verify third-party contributions. Read our Disclaimer and Privacy Policyfor details.

