What is Digitization for Embroidery? A Beginner’s Guide
Strong 8k brings an ultra-HD IPTV experience to your living room and your pocket.
Embroidery blends creativity and craftsmanship, turning designs into stunning stitched creations on fabric. For beginners, the process might seem magical, but it starts with a crucial step: digitization for embroidery. This foundational process bridges your artwork and the embroidery machine, making it accessible even to newcomers. In this blog, we’ll break down what digitization for embroidery is, how it works, and why it’s essential for your projects. ZDigitizing and EmDigitizing are here to simplify this journey, offering expert services to get you started.
What Is Digitization for Embroidery?
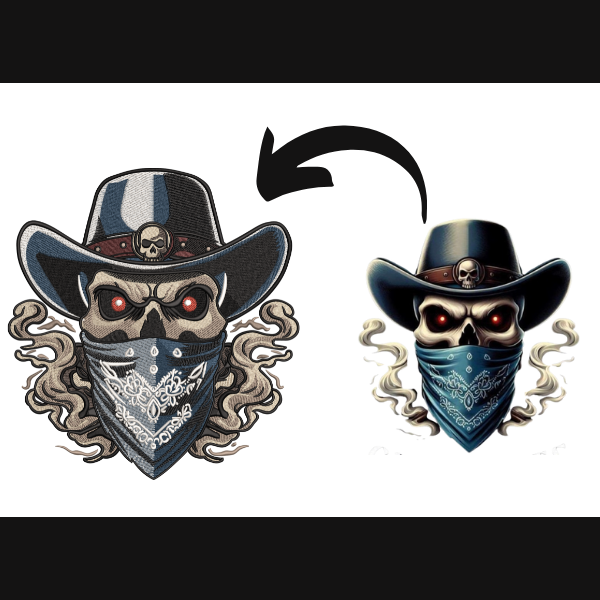
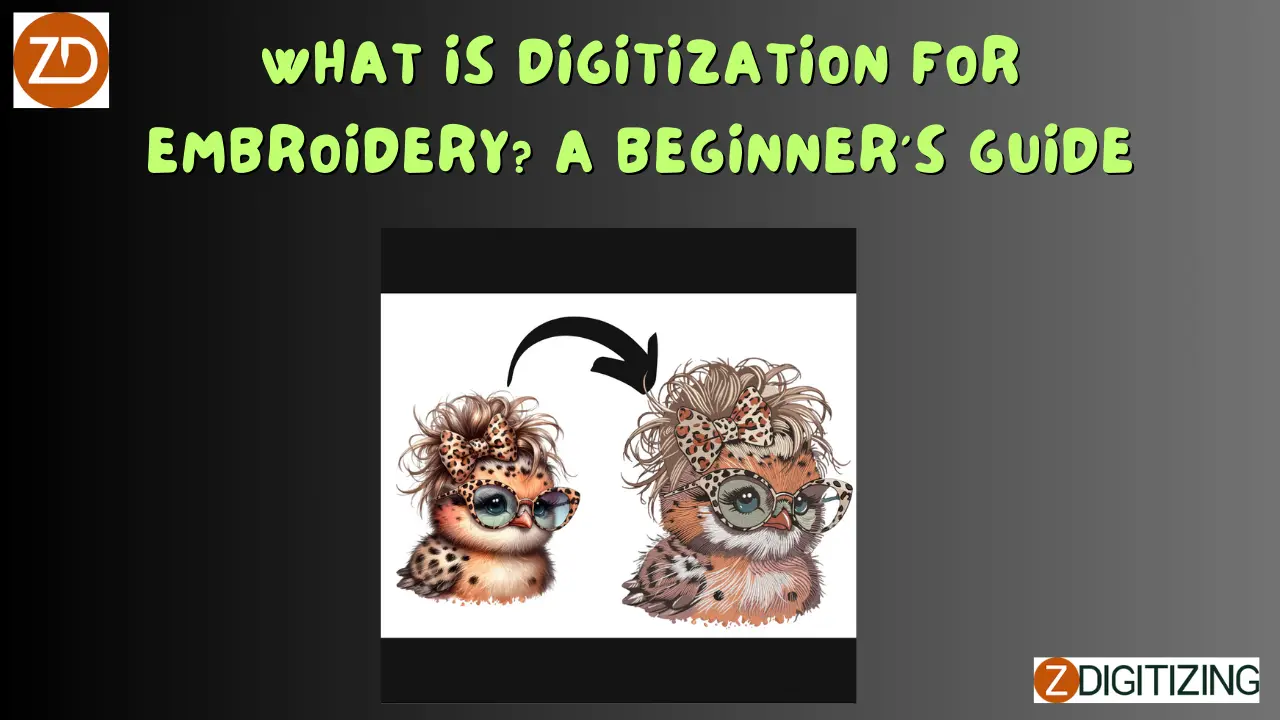
Digitization for embroidery is the process of converting your artwork—logos, text, or graphics—into a digital file that an embroidery machine can read and stitch. Think of it as translating a drawing into a language of stitches, with details like stitch types, directions, and densities mapped out. ZDigitizing and EmDigitizing handle this task, turning your ideas into files that bring designs to life on fabric with precision and durability.
Why Beginners Need to Understand Digitization
Grasping digitization sets you up for success. Here’s why it’s key:
Design Control
It ensures your artwork stitches as you envision.
Learning Curve
Understanding it simplifies your embroidery journey.
Quality Output
Proper files mean clean, professional results.
Efficiency
It connects your creativity to the machine seamlessly.
How Digitization Works: A Simple Breakdown
Here’s the beginner-friendly process:
Step 1: Start with Artwork
You provide a design—could be a sketch, logo, or digital image. Clear, high-quality artwork (e.g., 300 DPI PNG or vector AI) works best.
Step 2: Analyze the Design
The digitizer checks its size, details, and fabric fit—simple designs stitch easier than tiny, intricate ones.
Step 3: Map the Stitches
Software converts the artwork into stitches—satin for outlines, fill for solid areas—adjusting for your fabric and machine.
Step 4: Preview the File
A digital proof shows how it’ll stitch, letting you spot issues early.
Step 5: Test It Out
A sample stitches on fabric to confirm it looks and holds up as planned.
Step 6: Get Your File
The final file (e.g., DST, PES) is delivered, ready for your machine.
This turns your idea into embroidery reality.
Key Elements of Digitization
Digitization involves these basics:
- Stitch Types: Satin for borders, fill for blocks, running for lines—each serves a purpose.
- Density: Too dense puckers fabric; too light looks sparse—balance is key.
- Colors: Thread limits shades—typically 10-12 max for simplicity.
- Fabric: Cotton, polyester, or stretch affects stitch settings.
Benefits of Digitization for Beginners
Starting with digitization offers:
- Ease: Pros handle the tech, so you focus on design.
- Precision: Files ensure your first tries look good.
- Learning Aid: See how designs translate to stitches.
- Versatility: Works on shirts, hats, or bags.
Common Beginner Challenges
Newbies face hurdles. Here’s how they’re tackled:
- Blurry Artwork: Low-res images distort—use high-res or vectors.
- Too Many Details: Tiny bits blur—simplify for stitching.
- Wrong Format: Files must match your machine—check compatibility.
- Fabric Guesswork: Wrong settings pucker—specify material.
Tips for Beginners Preparing for Digitization
Get started right with these tips:
Keep It Simple
Start with bold, clear designs—avoid tiny text (under 0.25 inches) or thin lines (under 1mm).
Use Good Files
Submit 300 DPI PNG/JPEG or vector AI/EPS for sharp results.
Pick Your Fabric
Know if it’s cotton, denim, or stretch—tell your digitizer for the right fit.
Start Small
Try a 2-4 inch design to learn without overwhelm.
Ask Questions
Clarify stitch types or file formats with your digitizer for confidence.
Conclusion
Digitization for embroidery is the beginner’s gateway to creating beautiful, stitched designs. It’s the step that turns your artwork into a file your machine can use, making embroidery accessible and rewarding. By understanding this process, you set yourself up for clean, durable results from the start. ZDigitizing and EmDigitizing make it easy, offering professional files that guide your early projects with expertise.
Whether you’re stitching for fun, gifts, or a small business, digitization is your foundation. With ZDigitizing and EmDigitizing, your embroidery adventure begins with clarity and success, stitch by stitch.
FAQs
What Kind of Artwork Works Best for Beginners?
Simple, bold designs—like logos with thick lines or large text (0.25 inches+)—stitch clearly, avoiding the blur of tiny details.
Why Does My Low-Res Image Look Bad When Stitched?
Low-res files (e.g., 72 DPI) pixelate, making stitches blurry—use 300 DPI or vector files for sharp results.
How Many Colors Should I Use as a Beginner?
Stick to 5-10 solid colors; too many complicate stitching—keep it simple for your first tries.
What Happens If I Don’t Specify My Fabric?
Without fabric info, stitches might pucker or loosen—tell your digitizer if it’s cotton, stretch, or denim.
Can I Digitize My Own Designs as a Beginner?
It’s possible with software, but pros save time and errors—start with their help to learn the ropes.
What’s a Digital Proof and Why Do I Need It?
A proof shows your stitch layout—review it to catch issues like gaps or overlaps before stitching.
How Do I Know Which File Format My Machine Needs?
Check your machine’s manual—common ones like DST or PES work for most, but confirm to avoid hiccups.
Note: IndiBlogHub features both user-submitted and editorial content. We do not verify third-party contributions. Read our Disclaimer and Privacy Policyfor details.

