Step-by-Step Guide to the Root Canal Treatment Procedure in Mississauga
-

- August 23rd, 2025
- 304 views
One of the best treatments for preserving a tooth that is badly decayed or infected is a root canal treatment in Mississauga. If a root canal has been recommended by your dentist, knowing what to expect can help you feel more at ease. This is a step-by-step guide to what you can expect during a root canal procedure. Read more below.
Step 1: Diagnosis and X-Ray
The first part of the root canal procedure is identifying the problem. Your dentist will take some X-rays of the involved tooth to evaluate the nature and extent of the infection or damage. This can help decide if a root canal is needed and it gives a good view of the root canals and the bone around them. Make sure to visit a trusted emergency dental clinic in Mississauga for a seamless experience.
Step 2: Local Anesthesia
Before the procedure begins, your dentist will apply a local anesthetic to numb the tooth that is to be extracted as well as the gum tissue around it. This will help prevent you from experiencing any discomfort or pain during root canal treatment in Mississauga.
Step 3: Tooth Isolation
In order to get the area dry and clean, a rubber dam is centered over the affected tooth. This avoids the entry of saliva into the treatment zone and also shields the tooth from contamination.
Step 4: Access Opening
When the area is numbed, the dentist makes a small opening at the top of it and extracts the pulp. Through this opening, the pulp chamber and root canals are accessed which is the site of infection or dead pulp.
Step 5: Cleaning and Shaping
Through the use of specially designed instruments, the dentist scours the diseased pulp, bacteria, and detritus from inside the tooth’s root canals. The canals are cleaned, sterilized, and formed in preparation for filling.
Step 6: Filling the Canals
A biocompatible material (gutta-percha) is used to fill the canals after cleaning. This material closes off the vent space to prevent bacteria from entering. A temporary filling is sometimes placed if more than one visit is required.
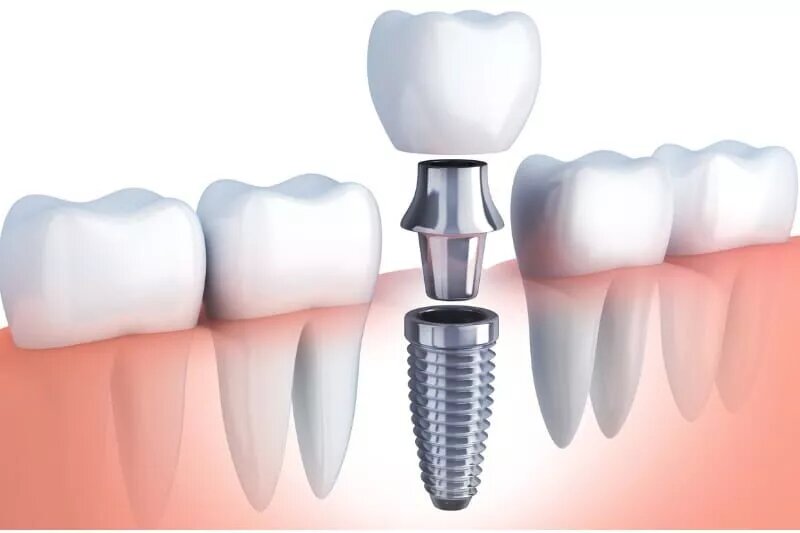
Step 7: Restoration
After the root canal is finished, a crown or other restoration is placed on the tooth to protect and restore it to full function. A crown is generally suggested in order to protect the tooth from re-injury and to restore its full functions and aesthetic appeal.
Looking for the best emergency dental clinic in Mississauga? Trust Village Dental of Streetsville. Book a consultation with our qualified dentist today.
In conclusion, a root canal treatment in Mississauga is a highly effective way to save a decayed or infected tooth and relieve pain. By understanding each step—from diagnosis and anesthesia to cleaning, filling, and final restoration—you can approach the procedure with greater confidence and peace of mind. Root canals not only eliminate infection but also restore your tooth’s natural function and appearance. Always seek treatment from a reputable clinic to ensure the best results. If you're experiencing severe tooth pain or need urgent care, visit Village Dental of Streetsville, your trusted emergency dental clinic in Mississauga, for expert and compassionate treatment.