Practical Harvest Planner: Timing Seasonal Crop Harvests for Consistent Quality and Yield
-

- March 27th, 2026
- 106 views


FREE SEO Topical Map Generator: Find Your Next Content Ideas
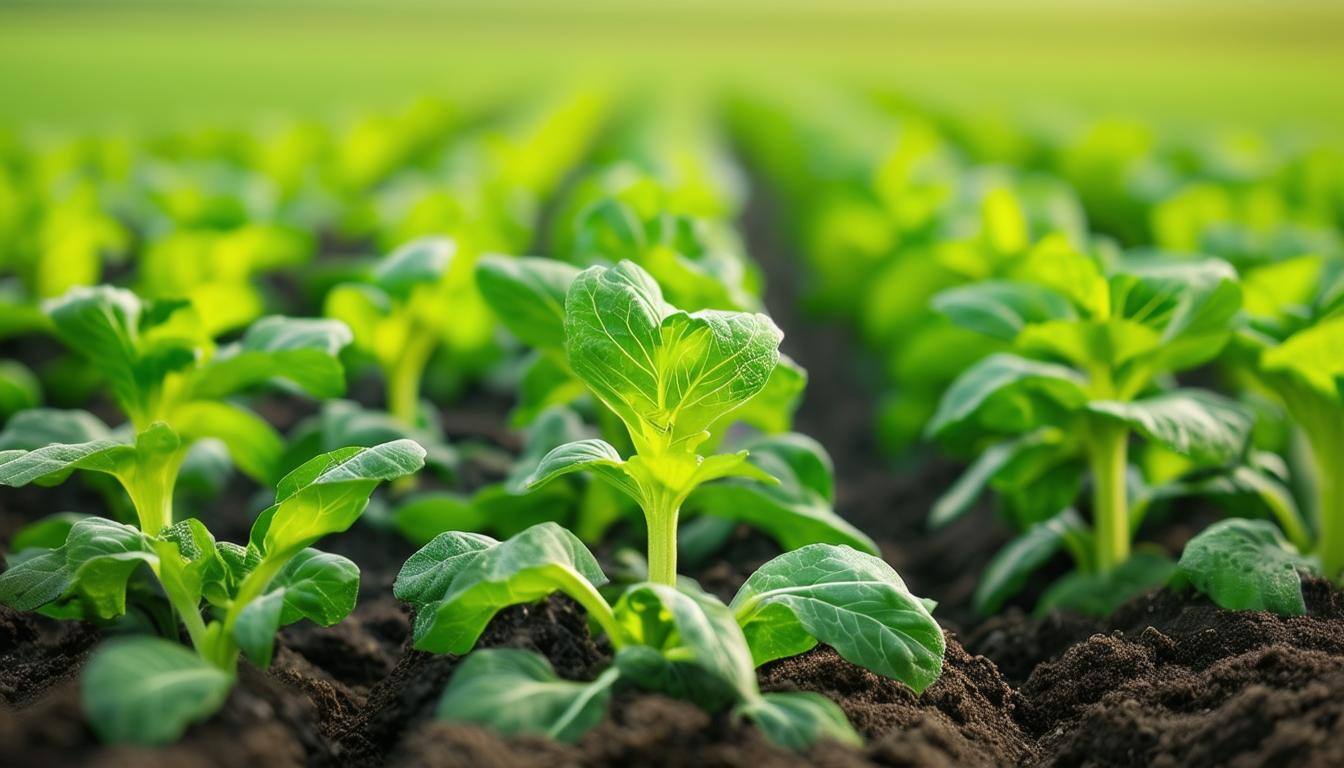
Good harvest timing preserves quality, reduces losses, and smooths labor and equipment needs. This guide explains a practical harvest planner for seasonal crop harvest timing using objective metrics, a named checklist, and simple tools for a single-field or multi-site operation.
- Primary focus: seasonal crop harvest timing based on maturity indices, growing degree days (GDD), and weather forecasts.
- Includes the HARVEST checklist, a sample one-field scenario, a 5-point practical tips list, and common mistakes to avoid.
- Use a harvest scheduling calendar and simple GDD tracking to set reliable harvest windows.
seasonal crop harvest timing: core planning steps
Seasonal crop harvest timing depends on crop-specific maturity indicators, a harvest scheduling calendar, and real-time weather-based harvest timing cues. Start with baseline maturity data (days to maturity, maturity index, or GDD), layer local weather forecasts, and finalize with a confirmed harvest window to allocate labor, equipment, and packing capacity.
How to set up a harvest planning system
1. Collect baseline maturity data
Record the crop’s recommended maturity measure: calendar days, growing degree days (GDD), or physical maturity indices (color, moisture, sugar levels). Official extension services and crop physiology resources offer crop-specific values. For factual guidance on maturity and timing, consult the U.S. Department of Agriculture resources for crop planning (USDA).
2. Build a harvest scheduling calendar
Create a harvest scheduling calendar that maps planting dates to predicted harvest windows. Include: predicted start/end dates, backup windows for weather delays, daily labor needs, and transport/packing slots. Adjust weekly using observed GDD accumulation and crop checks.
3. Monitor weather and use weather-based harvest timing
Key weather signals: rainfall in the 24–72 hour window, daytime temperature spikes, predicted cold snaps, and humidity. For perishable crops, a wet forecast or high humidity increases disease risk and may require an earlier harvest. Use short-range forecasts to lock the actual harvest day.
4. Confirm on-field indicators
Do a physical check before committing crews: sample plants for moisture content, firmness, soluble solids (for fruits), and visual uniformity. These indicators finalize the crop maturity window planning.
HARVEST checklist (named framework)
The HARVEST checklist is a compact, repeatable model for harvest decisions. Use it as a daily pre-harvest routine.
- H — Health check: inspect for pests, disease, and uniform maturity.
- A — Accumulated heat: confirm GDD or days-to-maturity targets reached.
- R — Rain/forecast check: review 72-hour forecast and soil moisture.
- V — Verify quality metrics: moisture, brix, size, color.
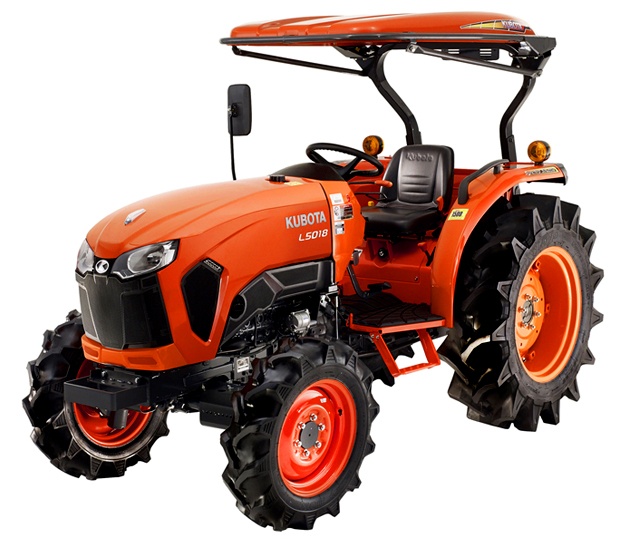
- E — Equipment readiness: confirm harvesters, bins, and cold-chain.
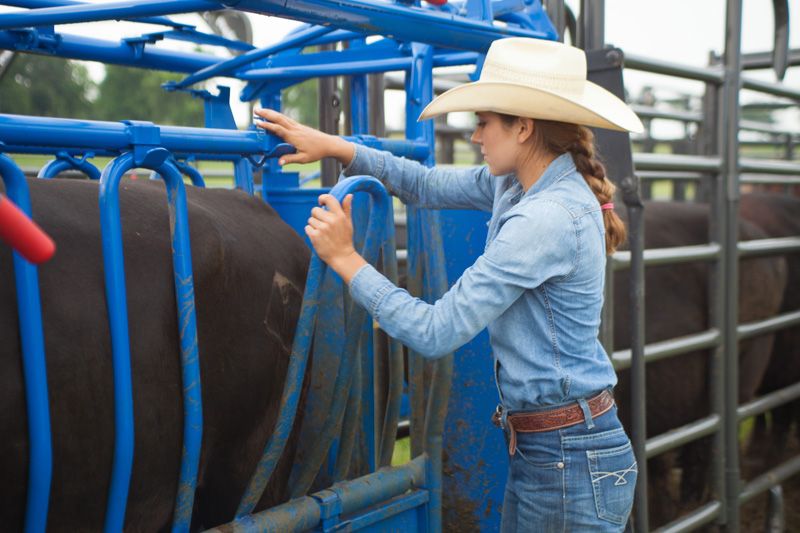
- S — Staff scheduling: confirm crew numbers, shifts, and safety briefings.
- T — Transport & handling: confirm packing slots, transport, and storage availability.
Short real-world example
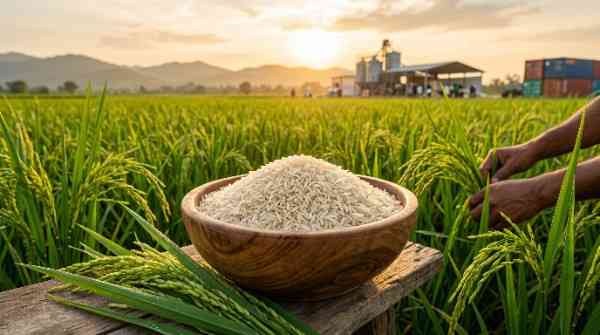
Scenario: A 30-acre mixed field with early-season lettuce and a late-season grain. Lettuce has a narrow harvest window of 7–10 days. Planting records, a harvest scheduling calendar, and daily GDD tracking projected lettuce maturity on June 12–18. A rain forecast for June 15 moved the active harvest to June 12–14. The HARVEST checklist confirmed moisture and size targets June 12, equipment and crew were mobilized, and packing space was reserved—nutritional quality and market timing were preserved while avoiding a wet harvest that would have increased rot.
Practical tips for reliable harvest timing
- Maintain a simple GDD tracker per field: record daily max/min temps and cumulative GDD against expected maturity thresholds.
- Make the harvest scheduling calendar actionable: convert windows into specific crew schedules and transport bookings two to three days before the window opens.
- Use sample plots: check 10–20 representative plants per field to detect variability and decide whether to split the harvest window.
- Keep a log of past harvest dates and yields to refine future crop maturity window planning—patterns reveal microclimate effects and cultivar differences.
Trade-offs and common mistakes
Trade-offs when locking harvest dates
Earlier harvest reduces disease risk and avoids bad weather but may lower yield or quality if the crop hasn’t reached target maturity. Waiting can improve size and sugar content but increases exposure to storms, pests, or overripening. Balance market value, storage capacity, and risk tolerance when choosing a date within the crop maturity window.
Common mistakes to avoid
- Relying solely on calendar days without checking GDD or physical maturity indicators.
- Failing to update the harvest scheduling calendar when unexpected weather shifts occur.
- Ignoring field variability—treating a field as uniform when multiple sub-windows may be required.
Implementation checklist and measurable triggers
Use these measurable triggers to convert planning into action:
- Trigger A: GDD threshold reached + two consecutive daily physical checks meeting quality criteria = schedule harvest within 48 hours.
- Trigger B: Forecasted rainfall >10 mm within 48 hours = prioritize harvest before rainfall or activate post-harvest drying strategies.
- Trigger C: Field variability >15% in sampled maturity metrics = split harvest by zones.
Metrics to track after harvest
Record yield per acre, quality grades, post-harvest loss percentage, and labor hours. These metrics feed back into the harvest scheduling calendar and improve future crop maturity window planning.
FAQ
What is the best way to plan seasonal crop harvest timing?
Combine crop-specific maturity metrics (GDD or maturity indices), a harvest scheduling calendar, and short-range weather forecasts. Use a repeatable checklist—such as the HARVEST checklist—to confirm readiness and allocate resources.
How accurate are growing degree days (GDD) for predicting harvest?
GDD provides a reliable physiological baseline but should be paired with physical sampling. Local weather station data and field checks improve accuracy; adjust model thresholds with historical harvest logs.
How should a harvest scheduling calendar handle mixed maturation across a field?
Divide the field into zones on the calendar, create separate harvest windows, and allocate labor progressively. Sampling each zone defines when to open or close a zone’s window.
When should weather-based harvest timing change the plan?
Change the plan when forecasted conditions increase risk (heavy rain, frost, or extreme heat) within the next 48–72 hours. Use the HARVEST checklist to decide whether to accelerate, split, or delay harvest.
How to record results to improve future seasonal crop harvest timing?
Log planting date, GDD accumulation, observed harvest date, yield, quality grades, and post-harvest loss. Use those records to recalibrate GDD thresholds and refine crop maturity window planning.