 Launch apps instantly. Claim $200 credits on DigitalOcean
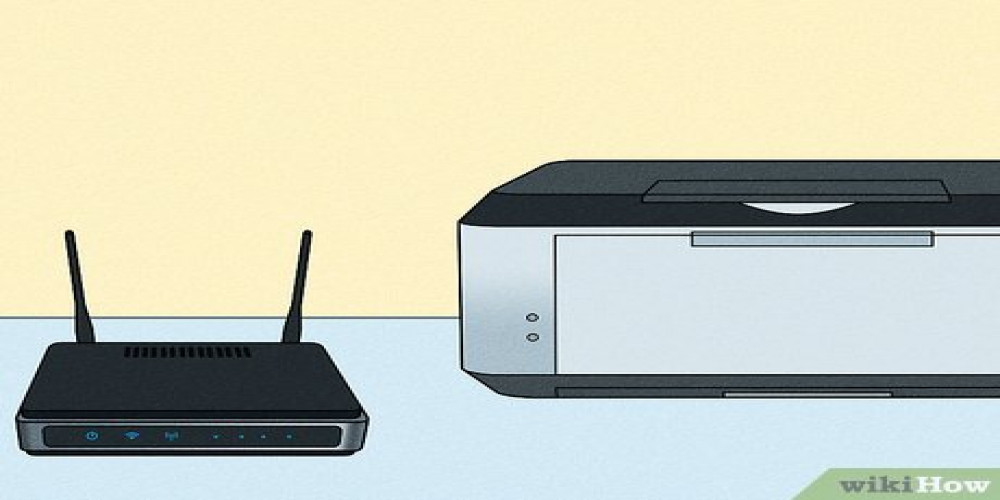
How to Easily Connect Your Printer to Wi-Fi
Written by Mobile Repair Dubai » Updated on: April 08th, 2024
In today's digital age, wireless connectivity has become a staple in our lives. From smartphones to laptops, the convenience of Wi-Fi connectivity has revolutionized how we interact with our devices. However, setting up Wi-Fi on a printer can often be a daunting task for many users. Fortunately, with the right guidance, connecting your printer to Wi-Fi can be a straightforward process. Here's a step-by-step guide to help you easily connect your printer to Wi-Fi.
Preparation:
Before you begin, ensure that your printer is compatible with Wi-Fi connectivity. Most modern printers come with built-in Wi-Fi capabilities, but if your printer doesn't have this feature, you may need to purchase a Wi-Fi adapter. Additionally, make sure you have the necessary Wi-Fi network information, including the network name (SSID) and password.
Power On Your Printer:
Start by turning on your printer and placing it within range of your Wi-Fi router. Ensure that the printer repair in Dubai is properly plugged into a power source and ready for setup.
Access Printer Settings:
Using the printer's control panel or display screen, navigate to the settings menu. Look for an option related to network or wireless setup. Depending on your printer model, this option may be labeled differently, so refer to your printer's user manual for guidance.
Select Wi-Fi Network:
Once you're in the network settings menu, your printer will scan for available Wi-Fi networks. Select your network from the list of detected networks. If your network doesn't appear, you may need to manually enter the SSID.
Enter Wi-Fi Password:
After selecting your Wi-Fi network, you'll be prompted to enter the password. Use the printer's keypad or touchscreen to input the password accurately. Take your time to ensure that you enter the password correctly to avoid any connection issues later on.
Confirm Connection:
Once you've entered the Wi-Fi password, your printer will attempt to connect to the network. This process may take a few moments, so be patient. Once the connection is established successfully, you'll see a confirmation message on the printer's display.
Print Test Page:
To verify that your printer is connected to Wi-Fi and functioning correctly, print a test page. Most printers have a built-in option to print a test page directly from the settings menu. Alternatively, you can send a print command from your computer or mobile device to see if the printer responds.
Software Installation (Optional):
Depending on your printer model and operating system, you may need to install additional software or drivers on your computer or mobile device to fully utilize the printer's features. Check the manufacturer's website for the latest software updates and installation instructions.
Final Checks:
Once everything is set up, perform a final check to ensure that your printer is connected to Wi-Fi and ready for use. Test printing from various devices to confirm that everything is working correctly.
Troubleshooting:
If you encounter any issues during the setup process, refer to the printer's user manual for troubleshooting tips. Common issues may include incorrect Wi-Fi settings, network interference, or outdated firmware.
By following these simple steps, you can easily connect your printer to Wi-Fi and enjoy the convenience of wireless printing. Remember to consult your printer's user manual for specific instructions tailored to your printer model. With Wi-Fi connectivity, printing documents and photos becomes more convenient than ever before, allowing you to print from anywhere in your home or office.
Related Posts


Copyright © 2024 IndiBlogHub.com Hosted on Digital Ocean
Post a Comment
To leave a comment, please Login or Register